1. Component views
Rear door
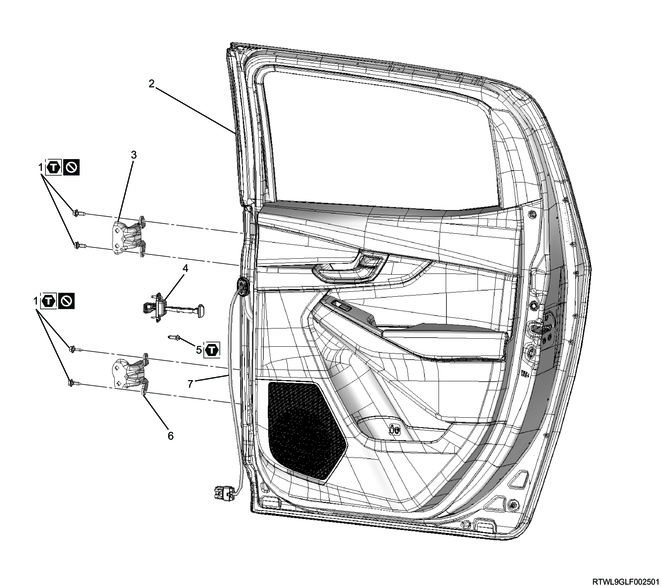
Part name
- Bolt
- Rear door
- Upper door hinge
- Check arm
- Torx screw
- Lower door hinge
- Door harness
Tightening torque
1: 34 N・m { 3.5 kgf・m / 25 lb・ft }
5: 24 N・m { 2.4 kgf・m / 18 lb・ft }
2. Preliminary and post procedures
1. Preliminary procedures
1) Open the engine hood.
2) Disconnect the battery cable from the battery negative terminal.
Caution
- After turning OFF the ignition switch (power mode for models with passive entry and start system), do not disconnect the battery cable within 3 minutes.
- If the battery cable is disconnected within 3 minutes, the vehicle electronic control system may malfunction.
- If the battery cable is disconnected, perform the setting of the front door power window switch with AUTO UP/AUTO DOWN function after connecting the battery negative terminal.
3. Front sill plate removal
1) Remove the front sill plate from the floor.
Regular cab, crew cab
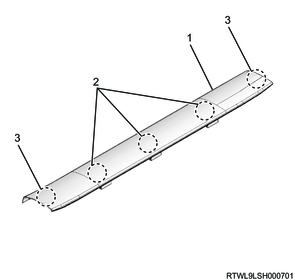
Legend
- Front sill plate
- Clip
- Claw section
4. Front door finisher removal
1) Remove the front door finisher from the body.
5. Rear sill plate removal
1) Remove the rear sill plate from the floor.
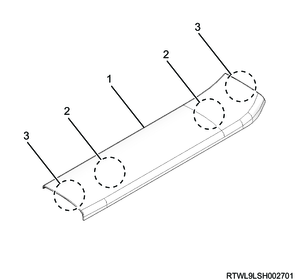
Legend
- Rear sill plate
- Clip
- Claw section
6. Rear door finisher removal
1) Remove the rear door finisher from the body.
7. Center pillar lower trim cover removal
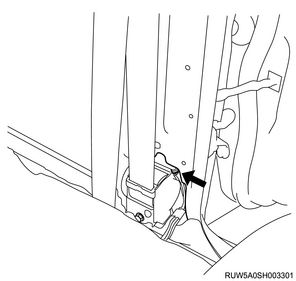
1) Remove the seat belt lower anchor bolt from the center pillar.
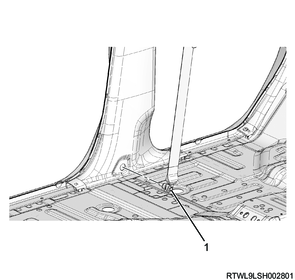
Legend
- Seat belt lower anchor bolt
2) Remove the center pillar lower trim cover from the center pillar.
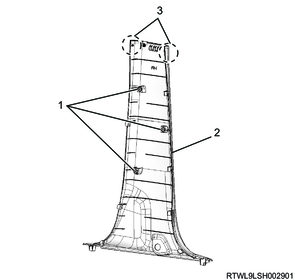
Legend
- Clip
- Center pillar lower trim cover
- Claw section
8. Door harness disconnect
1) Disconnect the door harness from the rear body harness.
9. Rear door removal
1) Remove the door check arm from the body.
2) Place a wood block for protection under the rear door, and support the rear door with your hands.
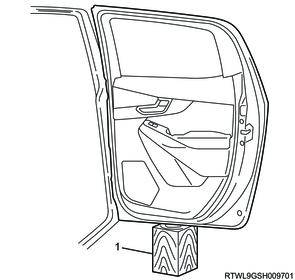
Legend
- Wooden block
3) Remove the hinge bolt from the rear door.