 |
ac5uuw00002024
FRONT SEAT RAIL GUIDE COVER REMOVAL/INSTALLATION
id091300989200
1. Switch the ignition off (LOCK).
2. Disconnect the negative battery cable and wait for 1 min or more. (See NEGATIVE BATTERY CABLE DISCONNECTION/CONNECTION [SKYACTIV-G 2.0, SKYACTIV-G 2.5].) (See NEGATIVE BATTERY CABLE DISCONNECTION/CONNECTION [SKYACTIV-G 2.0, SKYACTIV-G 2.5 (WITHOUT i-stop)].) (See NEGATIVE BATTERY CABLE DISCONNECTION/CONNECTION [SKYACTIV-D 2.2].)
3. Remove the following parts:
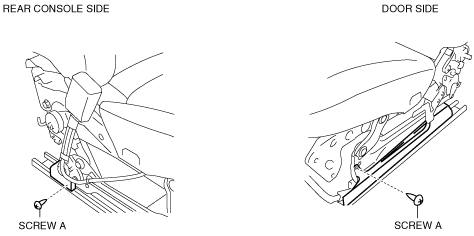
4. Remove screws A.
ac5uuw00002024
|
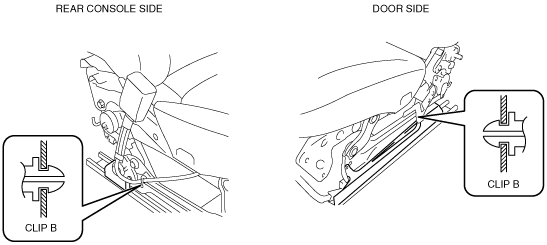
5. Detach clips B.
ac5uuw00002025
|
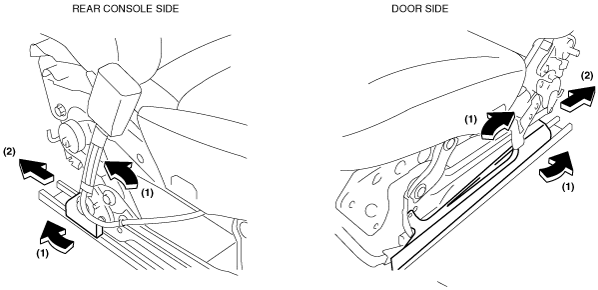
6. Pull the front seat rail guide cover in the direction of the arrow (1) shown in the figure and remove it in the direction of the arrow (2).
ac5uuw00002026
|
7. Install in the reverse order of removal.