 |
ac9wzw00002980
AUTO-DIMMING MIRROR REMOVAL/INSTALLATION
id091200099900
With Forward Sensing Camera (FSC)
1. Disconnect the negative battery cable.
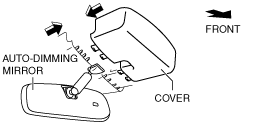
2. Remove the cover. (See FORWARD SENSING CAMERA (FSC) REMOVAL/INSTALLATION.)
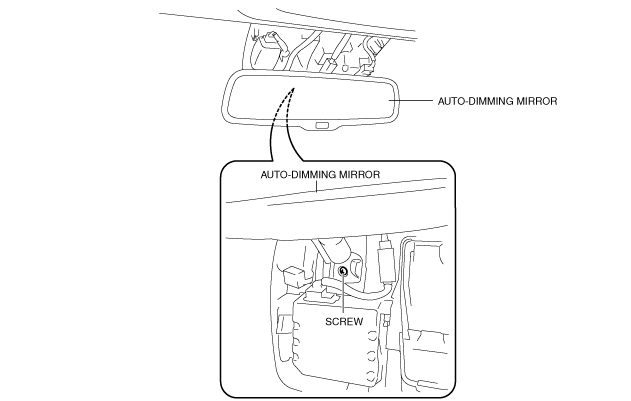
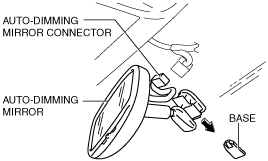
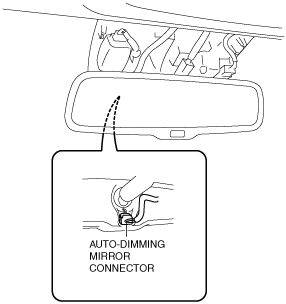
3. Disconnect the auto-dimming mirror connector.
ac9wzw00002980
|
4. Remove the screw.
ac9wzw00002981
|
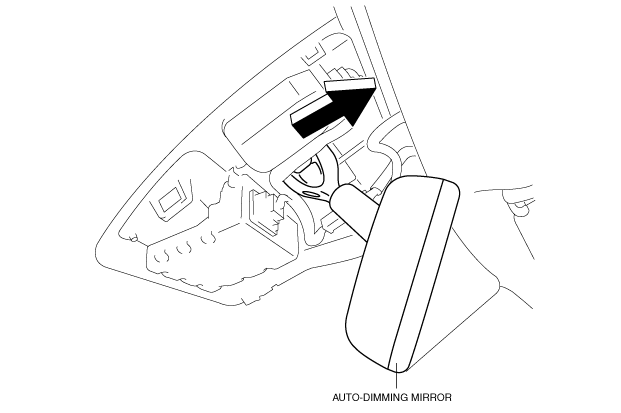
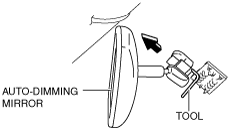
5. Remove the auto-dimming mirror in the direction of arrow shown in the figure.
ac9wzw00002982
|
6. Install in the reverse order of removal.
Without Forward Sensing Camera (FSC)
Removal
1. Disconnect the negative battery cable.
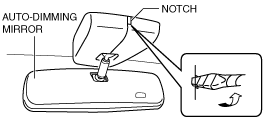
2. Insert a tape-wrapped flathead screwdriver into the notch and pry with the screwdriver in the direction shown by the arrow to remove the covers.
ac9wzw00003014
|
3. Remove the covers.
ac9wzw00003015
|
4. Remove the rain sensor. (See RAIN SENSOR REMOVAL/INSTALLATION.)
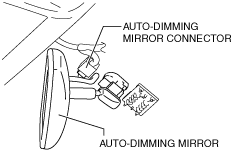
5. Disconnect the auto-dimming mirror connector.
ac9wzw00001676
|
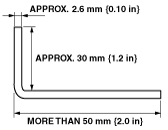
6. Make a tool as shown in the figure using wire.
ac9wzw00001677
|
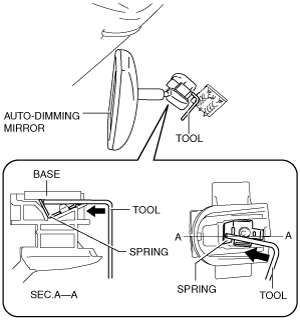
7. Insert the tool to the position shown in the figure and press the center part of the spring.
ac9wzw00001678
|
8. Pull out the auto-dimming mirror toward the vehicle rear.
ac9wzw00001679
|
Installation
1. Install the auto-dimming mirror onto the base.
ac9wzw00001680
|
2. Connect the auto-dimming mirror connector.
3. Install the rain sensor. (See RAIN SENSOR REMOVAL/INSTALLATION.)
4. Install the covers.
ac9wzw00003016
|