|
am2zzw00008824
FRONT FENDER STAY REMOVAL/INSTALLATION
id091000803900
LH
1. Disconnect the negative battery cable. (See NEGATIVE BATTERY CABLE DISCONNECTION/CONNECTION.)
2. Remove the front bumper. (See FRONT BUMPER REMOVAL.) (See FRONT BUMPER INSTALLATION.)
3. Remove the front combination light. (See FRONT COMBINATION LIGHT REMOVAL/INSTALLATION.)
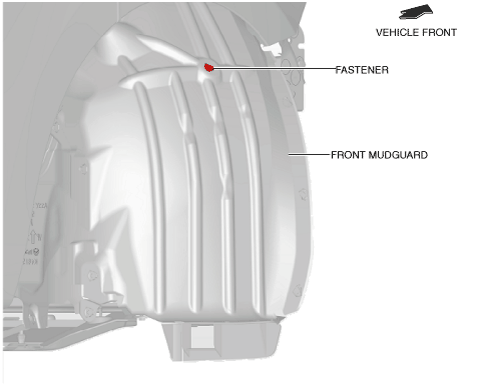
4. Remove the fastener.
am2zzw00008824
|
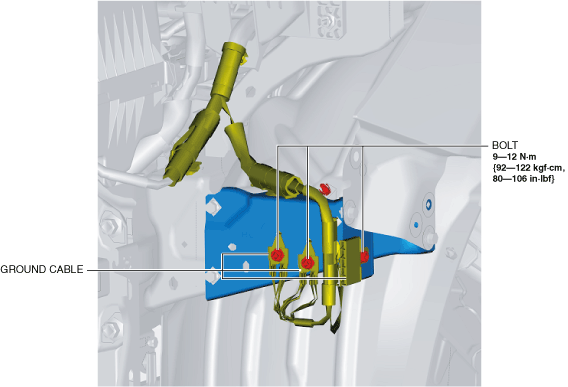
5. Remove the bolts shown in the figure and then remove ground cables.
am2zzw00015307
|
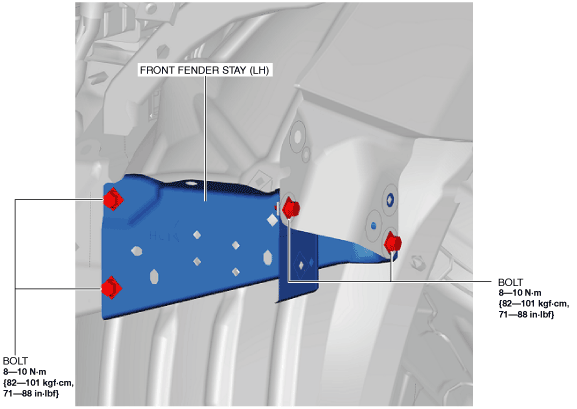
6. Remove the bolts.
adejjw00010310
|
7. Remove the front fender stay.
8. Install in the reverse order of removal. (See Front Fender Stay Paint Note.)
RH
1. Disconnect the negative battery cable. (See NEGATIVE BATTERY CABLE DISCONNECTION/CONNECTION.)
2. Remove the following parts:
3. Remove the fastener.
am2zzw00008825
|
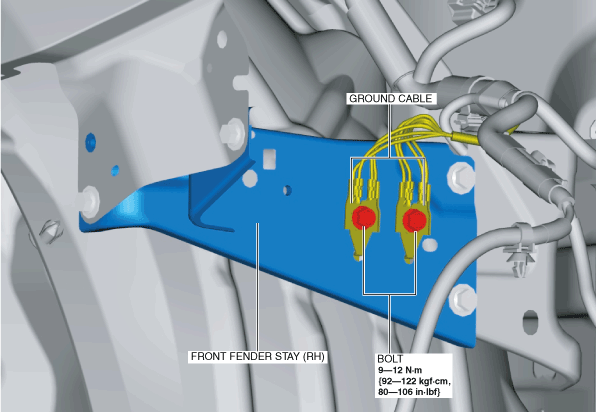
4. Remove the bolts shown in the figure and then remove body grounds.
am2zzw00015308
|
5. Remove the bolts.
am2zzw00008826
|
6. Remove the front fender stay.
7. Install in the reverse order of removal. (See Front Fender Stay Paint Note.)
Front Fender Stay Paint Note