 |
am2zzw00014177
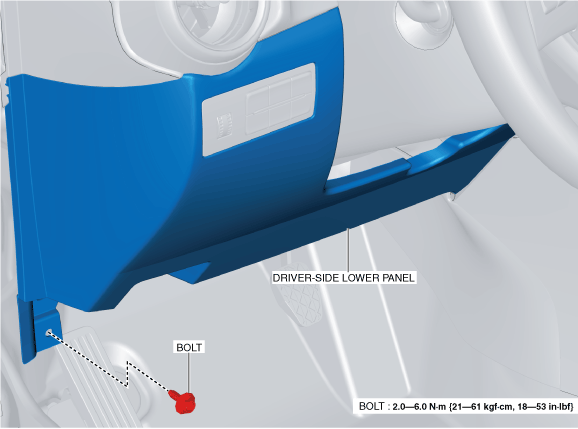
DRIVER-SIDE LOWER PANEL REMOVAL/INSTALLATION
id091700606200
1. Disconnect the negative battery cable. (See NEGATIVE BATTERY CABLE DISCONNECTION/CONNECTION.)
2. Remove the following parts:
3. Partially peel back the seaming welt.
4. Remove the bolt.
am2zzw00014177
|
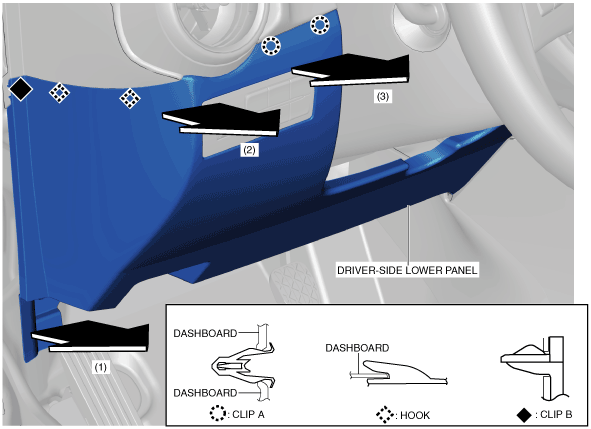
5. Move the driver-side lower panel in the order of arrows (1), (2), and (3) shown in the figure, and detach clips A and B, and the hooks.
am2zzw00007644
|
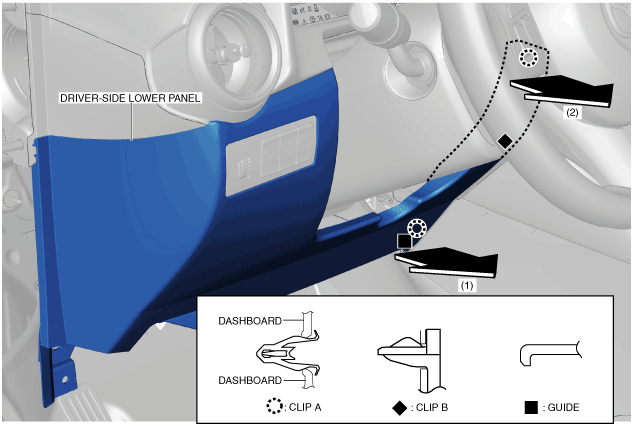
6. Move the driver-side lower panel in the order of arrows (1) and (2) shown in the figure, and detach clips A and B, and the guide.
am2zzw00007651
|
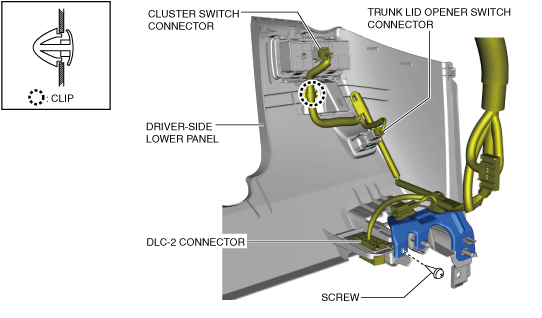
7. Disconnect the cluster switch connector.
am2zzw00014178
|
8. Disconnect the trunk lid opener switch connector. (with trunk lid opener switch)
9. Remove the clip.
10. Remove the DLC-2 connector.
11. Remove the screw.
12. Remove the bracket.
am2zzw00014179
|
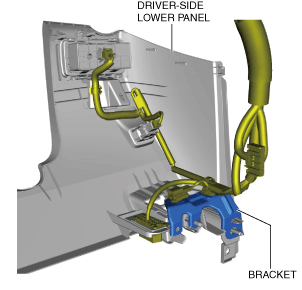
13. Remove the driver-side lower panel.
14. Remove the cluster switch when replacing the driver-side lower panel. (See CLUSTER SWITCH REMOVAL/INSTALLATION.)
15. Install in the reverse order of removal.