 |
am3zzw00006433
STARTER CUT RELAY REMOVAL/INSTALLATION [MTX]
id0921004186a2
Advanced Keyless Entry And Push Button Start System Only
L.H.D.
1. Disconnect the negative battery cable.
2. Remove the following parts:
3. Set the bonnet release lever out of the way. (See BONNET LATCH AND RELEASE LEVER REMOVAL/INSTALLATION.)
4. Remove the lower panel. (See LOWER PANEL REMOVAL/INSTALLATION.)
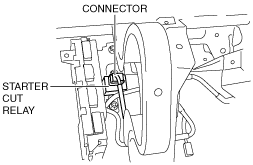
5. Disconnect the connector.
am3zzw00006433
|
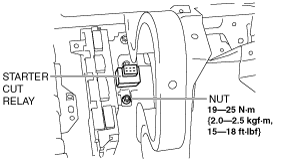
6. Remove the nut.
am3zzw00006434
|
7. Remove the starter cut relay.
8. Install in the reverse order of removal.
R.H.D.
1. Disconnect the negative battery cable.
2. Remove the column cover. (See COLUMN COVER REMOVAL/INSTALLATION.)
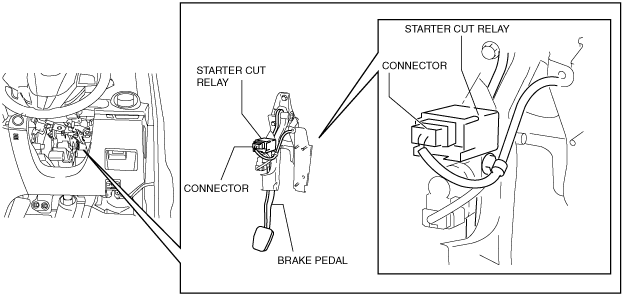
3. Disconnect the connector.
am3zzw00006139
|
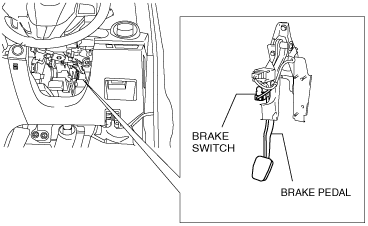
4. Remove the brake switch with the connector connected.
am3zzw00009646
|
5. Rotate the starter cut relay in the direction of the arrow shown in the figure and pull it out.
am3zzw00009647
|
6. Detach the clip tabs from the direction of the arrow shown in the figure using needle-nose pliers, and remove the starter cut relay.
am3zzw00006140
|
7. Install in the reverse order of removal.