 |
am6xuw00011485
REAR STABILIZER INSTALLATION [2WD]
id0214008042a1
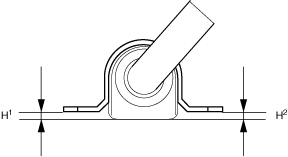
1. After installing the rear stabilizer bracket, verify that the positions of the rear stabilizer bracket and the rear stabilizer bushing are within the range shown in the figure.
am6xuw00011485
|
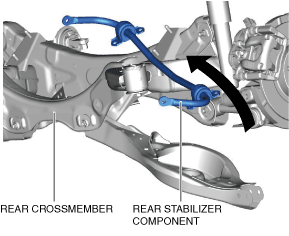
2. Install the rear stabilizer component as shown in the figure.
am6xuw00011487
|
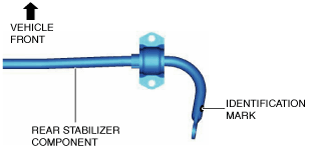
3. Assembly the rear stabilizer component so that the identification mark is on the right side of the vehicle.
ac9uuw00010204
|
4. Temporarily tighten nuts A and B shown in the figure.
ac9uuw00008001
|
5. Tighten nut A.
6. Tighten nut B.
7. Tighten nut A.
8. Install the rear coil spring (RH). (See REAR COIL SPRING REMOVAL/INSTALLATION.)
9. Install the rear stabilizer control link (RH).
am6xuw00012616
|
Rear Stabilizer Bracket Installation Note
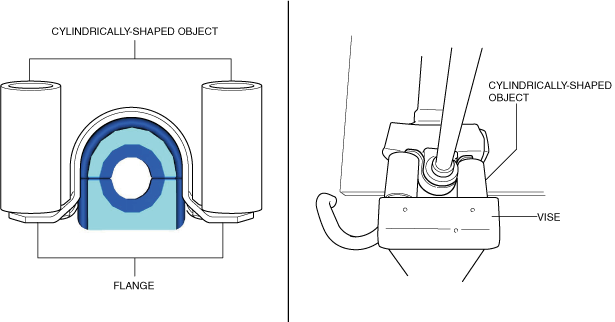
1. If the rear stabilizer bracket cannot be installed by hand, install it using a vise.
am6xuw00011489
|