 |
am6xuw00011192
TRUNK LID GARNISH REMOVAL/INSTALLATION
id091600816100
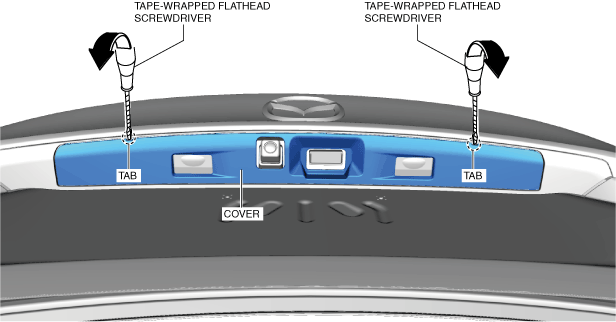
1. Insert a tape-wrapped flathead screwdriver shown in the figure.
am6xuw00011192
|
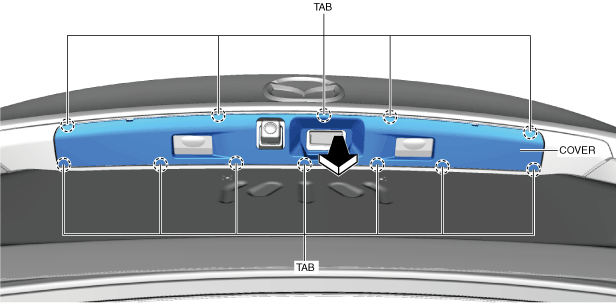
2. Move the tape-wrapped flathead screwdriver in the direction of the arrow shown in the figure and detach the tabs.
3. Remove the cover in the direction of the arrow shown in the figure while detaching the tabs.
am6xuw00011193
|
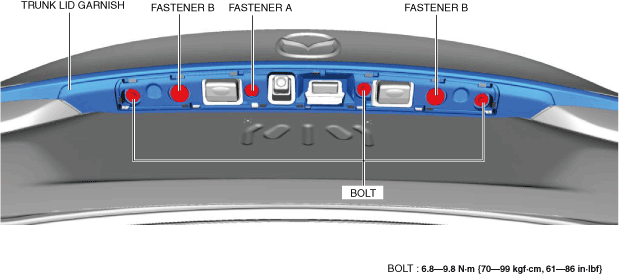
4. Remove fasteners A and B.
am6xuw00011194
|
5. Remove the bolts.
6. Insert a tape-wrapped flathead screwdriver shown in the figure.
am6xuw00011195
|
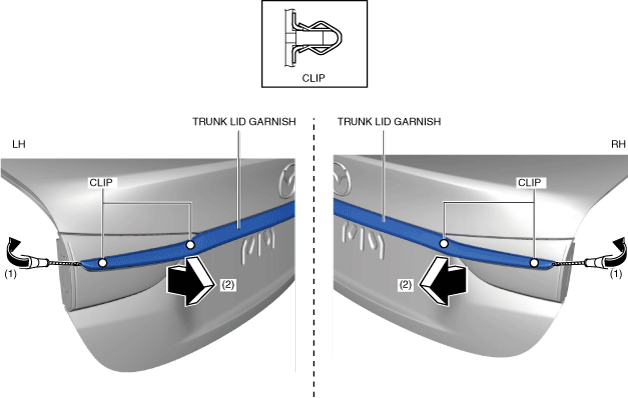
7. Move the tape-wrapped flathead screwdriver in the direction of arrow (1) shown in the figure and detach the clips.
8. Remove the trunk lid garnish in the direction of arrow (2).
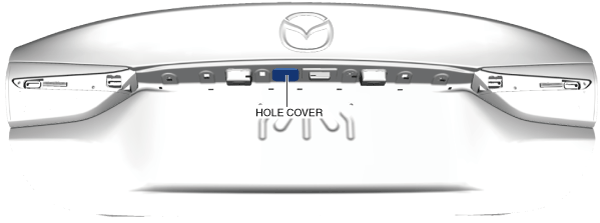
9. Remove the hole cover. (without rear mount camera)
am6xuw00011196
|
10. When removing the molding, perform the following procedure:
am6xuw00011197
|
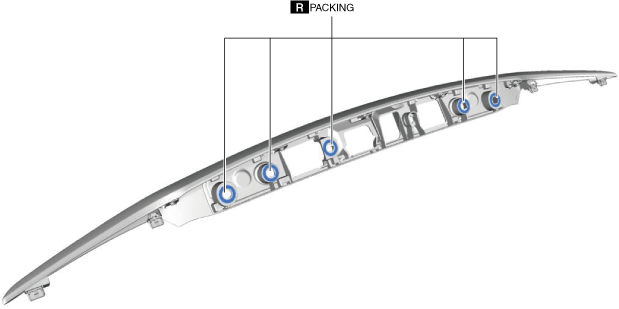
11. Install in the reverse order of removal. (See Trunk Lid Garnish Installation Note.)
Trunk Lid Garnish Installation Note
1. When a trunk lid garnish is to be reused, perform the following procedure:
am6xuw00011198
|