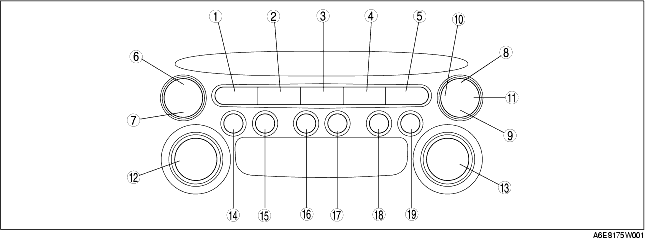
1. With audio on, first press the POWER button, then simultaneously press the SEEK button (upper) for approximately 1 second.
2. Inspect the LCD according to the following table:
|
Inspection
|
Display
|
Action
|
|
|---|---|---|---|
|
Start LCD inspection mode.
|
|
Characters displayed in LCD are not truncated or faint.
|
LCD is okay.
|
|
Other than above.
|
Replace base unit.
|
||
3. Turn the audio off or the ignition switch to the LOCK position to stop the diagnostic assist function.
1. With audio on, first press the POWER button, then simultaneously press the TAPE/MD button for approximately 1 second.
2. Inspect the button according to the following table:
|
Inspection
|
Display
|
Action
|
|
|---|---|---|---|
|
• Start button inspection mode.
• Press the all buttons.
|
-
|
Buzzer sounds.
|
Button is okay.
|
|
Buzzer does not sound.
|
Replace base unit.
|
||
3. Turn the audio off or the ignition switch to the LOCK position to stop the diagnostic assist function.
1. With audio on, first press the POWER button, then simultaneously press the AUTO-M button for approximately 1 second.
2. Inspect the speaker according to the following table:
3. Turn the audio off or the ignition switch to the LOCK position to stop the diagnostic assist function.
1. With audio on and at radio mode, first press the POWER button, then simultaneously press the preset button "2" for approximately 1 second.
2. Inspect the radio reception condition according to the following table:
3. Turn the audio off or the ignition switch to the LOCK position to stop the diagnostic assist function.
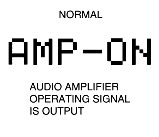
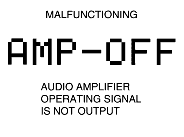
1. With audio on, first press the POWER button, then simultaneously press the SCAN button for approximately 1 second.
2. Inspect the audio amplifier (external) according to the following table:
3. Turn the audio off or the ignition switch to the LOCK position to stop the diagnostic assist function.