|
am6zzw00011334
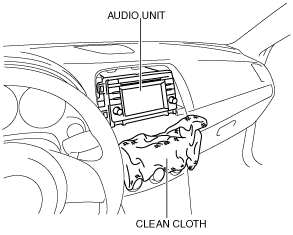
AUDIO UNIT REMOVAL/INSTALLATION
id092000805500
Removal
1. Disconnect the negative battery cable.
2. Remove the decoration panel. (See DECORATION PANEL REMOVAL/INSTALLATION.)
3. Remove the center panel. (See CENTER PANEL REMOVAL/INSTALLATION.)
4. Remove the bolt.
am6zzw00011334
|
5. Remove the screws.
ac5jjw00000116
|
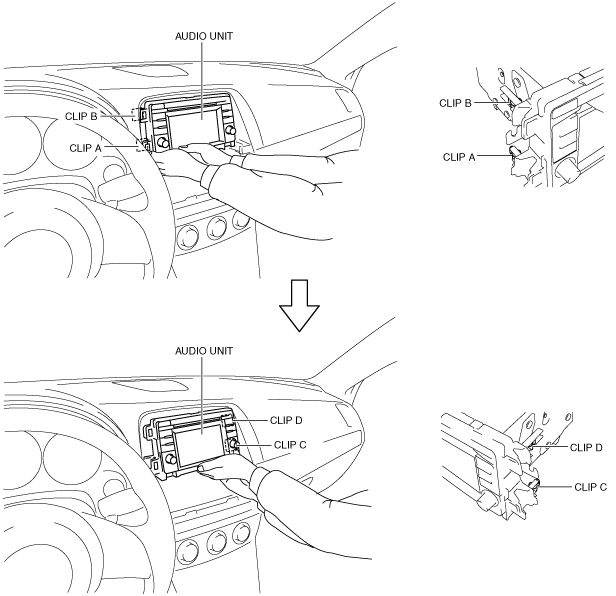
6. Hold the audio unit in the position shown in the figure and pull it outward to disengage clips A, B, C, and D from the instrument panel.
ac5jjw00001242
|
7. Disconnect the connectors.
ac5jjw00001241
|
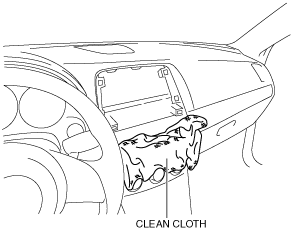
8. Remove the audio unit.
Installation
ac5jjw00001243
|
1. Connect all the connectors.
ac5jjw00001241
|
2. Temporarily position the audio unit on the ribs and align the hole positions of the instrument panel with clips.
ac5wzw00002365
|
3. Press the audio unit in the position shown in the figure and engage clips to the instrument panel.
am6zzw00011473
|
4. Install the screws.
am6zzw00011334
|
5. Install the bolt.
6. Install the center panel. (See CENTER PANEL REMOVAL/INSTALLATION.)
7. Install the decoration panel. (See DECORATION PANEL REMOVAL/INSTALLATION.)
8. Connect the negative battery cable. (See NEGATIVE BATTERY CABLE DISCONNECTION/CONNECTION [SKYACTIV-D 2.2].) (See NEGATIVE BATTERY CABLE DISCONNECTION/CONNECTION [SKYACTIV-G 2.0, SKYACTIV-G 2.5].) (See NEGATIVE BATTERY CABLE DISCONNECTION/CONNECTION [SKYACTIV-G 2.0, SKYACTIV-G 2.5 (WITHOUT i-stop)].)