|
am6zzw00009331
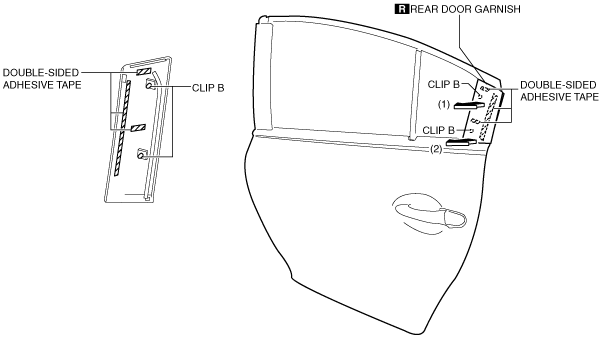
REAR DOOR GARNISH REMOVAL/INSTALLATION
id091600445700
Front
1. Remove the rear beltline molding. (See REAR BELTLINE MOLDING REMOVAL/INSTALLATION.)
2. Using a tape-wrapped fastener remover, remove clips A in the direction of arrow (1), (2) shown in the figure.
am6zzw00009331
|
3. Remove the double-sided adhesive tape in the position shown in the figure using the utility knife, remove the rear door garnish from the rear door sash.
4. Install in the reverse order of removal. (See Rear Door Garnish Installation Note.)
Rear
1. Remove the rear beltline molding. (See REAR BELTLINE MOLDING REMOVAL/INSTALLATION.)
2. Using a tape-wrapped fastener remover, remove clips B in the direction of arrow (1), (2) shown in the figure.
am6zzw00010142
|
3. Remove the double-sided adhesive tape in the position shown in the figure using the utility knife, remove the rear door garnish from the rear door sash.
4. Install in the reverse order of removal. (See Rear Door Garnish Installation Note.)
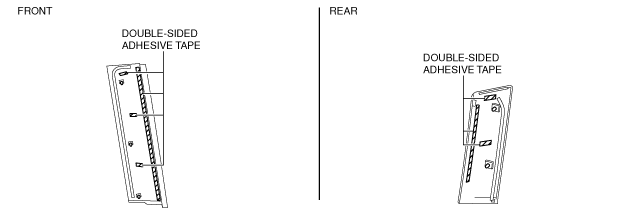
Rear Door Garnish Installation Note
1. When installing a new rear door garnish, perform the following procedure:
am6xuw00005482
|