 |
atraaw00001931
WINDSHIELD INSTALLATION
id091200801400
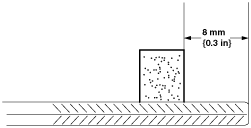
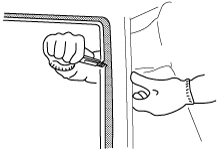
1. Cut away the old sealant using a razor so that a 1—2 mm {0.04—0.078 in} thickness of sealant remains along the perimeter of the frame.
atraaw00001931
|
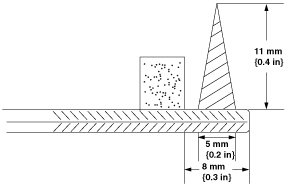
2. If the sealant has come off completely in any one place, apply some primer after degreasing, and allow it to dry for approx. 30 min. Then apply a 2 mm {0.79 in} thickness of sealant.
3. If reinstalling the original windshield, remove the excess sealant and windshield molding.
4. Clean the windshield surface with an alcohol-free cleaner. Make sure the ceramic coated area applied with the sealant is clean.
5. Apply glass primer on the glass, and body primer on the body and the molding, then allow it to dry for approx. 30 min.
6. Apply the dam to the bottom of the windshield.
atraaw00002522
|
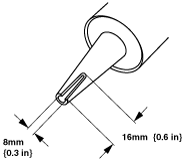
7. Cut the sealant applicator tip to specification.
atraaw00002523
|
8. Apply a bead of sealant to the top of the windshield.
atraaw00002524
|
9. Apply a bead of sealant to the bottom of the windshield outside the dam.
bue0912w032
|
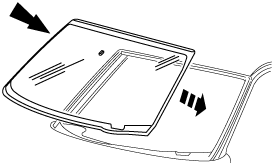
10. Install the windshield aligning it to the marks previously made.
atraaw00002525
|
11. After the windshield is set, check for water leaks and add sealant where needed.
12. If necessary, remove excess sealant from the outside surface of the windshield.
13. Install the cowl grille.
14. Reposition the front portion of the headliner.
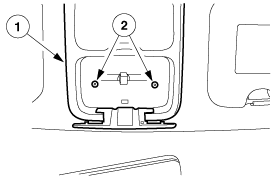
15. Install the overhead console.
atraaw00002526
|
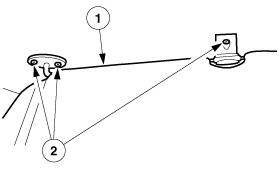
16. Install the two sunvisors and two clips.
atraaw00002527
|
17. Install the rearview mirror. (SeeREARVIEW MIRROR REMOVAL)
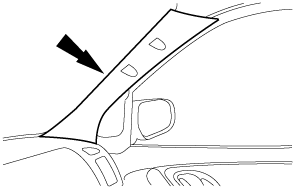
18. Install the two A-pillar trims.
atraaw00002528
|
19. Install the two A-pillar assist handles.
20. Install the driver and passenger assist handles.