Body - Paint Chip Repair Procedure
Group: 00Number: 02-03
Date: Aug. 1, 2002
Subject:
Paint Finish, Repairing Stone Chips
Model(s):
All
Condition
Paint finish requires repair due to stone chips.
Service

- Minor stone chips in the paint finish can be repaired using the following procedure and tool Number VAS 6083 the "Stone Chip Repair System" from Innotec.
Step 1. - Surface, preparation
Before starting any repairs:
- Wash repair surface(s) with soap and water.
- Remove any soiling, grease and silicone from repair Surface(s).
- Remove any old paint residue, with Innotec Thinning agent (included in kit).

- Treat parts with Innotec adhesion activator (included in kit) by applying with a clean MULTI WIPE cloth.
- Once applied, rub dry with a clean dry cloth.
- Allow surface to dry for approx. 1 minute.
Note:
Due to the quick drying time of the stone chip repair color, it may be necessary to divide the repair into smaller more manageable segments.
Step 2. - Color application

- Find best color match from finish repair kit color matching cards.
- Using the number on the back of the card, match with the corresponding number on the top of the paint cap of the supplied paint colors.
Note:
Shake repair color well before use.
^ Repair colors dry quickly

- Always pour a small amount of paint to a clean mixing cup and recap bottle immediately.
Note:
It may be necessary to tint the repair color to obtain best color match.
If viscosity of repair color is too high (too thick), add thinning agent (included in kit).
- Tint and/or thin (in mixing cup) as necessary.

- Apply repair color to stone chip using appropriate brush from kit (resting your little finger on vehicle will assist in steadying your hand while applying color).
Note:
For deep stone chips, it may be necessary to apply color a second or third time. If so, then apply second and third coats at 5 minute intervals.
Allow repaired surface to dry for minimum 10 minutes and maximum of 30 minutes.
Step 3. - Applying Repair Finish to repairs

- Fold a clean MULTI WIPE (twice) around the plastic applicator (included in kit).
Note:
MULTI WIPE cloth may be cut in half to minimize waste.

- At the same time, ready the polishing block by, wrapping the block (once) with a clean MULTI WIPE.
Once applicator and polishing block have been prepared (wrapped with MULTI WIPES):
Note:
Shake Repair Finish prior to and during use.

- Apply Repair Finish to the flat surface of the cloth covered applicator.
- Apply Repair Finish to the repaired surface using the cloth covered applicator.
Note:
Only treat 50 sq. cm (approx. 8 sq. in.) or less at a time.
Allow finish to work approx. 5 seconds.

- Rub polishing block in circular motion to smooth repair color to correct level.
Immediately after using polishing block:
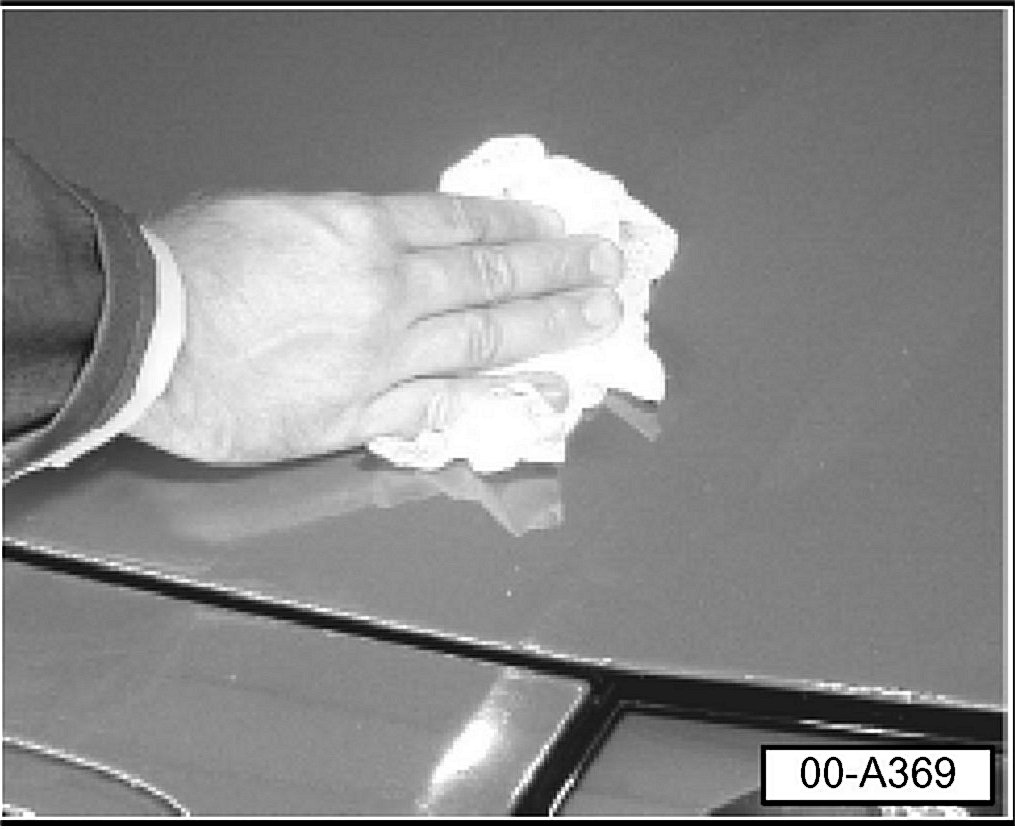
- Rub the repaired surface with a clean dry MULTI WIPE.
- Repeat procedure as necessary for any additional areas.
Once all repairs have been completed to a particular body part (hood, fender, door etc.):

- Apply a coat of Repair Finish to complete body part using a clean dry MULTI WIPE.
- Once body part has dried, rub area with a clean dry MULTI WIPE.
- Rub treated surface with a damp Innotec "Inno-Cleaner" cleaner cloth (included in kit).
- Rub surface with a clean dry cloth until required gloss is obtained.
Step 4. - Applying Innotec Paint Shield
For optimal protection and gloss, treat the surface with Innotec Paint Shield (a Teflon-based product which will protect the surface for approx. 6 months) as follows:

- Apply Innotec Paint Shield to a clean dry MULTI WIPE.
- Using slow circular motion, apply a coat of Paint Shield to the complete body part.
- Allow surface to dry.
- Rub surface again with a clean dry MULTI WIPE until required gloss is obtained.
Once Paint shield has been applied and required gloss is obtained:
- Rub treated surface with a damp Innotec "Inno-Cleaner" cleaner cloth again (included in kit).
- Rub surface with a clean dry cloth until required gloss is obtained.