Exhaust Manifold Replacement - Left Side
Exhaust Manifold Replacement - Left Side
Removal Procedure

1. Remove the front engine mount bracket. Refer to Engine Front Mount Bracket Replacement (Engine Front Mount Bracket Replacement).
2. Remove the connector position assurance (CPA) retainer.
3. Disconnect the engine harness electrical connector (3) from the heated oxygen sensor (HO2S).
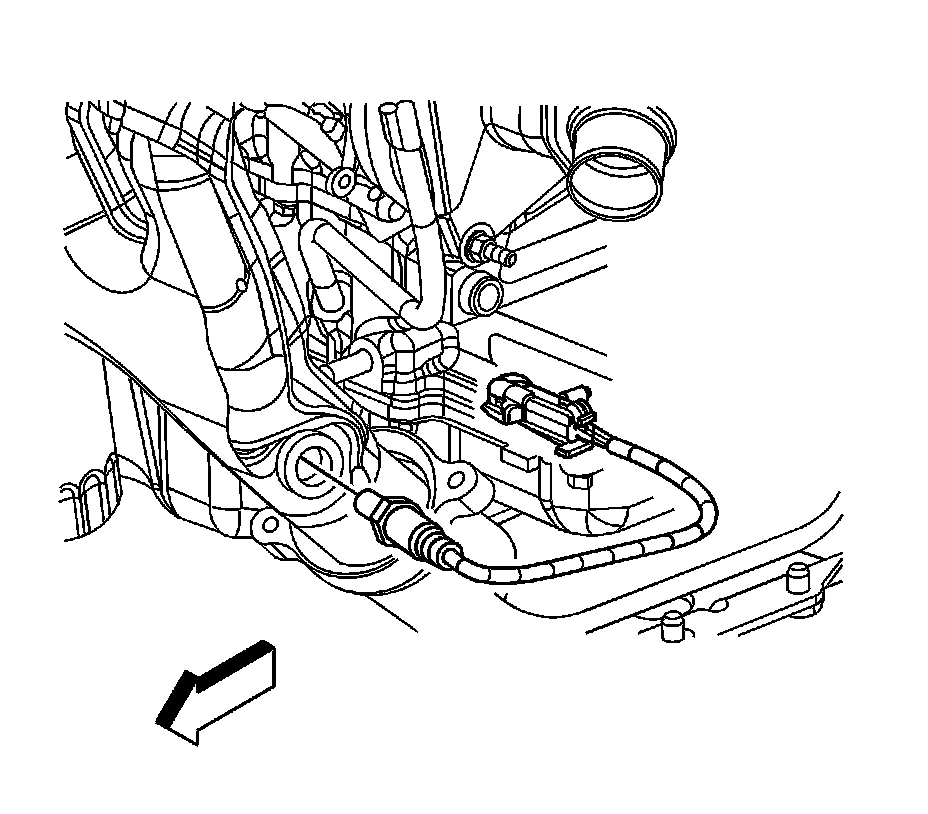
4. Remove the HO2S.

5. Remove the exhaust manifold front pipe bolts (2).

6. Remove the exhaust manifold bolts.
7. Remove the exhaust manifold (2).
8. Remove and discard the exhaust manifold gasket (1).
9. Remove and discard the front exhaust manifold pipe seal.
10. Remove the front exhaust manifold pipe flange.
Installation Procedure
1. Install the front exhaust manifold pipe flange and a NEW seal onto the exhaust manifold.
2. Insert the upper right exhaust manifold bolt to the manifold in this location (2).
3. Place the NEW exhaust manifold gasket over the bolt and against the manifold.
4. Insert the exhaust manifold into the front exhaust manifold pipe and against the cylinder head.
5. Finger start the exhaust manifold bolt.
Caution: Refer to Fastener Caution (Fastener Caution).
6. Install the remaining exhaust manifold bolts and tighten all exhaust manifold bolts starting from right to left beginning with the bolt in this location (2). Tighten the bolts 25 Nm (18 lb ft)
7. Install the exhaust manifold front pipe bolts (2).
8. If reusing the old HO2S, coat the threads with anti-sieze compound, GM P/N 12377953 or equivalent.
9. Install the HO2S and tighten to 41 Nm (30 lb ft).
10. Connect the engine harness electrical connector (3) to the HO2S.
11. Install the CPA retainer.
12. Install the front engine mount bracket. Refer to Engine Front Mount Bracket Replacement (Engine Front Mount Bracket Replacement).