Tail Lamp: Service and Repair
TAIL LAMP REPLACEMENTREMOVAL PROCEDURE
1. From underneath the vehicle, remove tail lamp socket from the lamp and rotate counter clockwise to disengage the socket from the lamp.
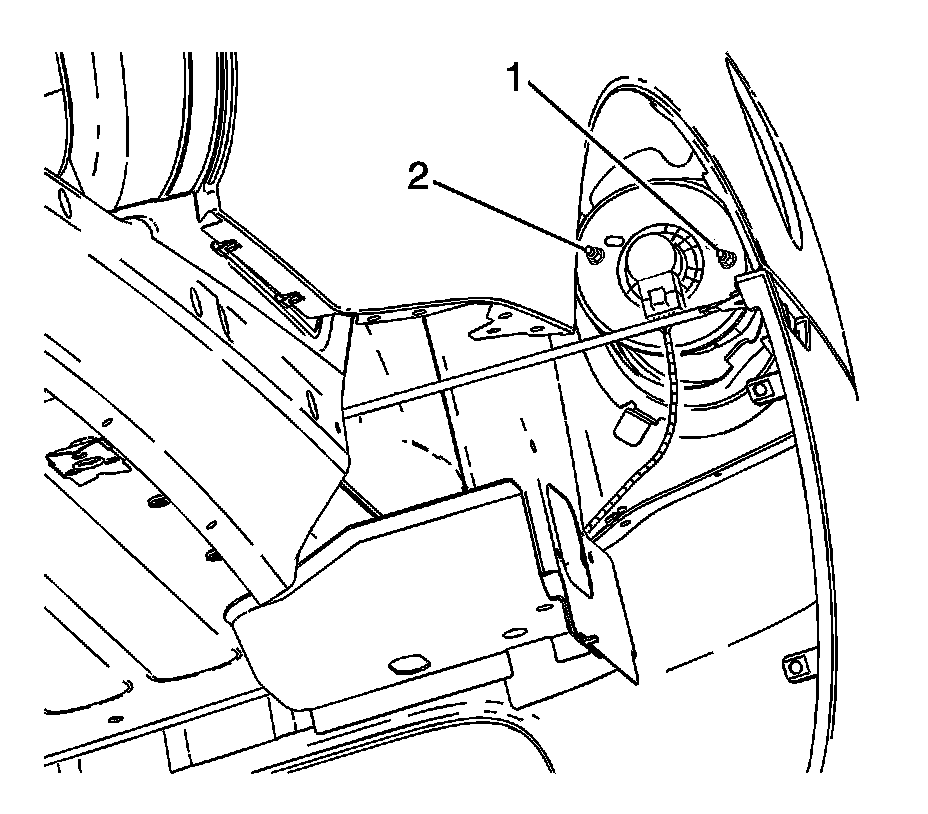
2. Remove the fasteners from the tail lamp studs (1, 2).
3. Remove the lamp from vehicle.
INSTALLATION PROCEDURE
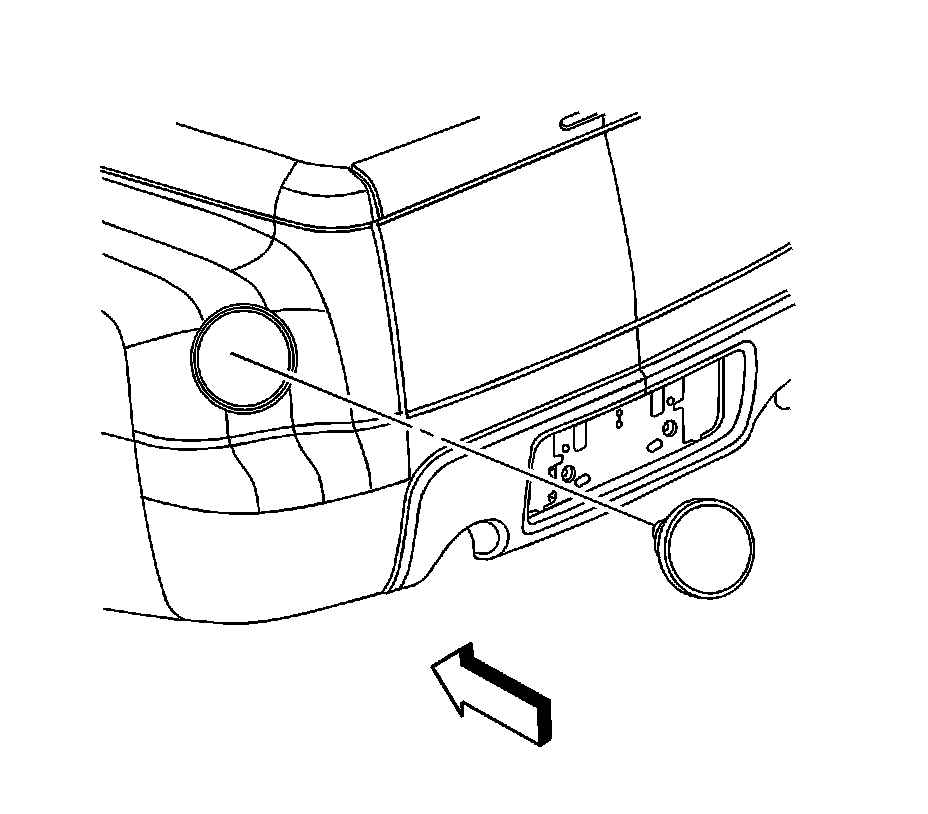
1. Position the lamp to the opening in the rear body panel.
2. Insert the lamp into the opening.
3. Install the tail lamp fasteners onto the tail lamp studs (1, 2) in sequence 1 and 2. Hand tighten only.
NOTE: Refer to Fastener Notice in Service Precautions.
Tighten the fasteners in sequence 1 and 2 to 6 N.m (53 lb in).
4. From underneath the vehicle, insert the tail lamp socket into the lamp and rotate clockwise to fully seat the socket.