Horn: Service and Repair
HORN REPLACEMENTREMOVAL PROCEDURE
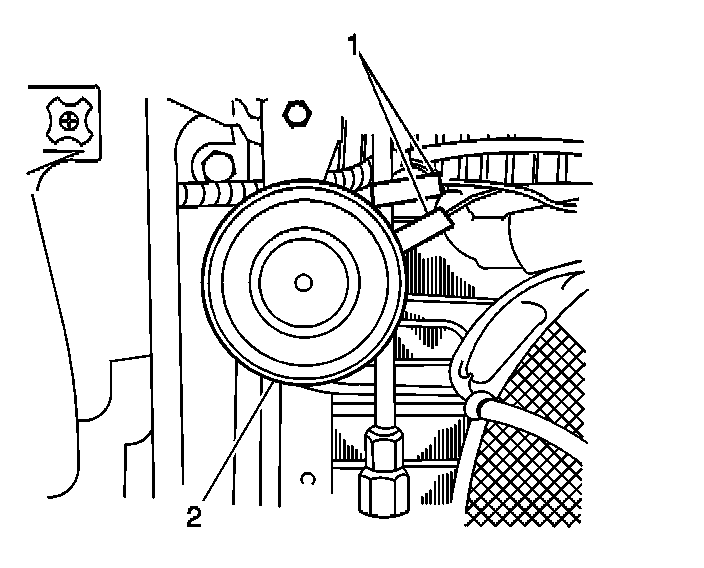
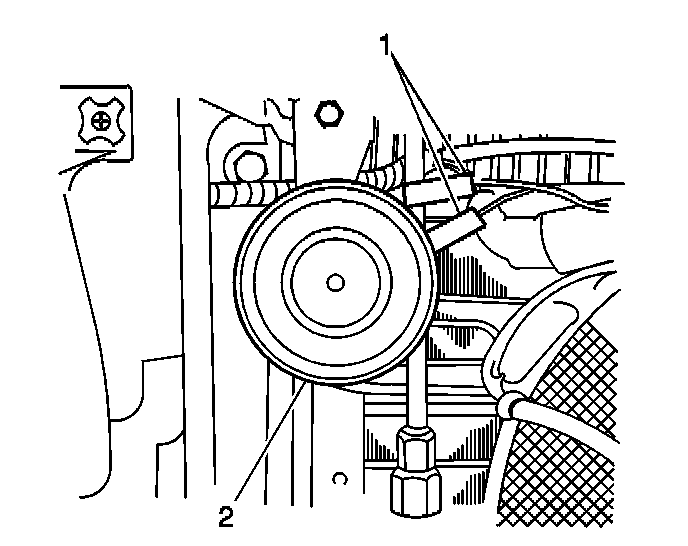
The horn is located behind the radiator grille to the left of the right headlamp assembly.
1. Remove the radiator grille.
2. Disconnect the horn electrical connectors (1).
3. Remove the horn mounting bolt which secures the horn (2) to the radiator core support.
4. Remove the horn (2) from the vehicle.
5. Remove the following components from the horn, if necessary:
5.1. The nut
5.2. The horn bracket
INSTALLATION PROCEDURE
1. Install the horn to the horn bracket, if removed. Secure the horn with the nut.
NOTE: Refer to Fastener Notice in Service Precautions.
Tighten
Tighten the horn bracket nut to 10 N.m (89 lb in).
2. Install the horn (2) to the vehicle. Secure the horn with the mounting bolt.
Tighten
Tighten the horn mounting bolt to 10 N.m (89 lb in).
3. Connect the horn electrical connectors (1).
4. Install the radiator grille.