Differential Assembly Installation
- Tools Required:- J 36612 Bearing Installer
- J 8092 Driver Handle
- J 36599 Sleeve Adjusting Wrench
- J 36603 Side Bearing Cup Installer
INSTALL OR CONNECT
NOTICE: Always use the correct fastener in the proper location. When you replace a fastener, use ONLY the exact part number for that application. The manufacturer will call out those fasteners that require a replacement after removal. The manufacturer will also call out the fasteners that require thread lockers or thread sealant. UNLESS OTHERWISE SPECIFIED, do not use supplemental coatings (paints, greases, or other corrosion inhibitors on threaded fasteners or fastener joint interfaces. Generally, such coatings adversely affect the fastener torque and joint clamping force, and may damage the fastener. When you install fasteners, use the correct tightening sequence and specifications. Following these instructions can help you avoid damage to parts and systems.
1. Bearings to the sleeves.
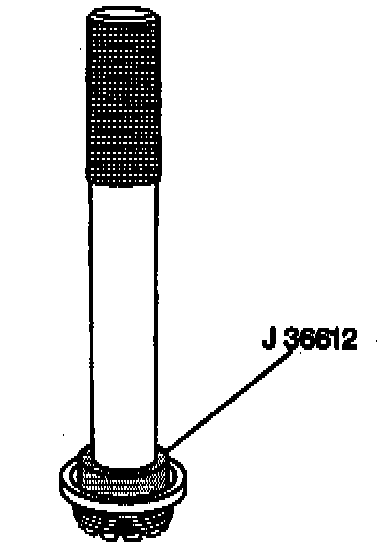
- Use J 8092 and J 36612.
2. Sleeves and/or adjuster plug to the carrier case.
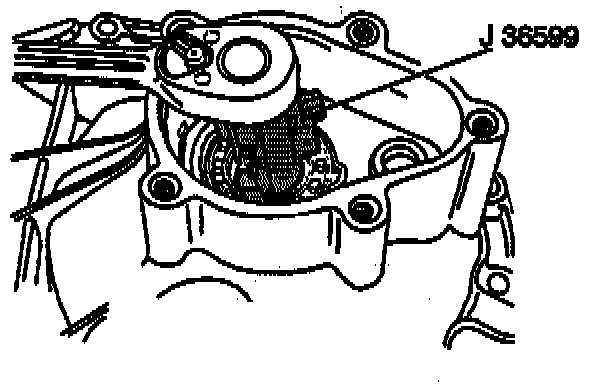
- K1 and K2 models: Use J 36599.
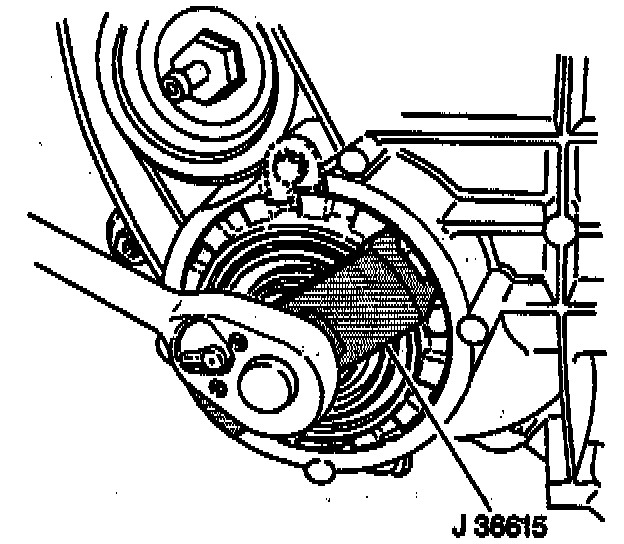
- K3 models: Use J 36599 for the right sleeve. Use J 36615 for the adjuster plug.
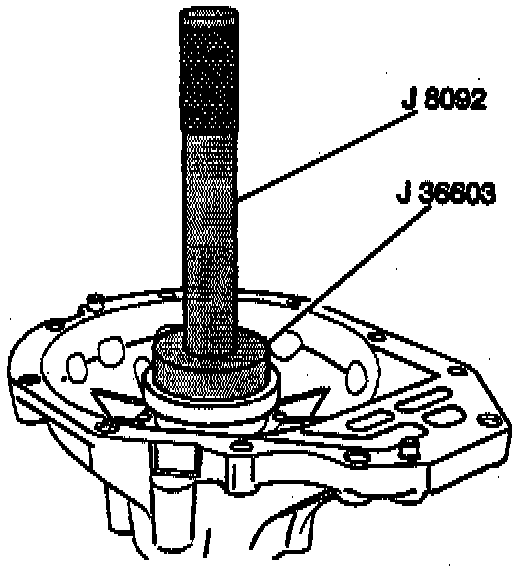
3. Side bearing cups. Use J 36603 with J 8092.
4. Differential assembly to the carrier case half.
- Place the differential assembly into the carrier case half which contains the pinion gear.
- Turn the left sleeve in until backlash is felt between the ring and pinion.
- Use J 36599.
- Remove the carrier case from J 36599.
5. Carrier case halves. Do not use sealer at this time.
- If the carrier halves do not make complete contact, back out the right sleeve. Use J 36599.
6. Bolts.
- Tighten bolts to 47 Nm (35 ft. lbs.).