Removal and Installation
ENGINE AND TRANSAXLE ASSEMBLYREMOVAL
1. Remove the battery and engine cover.
2. Remove the battery stay.
3. Detach the air cleaner.
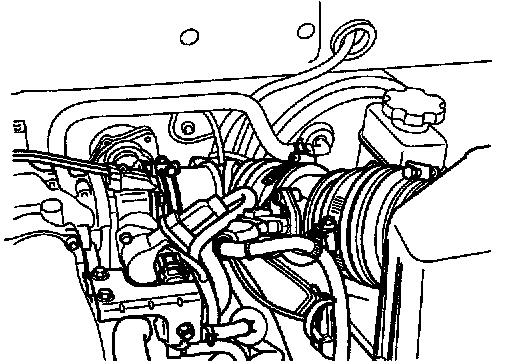

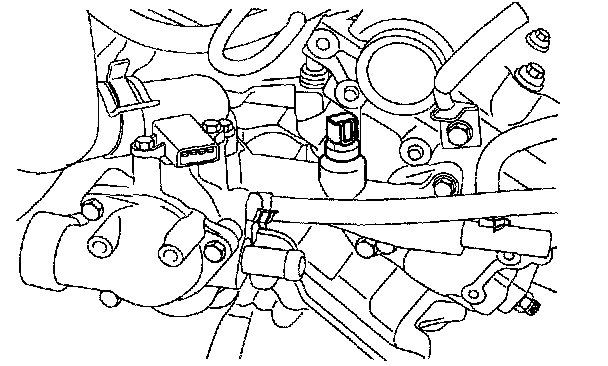
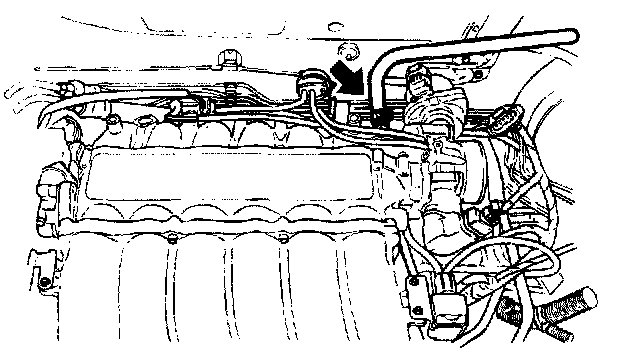
4. Disconnect the connectors from the engine harness.
1. Alternator, starter
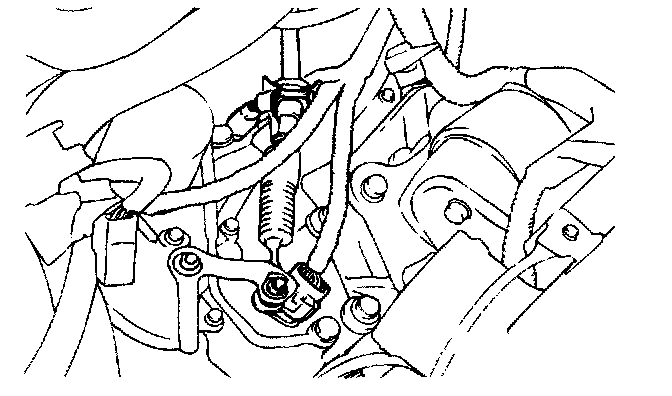
2. Power steering switch connector, oil pressure gauge connector, air conditioner switch
3. Injector connectors
4. Back up lamp switch connector
5. A/T solenoid, inhibitor switch connector
6. Coolant temperature
7. Ignition coils, power TR connector.
8. Idle Speed Control Valve (ISC) connector.
9. AFS and ATS connectors
10. Oxygen sensor connector etc.
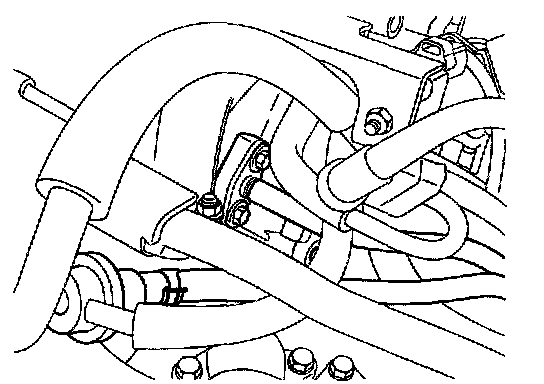
5. Disconnect the transaxle oil cooler hoses (A/T).
NOTE: When disconnecting hoses, make identification marks to avoid making any mistake when installing them again.
CAUTION: Be careful not to spill any of the oil or fluid from the hoses. Plug the openings to prevent the entry of foreign material.

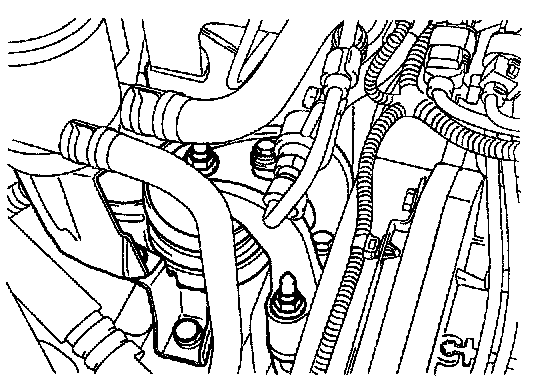
6. Disconnect the radiator upper and lower hoses on the engine side.
7. Disconnect the engine ground and transaxle ground.
8. Disconnect the brake booster vacuum hose.
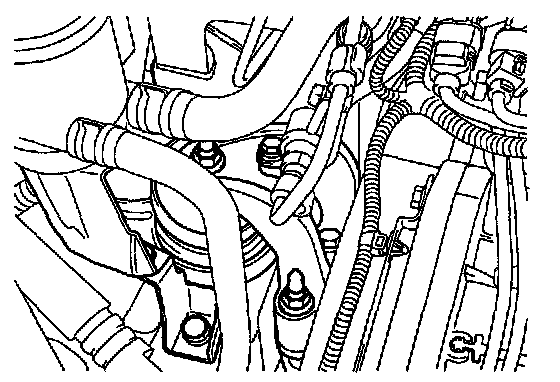
9. Disconnect the heater hoses (inlet and outlet) on the engine side.
10. Remove the main fuel line (supply and return) at the delivery pipe.
11. Disconnect the speedometer cable from the transaxle.
12. Disconnect the control cable from the transaxle.
13. Remove the power steering hose from the engine mount bracket.
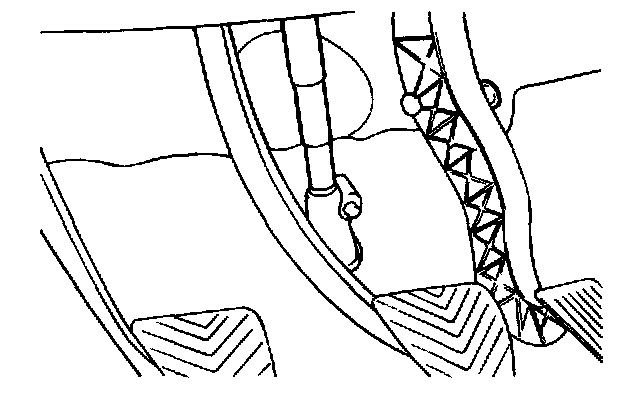
14. Detach the steering dust cover in the engine compartment and then disconnect the gear box universal joint bolt.
NOTE; Make sure to make identification marks between the universal joint and the gear box for reassembly.
15. Raise the vehicle and then remove the front tire.
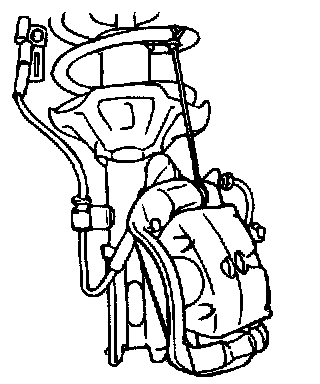
16. Remove the caliper assembly from knuckle and hold the upper side.
17. Loosen the strut lower bolt and separate from the knuckle.

18. Remove the wheel speed sensor from the knuckle.
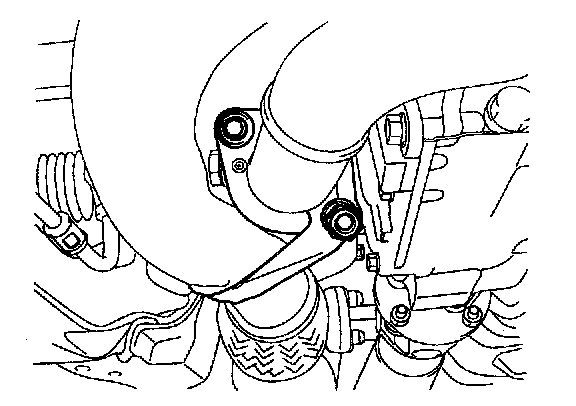
19. Remove the front muffler bolts.
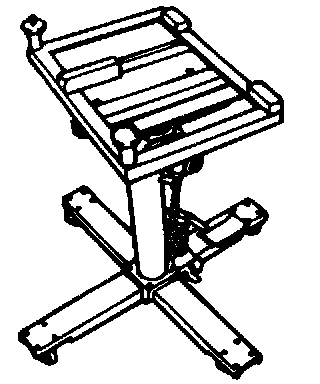
20. Put the special fixture on the T/M jack and then adjust it to the sub-frame.
NOTE: Check that all the cables, harness connector and hoses are disconnected from the engine and transaxle assembly.
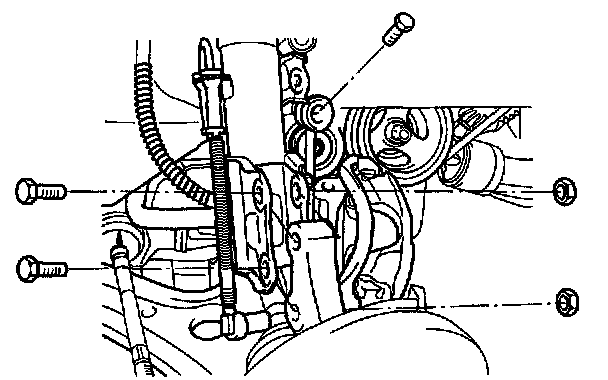
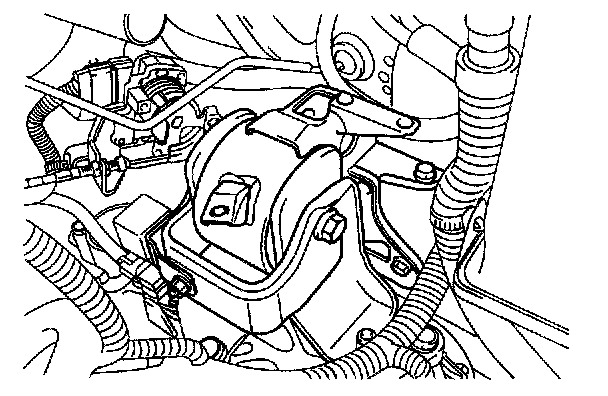
21. Remove the engine mount bolts.
22. Remove the bolts and nuts that fasten the engine mount bracket to the body.
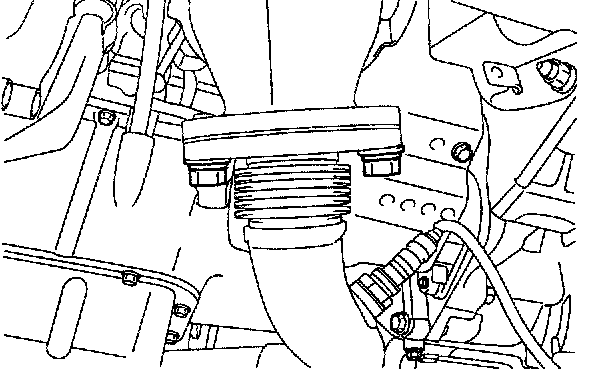
23. Remove the transaxle mounting bracket bolts.
24. Remove the left mount insulator bolt.
25. Remove the cross member fixing bolts.
26. While directing the transaxle side downward, lift the engine and transaxle assembly up and out of the vehicle.
INSTALLATION
Installation is the reverse order of removal.