Disassembly
DISASSEMBLY


1. Remove electrohydraulic unit from the vehicle.
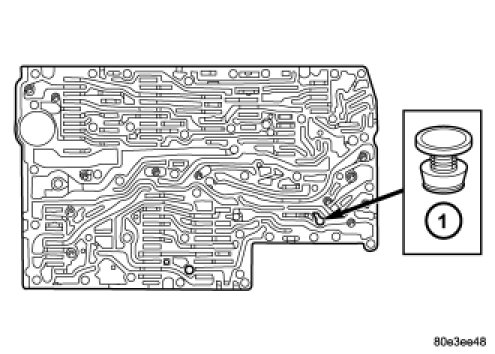
2. Remove solenoid caps (1, 2).
3. Unscrew Torx(R) socket bolts (3, 4).
NOTE: Pay attention to the different lengths of the Torx(R) socket bolts.
4. Remove leaf springs (5).
5. Withdraw solenoid valves (6 - 11) from shift plate (13).
NOTE: Check O-rings on solenoid valves for damage and replace if necessary.
6. Bend away retaining lug on stiffening rib on transmission oil temperature sensor.
7. Remove electrohydraulic control module (12) from the shift plate (13).

8. Note the locations of the major shift valve group components for assembly reference.
- A - Operating and Lubricating Pressure Regulating valves and 2 - 3 Overlap valve
- B - 1 - 2 / 4 - 5 Shift Group and Shift, Shift Valve, and Regulating Valve Pressure Regulating Valves
- C - 3 - 4 Shift Group
- D - 2 - 3 Shift Group, TCC Lock-up, and B2 Regulating Valves

NOTE: Pay great attention to cleanliness for all work on the shift plate. Fluffy cloths must not be used. Leather cloths are particularly good. After dismantling, all parts must be washed and blown out with compressed-air, noting that parts may be blown away.
9. Unbolt leaf spring (5).
10. Unscrew Torx(R) bolts (1).
11. Remove valve housing (2) from valve body (4).
12. Remove sealing plate (3).

13. Remove the strainers (1) for the modulating pressure and shift pressure control solenoid valves from the valve housing.

14. Remove the strainer (1) in the inlet to torque converter lock-up control solenoid valve.

NOTE: A total of 12 valve balls are located in the valve body, four made from plastic (4) and eight from steel (1, 3).
15. Note the location of all check balls (1, 3, 4) and the central strainer (2) for re-installation. Remove all check balls (1, 3, 4) and the central strainer (2).

16. Remove the screws holding the side covers to the valve body and valve housing.
17. Remove all valves and springs from the valve body (1). Check all valves for ease of movement and shavings.
NOTE: The sleeves and pistons of the overlap regulating valves must not be mixed up.

18. Remove all valves and springs from the valve housing (2). Check all valves for ease of movement and shavings.
19. Remove the pressure supply valve (1) from the valve body.