 |
am3zzw00004426
REFRIGERANT PRESSURE SWITCH REMOVAL/INSTALLATION
id074000802600
1. Disconnect the negative battery cable.
2. Discharge the refrigerant from the system. (See REFRIGERANT CHARGING.)
3. Remove the P/S fluid reserve tank. (L3 Turbo) (See POWER STEERING OIL PUMP REMOVAL/INSTALLATION [L3 Turbo].)
4. Remove the coolant reserve tank. (L3 Turbo) (See COOLANT RESERVE TANK REMOVAL/INSTALLATION [L3 Turbo].)
5. Remove the fuel filter component. (L.H.D., MZR-CD (RF Turbo)) (See FUEL FILTER COMPONENT REMOVAL/INSTALLATION [MZR-CD (RF Turbo)].)
6. Grasp the piping block using pliers and remove the pressure switch using a spanner.
7. Remove in the order indicated in the table.
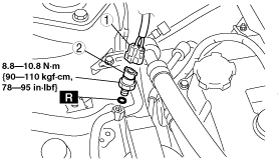
Except (L3 Turbo, MZR-CD (RF Turbo))
am3zzw00004426
|
|
1
|
Refrigerant pressure switch connector
|
|
2
|
Refrigerant pressure switch
|
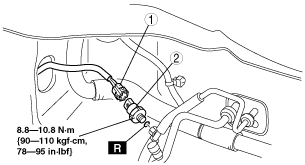
L3 Turbo
am3uuw00000662
|
|
1
|
Refrigerant pressure switch connector
|
|
2
|
Refrigerant pressure switch
|
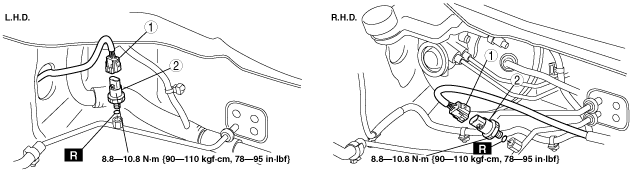
MZR-CD (RF Turbo)
am3zzw00004510
|
|
1
|
Refrigerant pressure switch connector
|
|
2
|
Refrigerant pressure switch
|
8. Install in the reverse order of removal.
9. Perform the refrigerant system performance test. (See REFRIGERANT SYSTEM PERFORMANCE TEST.)
Refrigerant Pressure Switch Installation Note
1. Apply compressor oil to O-ring and connect the joint.