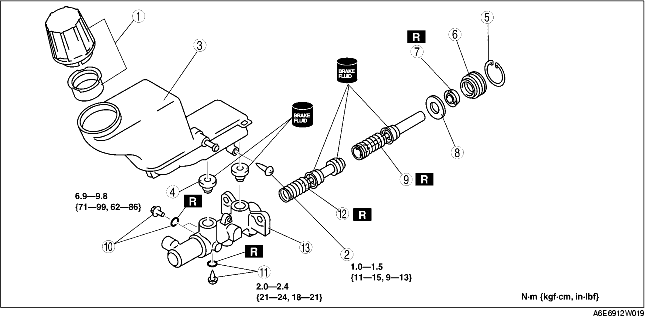
1. Disassemble in the order indicated in the table.
2. Assemble in the reverse order of disassembly.
1. Install the secondary piston and primary piston.
2. Install the new O-ring onto the stop screw.
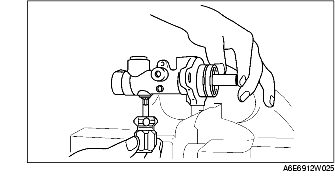
3. Push the primary piston assembly in full.
4. Install and tighten the stop screw.
5. Push and release the secondary piston component to verify that it is held properly by the stop screw.
1. Install the secondary piston with the piston hole facing the stop pin and primary piston.
2. Install the new O-ring onto the stop pin.
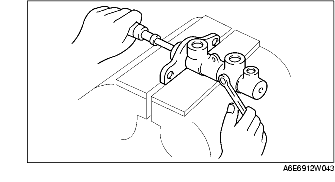
3. Push the primary piston assembly in full.
4. Install and tighten the stop pin.
5. Push and release the secondary piston component to verify that it is held properly by the stop pin.