1. Remove the brake drum. (See BRAKE DRUM REMOVAL/INSTALLATION.)
2. Use the Brake/Clutch/Service Vacuum to remove brake dust and dirt from the brake components.
3. Measure the inner diameter of the brake using a vernier caliper. If the inner diameter is more than the maximum specification shown in the figure, install a new brake drum.
4. Remove the parking brake cable from the operating lever.
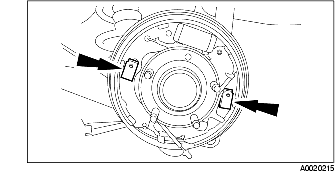
5. Remove the hold springs and the hold pins.
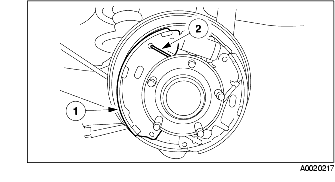
6. Remove the return spring (lower).
7. Remove the brake shoe.
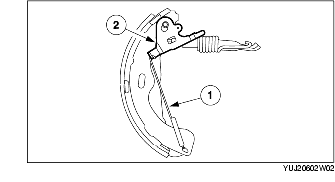
8. Remove the adjuster lever.
9. Remove the adjuster and the return spring as a single unit.
10. Remove the operating lever.
11. Inspect the brake shoes for minimum thickness above the backing plate, and install new brake shoes if necessary.
12. Install in the reverse order of removal.