Replacement
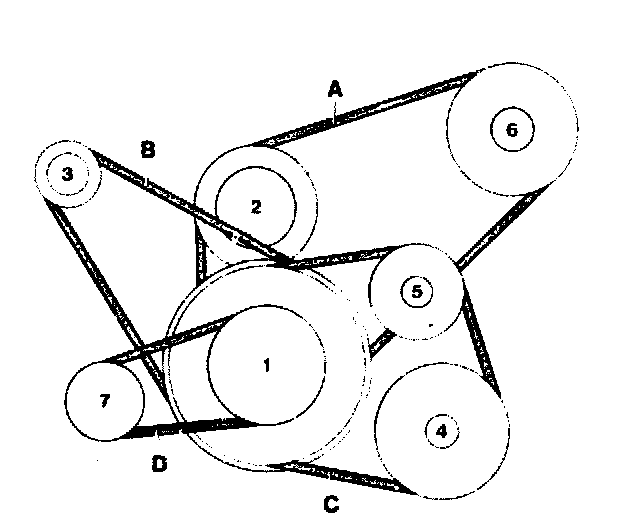
1 Crankshaft
2 Coolant pump
3 Alternator
4 Refrigerant compressor
5 Tension roller
6 Power steering pump
7 Air pump
NOTE: The measuring instrument ,,Krikit" is recommended for testing V-belt tension.
Use of Measuring Instrument:
To check V-belt tension, the measuring instrument can be held in several ways:
a. With thumb and index finger at rubber loop, with finger tips resting on push-button.
b. With index finger from above in rubber loop.
C. With index finger laterally between rubber loop and push-button.
Checkup:
1 Lower indicating arm on measuring instrument.
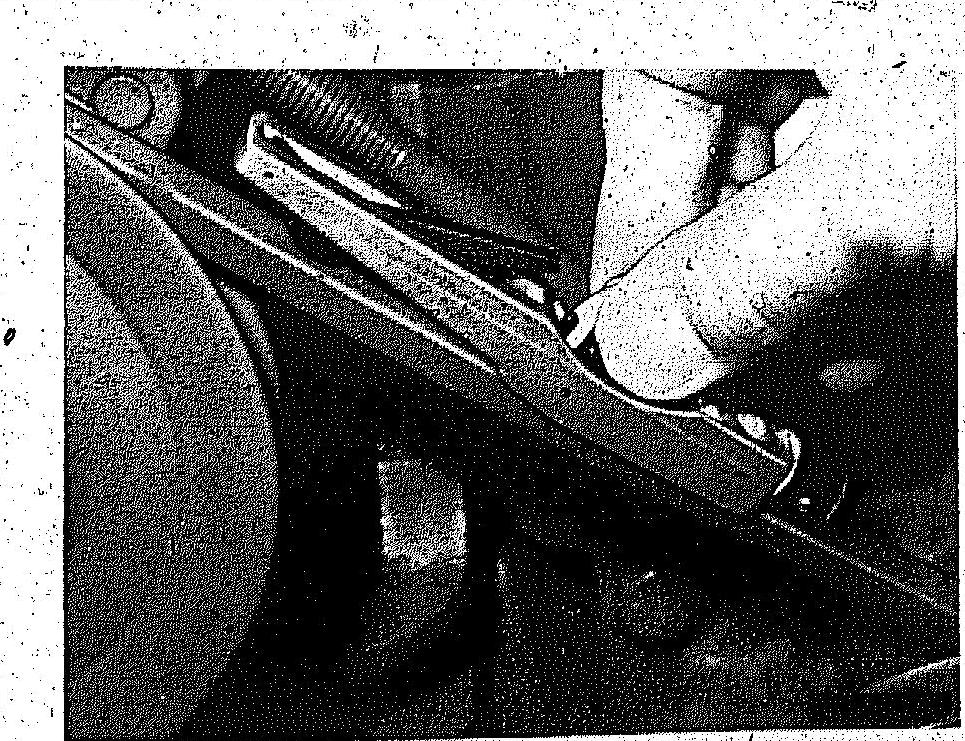
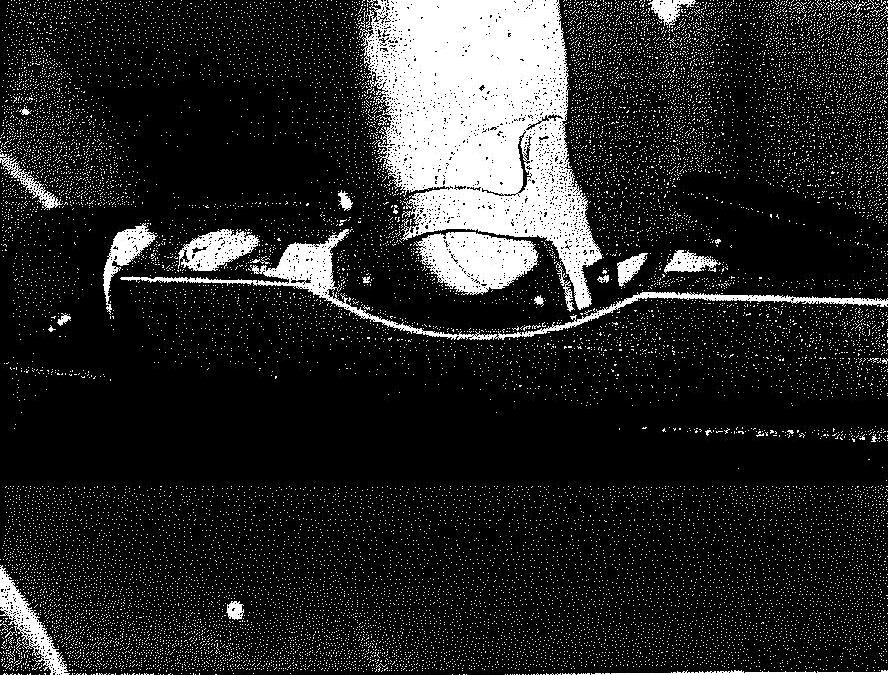
2 Place measuring instrument on V-belt in the center between the pulleys. The stop of the measuring instrument should rest laterally against the V-belt (arrow).
CAUTION: On double belt drive. make sure that the measuring instrument rests on one V-belt only.
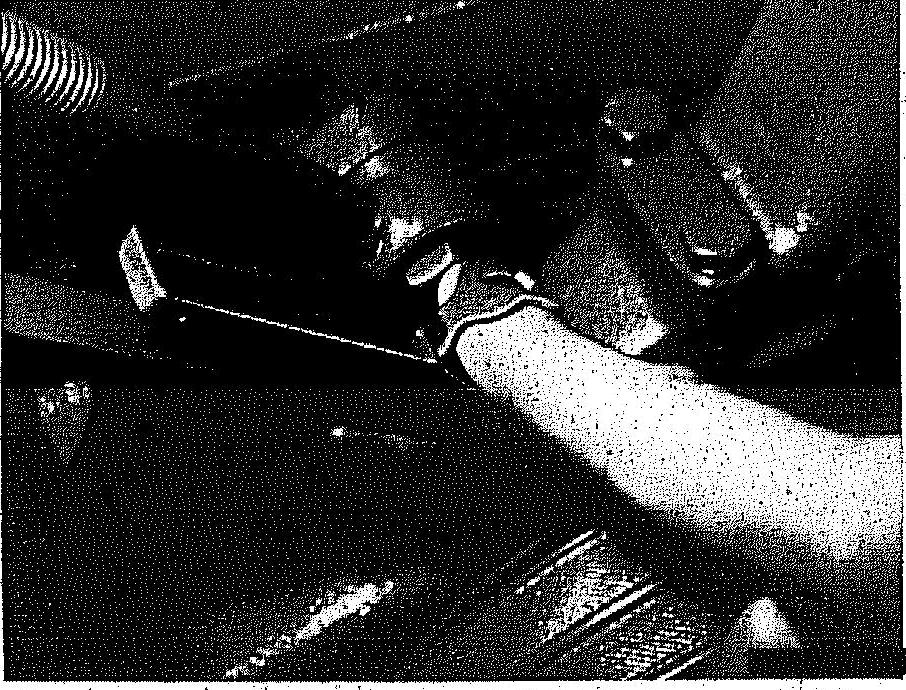
3 Exert even vertical pressure on the top of the V-belt with the push-button until the clicking spring disengages audibly or noticeably.
NOTE: Following disengagement of click spring, do not continue pushing with measuring instrument as this will indicate a wrong value.
4 Carefully lift measuring instrument off V-belt. Avoid knocks and do not change position of indicator arm
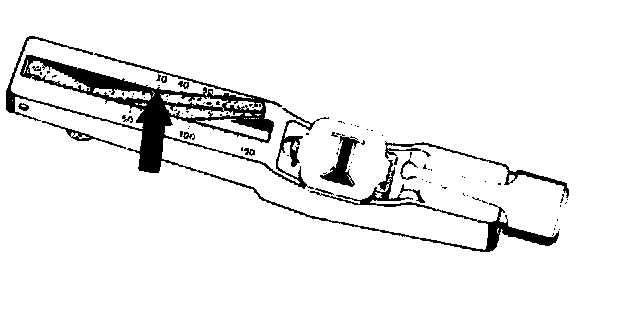
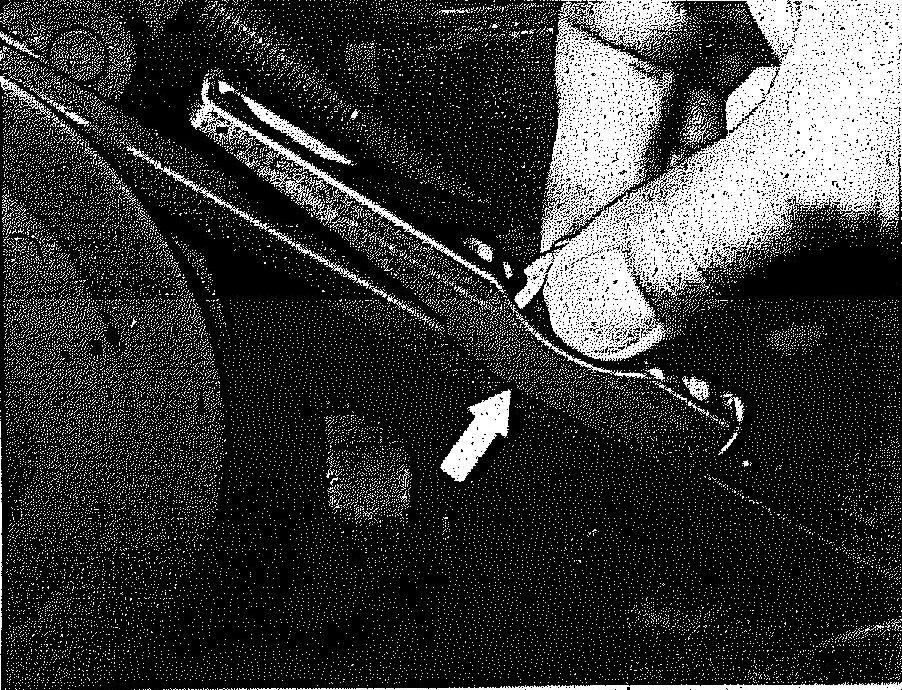
5 Read adjusting value on intersection of indicating arm and upper scale (KG scale, arrow).
The specified adjusting values refer to the KG scale of the measuring instrument
Replacement:
Check condition of V-belt. Replace cracked, burnt or worn V-belt.
CAUTION: If on a double belt drive for coolant pump and power steering pump one of the two V-belts fails due to wear, make sure that both V-belts are replaced together.
Install only V-belts made by one and the same manufacturer. V-belts as spare parts are available in pairs only.
1 Loosen tension devices or units.
2 Mount V-belt without using force.
3 Tension V-belt.
Tensioning:
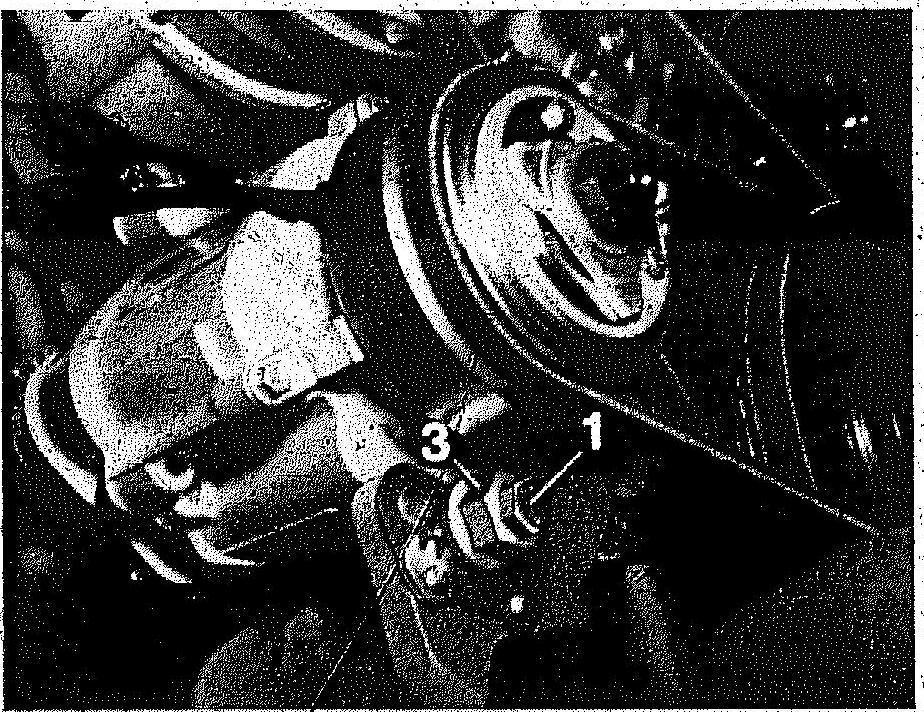
V-belt A Coolant Pump - Power Steering Pump
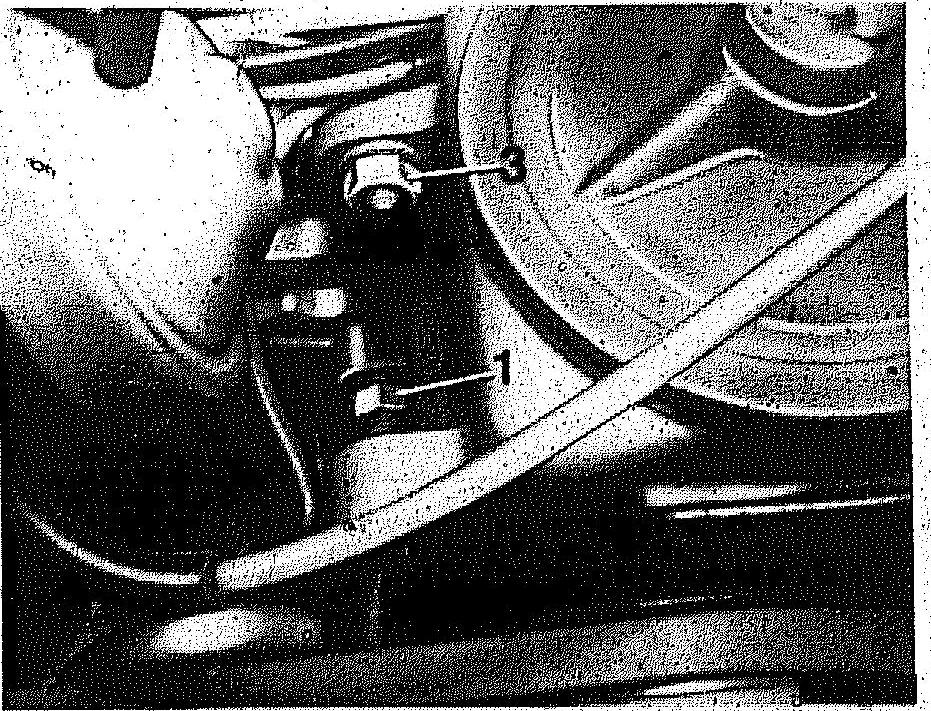
1 Loosen nuts (1,2 and 3 [pivot point]), on power steering pump bracket.
2 Tension V-belt with tension screw (arrow)
3 Tighten nuts(1,2 and 3).
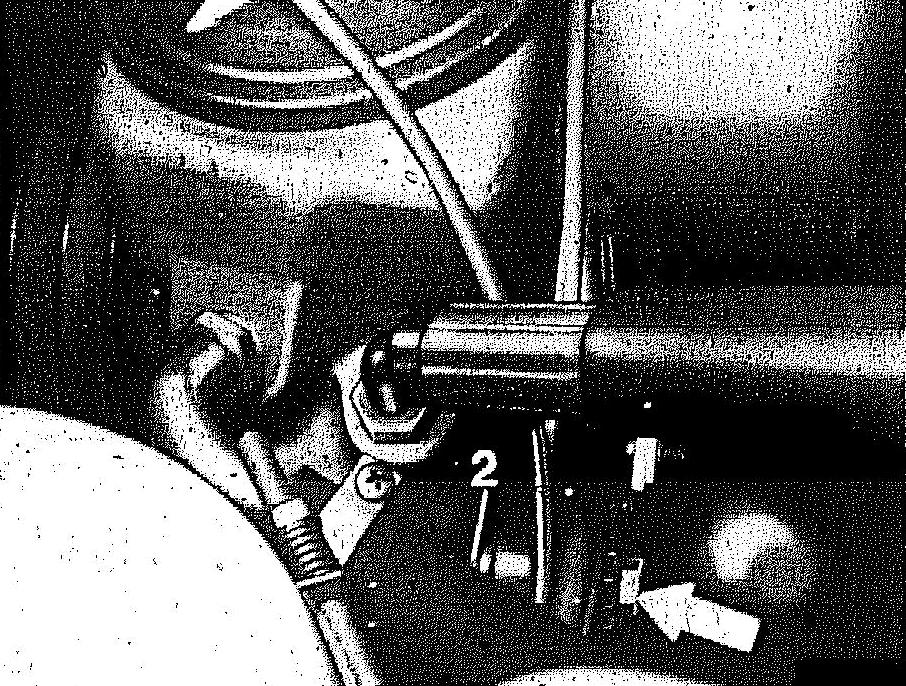
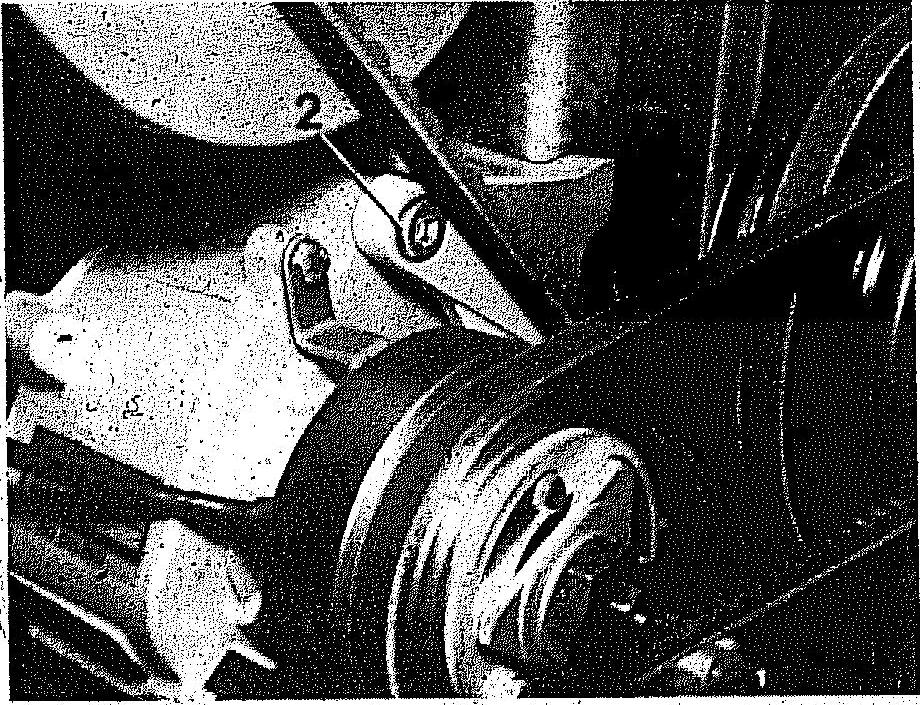
V-belt B Alternator
1 Slightly loosen fastening bolt (1) and nuts (2 and 3) on alternator bracket.
2 Tension V-belt with tension screw (4).
3 Tighten fastening bolt (1) and nuts (2 and 3).
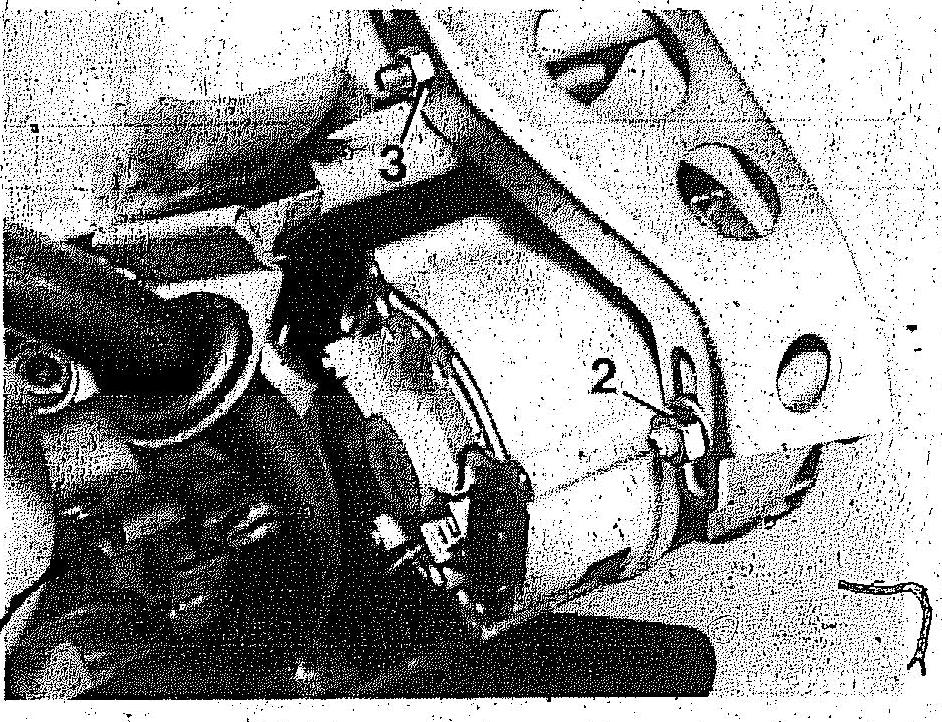
V-belt C Refrigerant Compressor
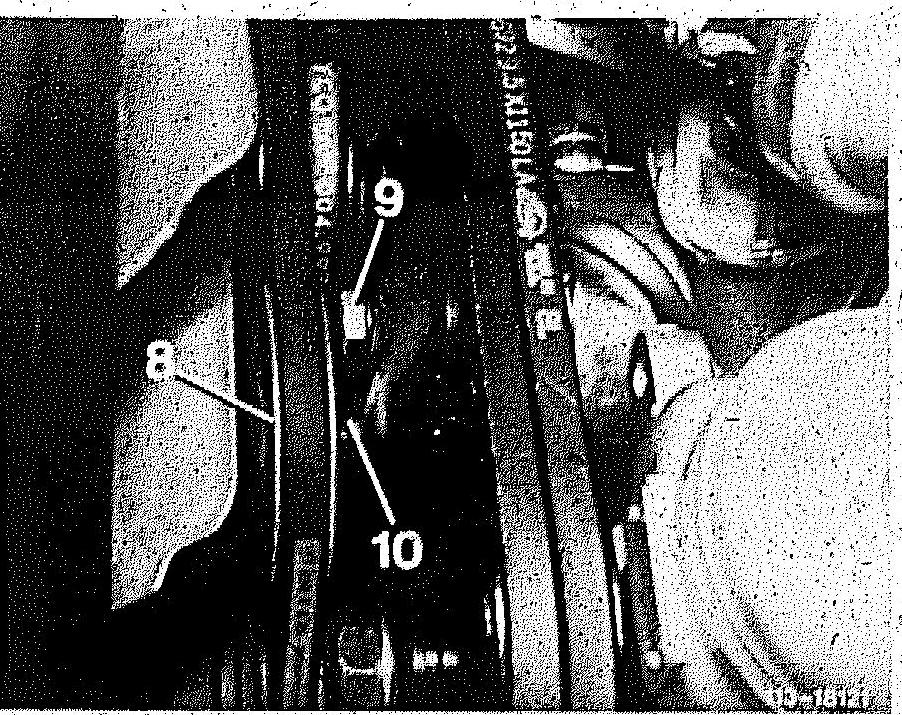
1 Loosen fastening bolt (9) of tension roller (8).
2 Tension V-belt by swivelling tens;on roller (8). For this purpose, fit an open end wrench (19 mm) on the flat (10).
3 Tighten mounting bolt (9).
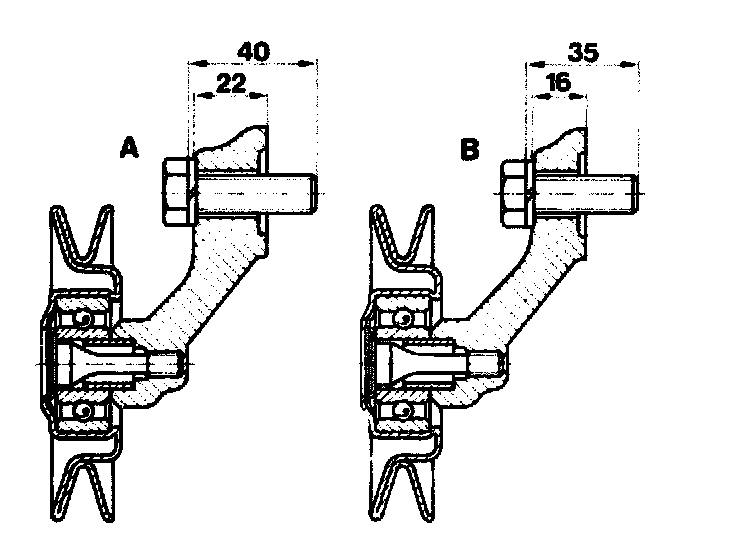
A 1st version
B 2nd version
NOTE: Access to the securing bolt (9) has been improved by using a modified bracket (version B.) Standard as of October 1982.
This bracket is attached with an M 12 x 1.5 x 35 bolt (previously M 12 x 1.5 x 40). When performing repairs. the tensioning Pulley and the bracket can also be installed on engines manufactured prior to this date.
As of November 1985 the bracket for the tensioning pulley is attached by a hexagon socket screw. This screw must be slackened with the 10 mm key 117589030700.
As of June 1987 the bracket for the tensioning Pulley is attached with a hexagon socket screw with an additional hexagon head, waf 17 mm. This provides better access for servicing work.
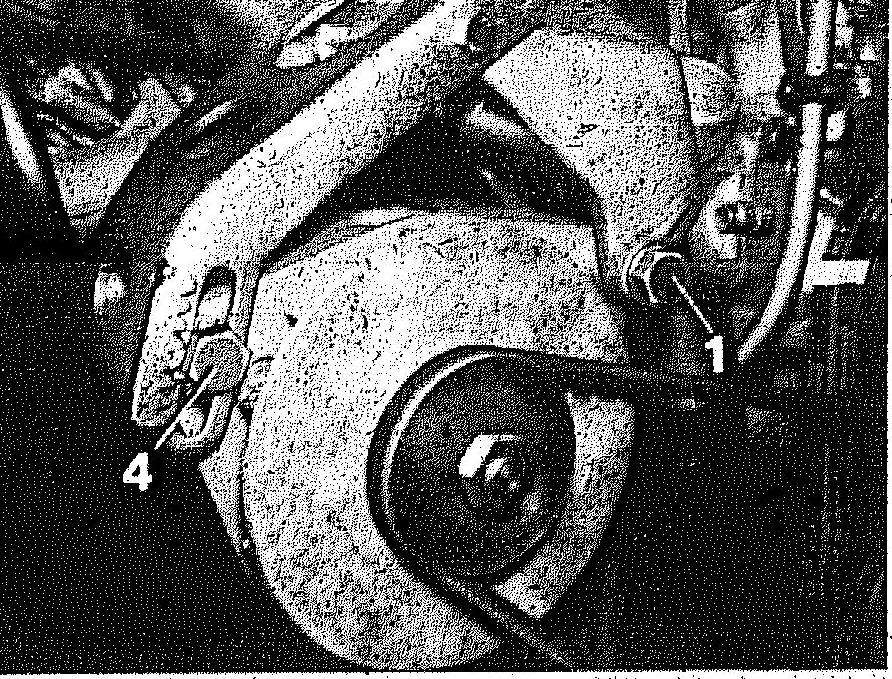
V-belt D Air Pump
KAT as of 1985
(AUS) (J) (S) (USA) as of 1981
(CH) as of 1983
1 Loosen mounting bolts (1 and 2).
2 Tension V-belt with tension nut (3).
3 Tighten mounting bolts (1 and 2).
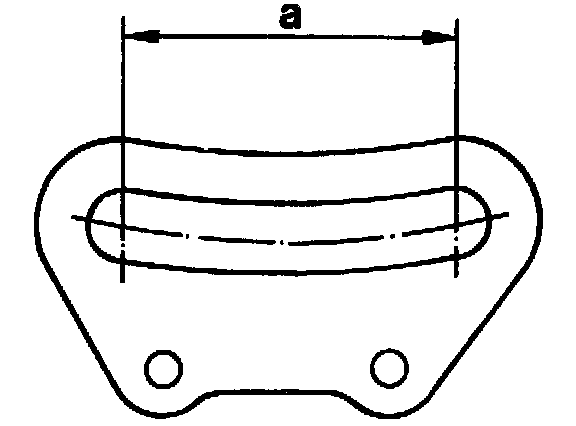
The plate (stop) with enlarged adjustment a = 43.5 mm, previously 40.5 mm. facilitates fitting the V-belt to the air pump.
Production breakpoint: June 1990