Removal
AIR CONDITIONING: CONDENSER: REMOVAL
1. DISCHARGE REFRIGERANT FROM REFRIGERATION SYSTEM Service and Repair
2. REMOVE NO. 1 RADIATOR GRILLE GARNISH Removal
3. REMOVE FRONT BUMPER COVER Removal
4. REMOVE BATTERY CARRIER
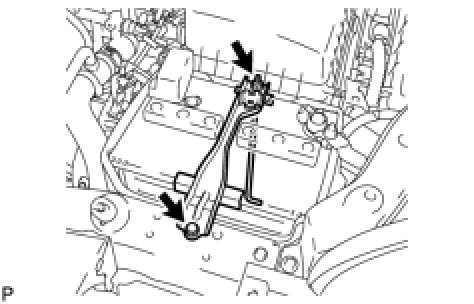
(a) Remove the bolt and loosen the nut, and remove the battery carrier.
5. SEPARATE NO. 1 WATER HOSE CLAMP BRACKET
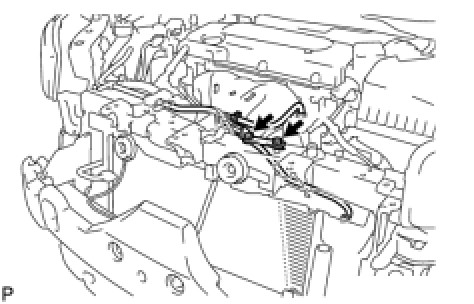
(a) Remove the 2 bolts and separate the No. 1 water hose clamp bracket.
6. SEPARATE HOOD LOCK CONTROL CABLE ASSEMBLY Removal
7. REMOVE HOOD LOCK SUPPORT SUB-ASSEMBLY Removal
8. REMOVE RADIATOR SUPPORT CUSHION Removal
9. REMOVE NO. 2 FAN SHROUD
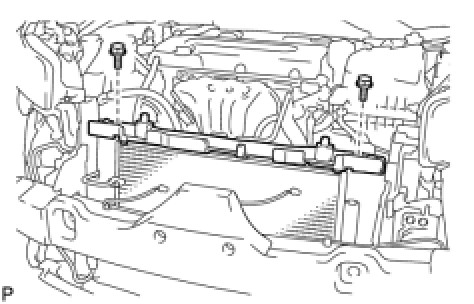
(a) Remove the 2 bolts and No. 2 fan shroud.
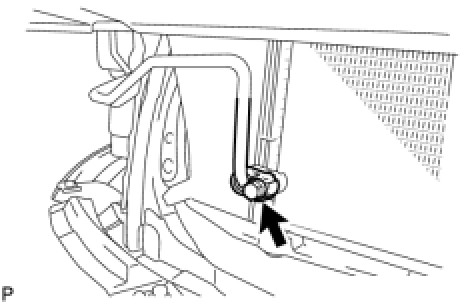
10. DISCONNECT DISCHARGE HOSE SUB-ASSEMBLY
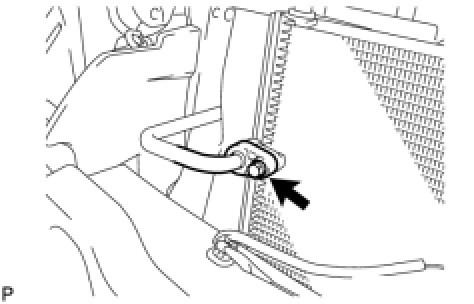
(a) Remove the bolt and disconnect the discharge hose from the cooler condenser.
(b) Remove the O-ring from the discharge hose.
NOTICE:
Seal the openings of the disconnected parts using vinyl tape to prevent moisture and foreign matter from entering.
11. DISCONNECT AIR CONDITIONING TUBE AND ACCESSORY ASSEMBLY
(a) Remove the bolt and disconnect the air conditioning tube from the condenser.
(b) Remove the O-ring from the air conditioning tube.
NOTICE:
Seal the openings of the disconnected parts using vinyl tape to prevent moisture and foreign matter from entering.
12. REMOVE CONDENSER

(a) Remove the condenser from the vehicle.
NOTICE:
Do not damage the condenser or radiator when removing the condenser.