Disassembly and Assembly
Caliper Assembly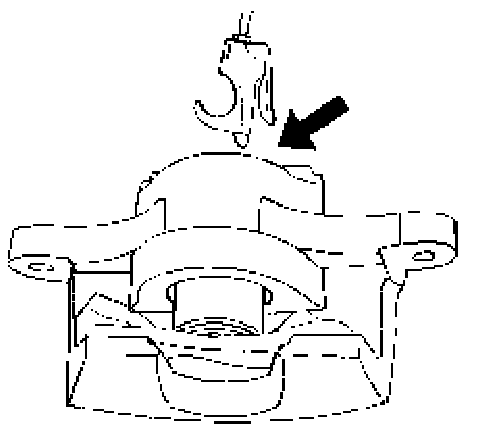
1. Remove the caliper.
WARNING: Do not attempt to catch the piston when attempting to remove the piston with compressed air. The piston will pop out of its bore with enough force to damage a hand or fingers.
CAUTION: When removing the caliper piston with compressed air, place some rolled-up shop towels beneath the caliper to prevent damage to the piston.
2. Apply unlubricated compressed air at the hose inlet of the caliper.
3. Remove the piston from its bore and remove the piston dust seal.
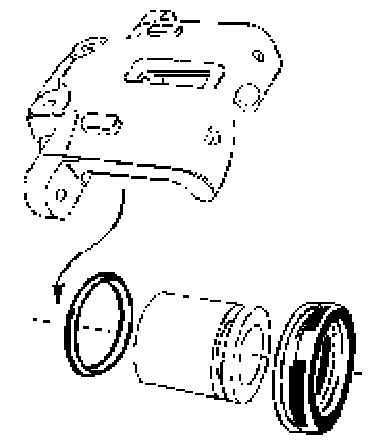
4. Remove the inner seal from the bore. Avoid scratching the bore.

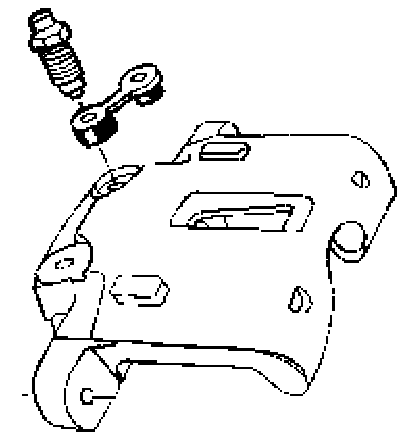
5. Remove the bleeder valve dust cap and the bleeder valve.
CAUTION: Do not use a hone or any other procedure to remove material from the caliper bore or the piston.
6. Clean all parts in denatured alcohol or brake fluid. Dry the parts with unlubricated compressed air and blow out all passages in the housing and the bleeder valve.
7. Inspect the piston and caliper for scoring, nicks, or corrosion. Replace any components which show these conditions.
8. Install the bleeder valve and the dust cap.
9. Lubricate a new piston inner seal with brake fluid.
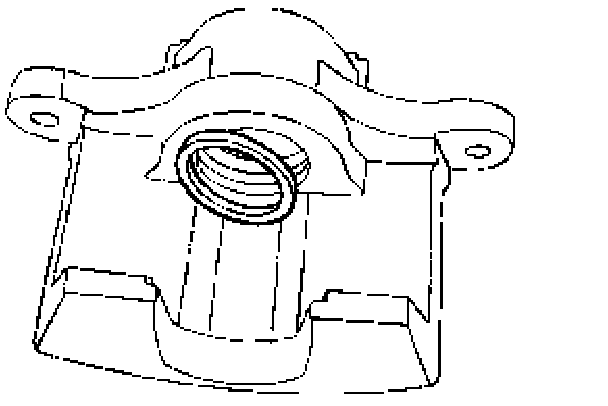
10. Install the piston inner seal into the groove in the caliper bore.
11. Install the piston dust seal in its groove.
12. Lubricate the piston with brake fluid.
13. Push the piston inward until it is properly seated. Make sure that the dust seal is in the correct groove in the piston and the caliper.
14. Reinstall the caliper.

15. Bleed the brake system.