Kitchenette, Removing
CAUTION: Note safety measures See 'Service Precautions.' Service Precautions
- Remove driver's seat See 'Seats.' Service and Repair
- Remove bench See 'Seats.' Service and Repair
- Remove drain cock for waste water tank See 'Accessories and Optional Equipment, Service and Repair, Water Supply/Drain (CV Camper), Waste Water System.' Service and Repair
Vehicles with gas installation
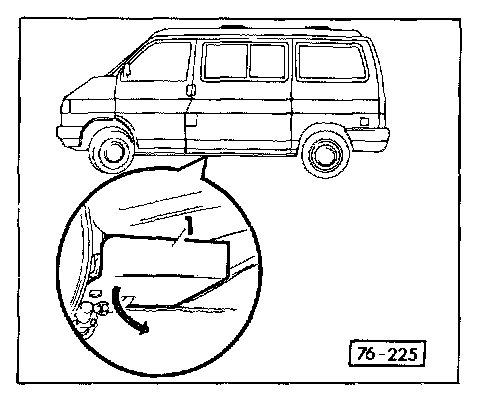
- Open cover -1 - underneath left center floor plate.

- Close bleeder valve -1-.
Continuation for all vehicles
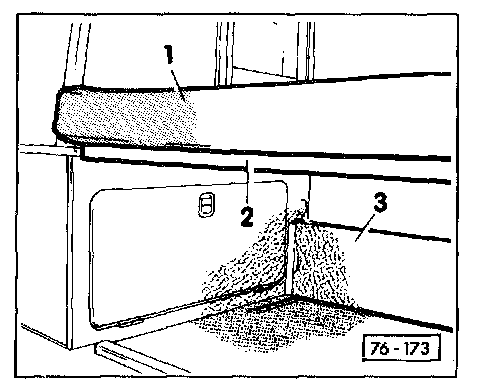
- Remove upholstered top -1- panel -2- and insert panel -3-.
- Pry off caps -arrows- and remove recessed screws.
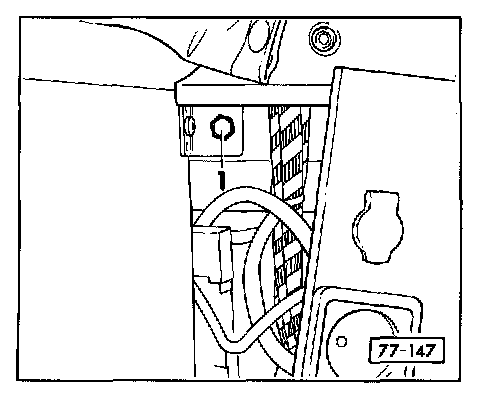
- Pry off cap -1- and remove hex bolt.
- 40 Nm (30 ft lb)
- Pull off lower B-pillar trim and remove hex bolts -1-.
Vehicles with gas installation
WARNING!: fire hazard! Do not smoke or have anything in area that could ignite propane fuel. Ensure adequate ventilation.
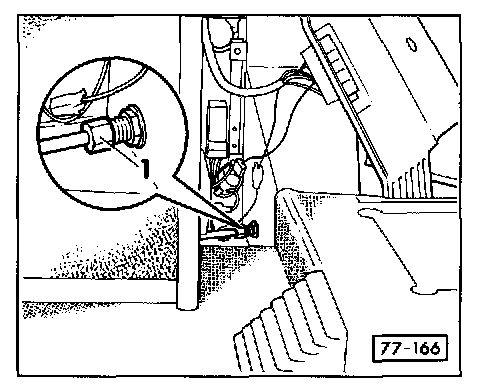
- Loosen screw connection -1-.
Continuation for all vehicles
- Open and remove kitchenette right side storage compartment door.
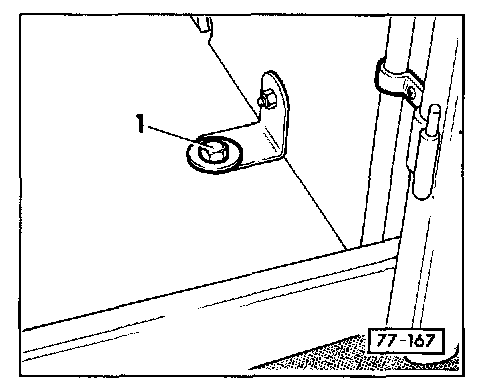
- Remove hex bolt -1- from bottom.

- From left side storage compartment of kitchenette, loosen screw clamp -1-, -2- and -3-
- Disconnect vent hoses from base connections.
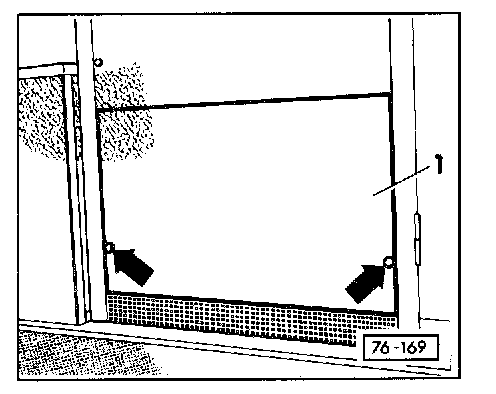
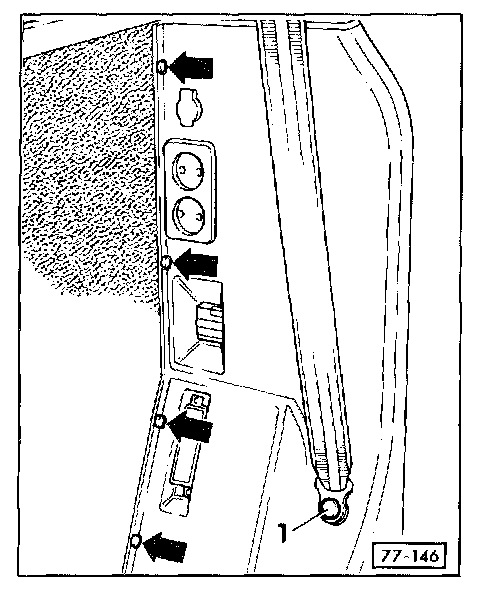
- Pry off caps -arrows-, remove screws from lower screen cover.
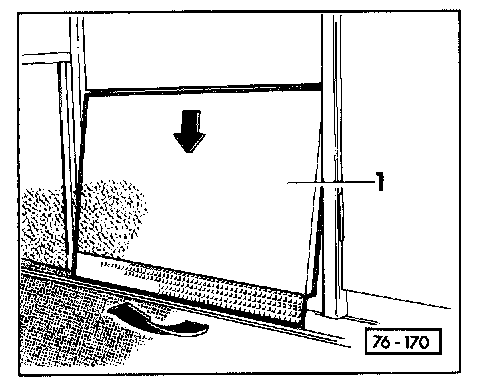
- Press screen cover -1- downward, pull out toward center of vehicle.
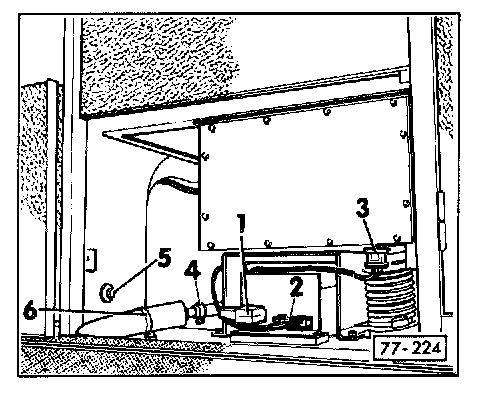
- Disconnect connectors -1-, -2- and -3-.
- Loosen screw clamps -4-, remove hose.
- Remove hex bolt -5-.
- Remove clamp -6-.

- Open flap for clothes closet -11- and remove.
- Open refrigerator lid.
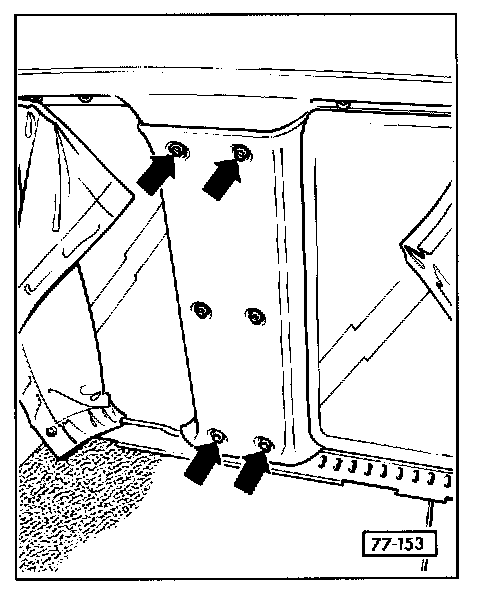
- From inside clothes closet, pry off caps -1-, (if applicable), remove hex nuts -2-, remove washers -3- and press off saucer-head screws -4-.
- Close refrigerator lid.
- Unfasten curtains at C-pillar.
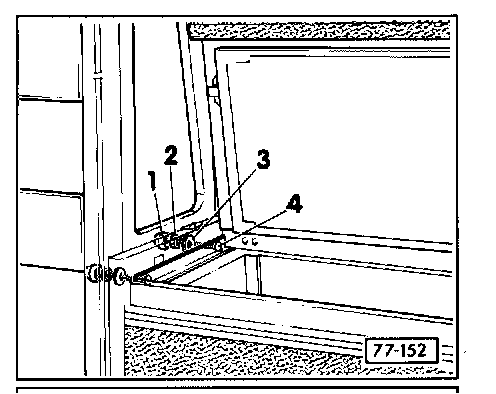
- Remove recessed screws with press-studs -arrows- and remove C-pillar trim.

- Pry off caps -arrows- and remove recessed screws (1992 >, only one screw).
- Lift kitchenette off outside wall toward center of vehicle.
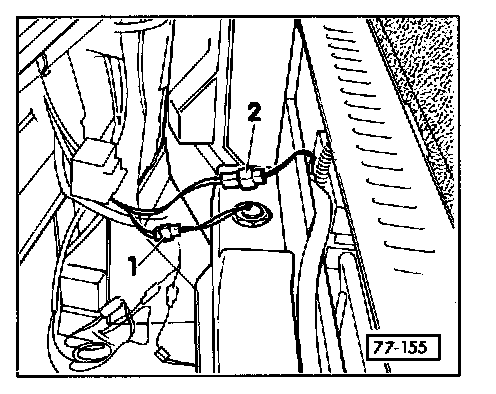
- Disconnect connectors -1- and -2-.
- Lift kitchenette out of vehicle.