Removal and Replacement
EDITOR NOTE!
This is an ALLDATA procedure. OE does not provide preliminary or associated procedures for this Service; it is important to read the entire article before starting repairs.
Preliminary Procedures
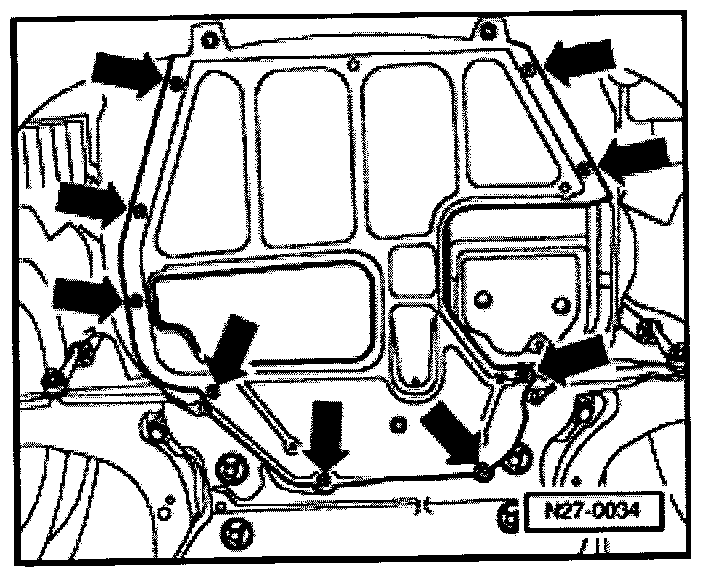
- Remove securing bolts -arrows- and remove the middle cover of the engine compartment noise insulation.

- Remove hex nut, unclip securing clips -arrows- and remove right-hand engine cover of the compartment noise insulation.

- Remove hose between throttle valve control module (J338) and charge air cooler.

- if more clearance is needed, remove the throttle valve control module (J338).
- Remove Ribbed Belt. Service and Repair
- Remove Generator. Service and Repair
Coolant thermostat, removing and installing


Engine side location for reference.

Special tools, testers and auxiliary items required
- Refractometer T10007
- Drip Tray V.A.G 1306 or Drip Tray for VAS 6100 VAS 6208
- Torque wrench V.A.G 1331
- Spring-type clip pliers VAS 5024A
Removing
Note: Always replace gaskets and seals.
- Drain coolant.

- Disconnect coolant hose from connecting piece - 3 -.
- Remove bolts - 4 - from connecting piece - 3 - and remove connecting piece - 3 - with thermostat - 1 -.
Installing
Installation is in reverse order of removal, note the following:
- Moisten new O-ring - 2 - with coolant.
- Insert thermostat in - 1 - connecting piece - 3 - and turn 1/4 (90°) to right.
- Insert connection - 3 - with thermostat - 1 - into engine block.
Note: The clip of the thermostat must be positioned at approx. right angle.

- Tighten mounting bolts - 4 -. Torque specification: 15 Nm
Fill with new coolant.