Audio Display Unit Removal / Installation
Audio Display Unit Removal/Installation
Without Navigation
NOTE:
- Put on gloves to protect your hands.
- Take care not to scratch the dashboard and related parts.
- Lay a shop towel under the parts when working on them to protect the face panel from scratches or other damage.
1. Remove these items:
- Front center speaker
- Audio and HVAC switch panel Audio and HVAC Switch Panel Removal/Installation
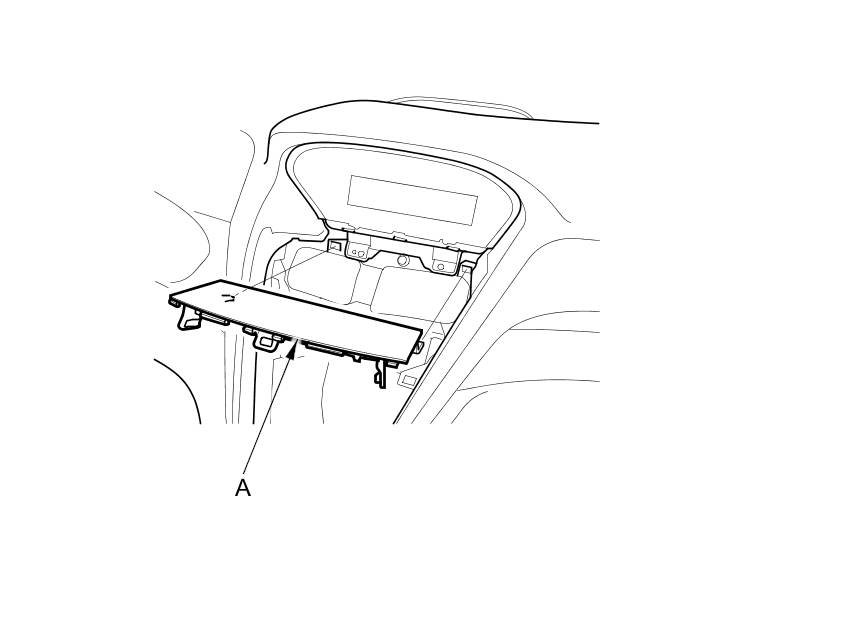
2. Remove the tray (A).
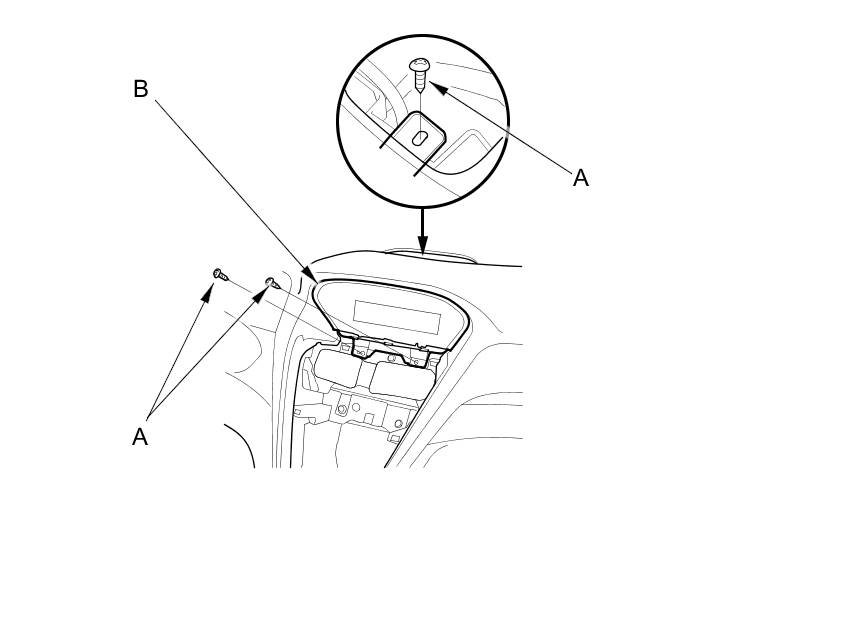
3. Remove the self-tapping screws (A) from the audio display unit (B).
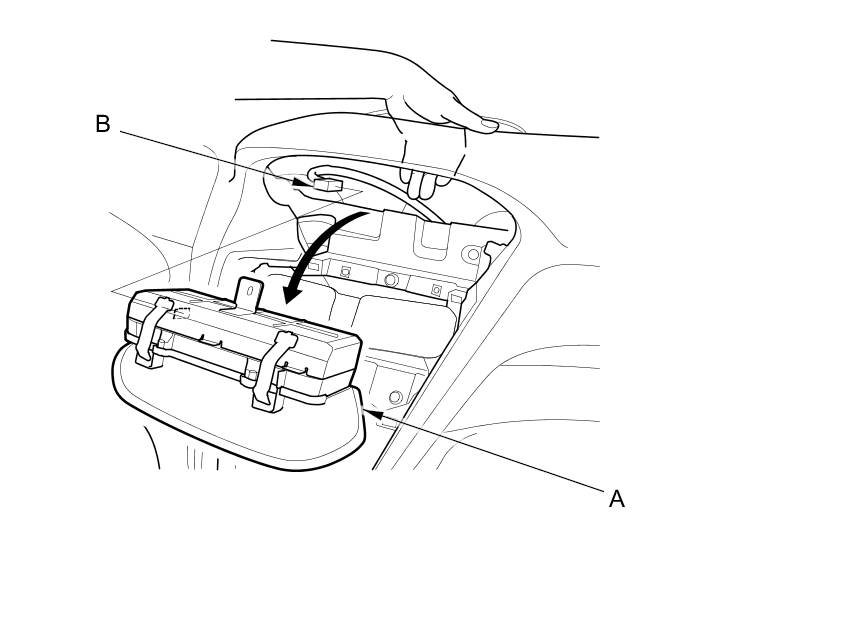
4. From the speaker hole, push out the audio display unit (A). Then disconnect the connector (B) from the audio display unit, and remove it.
5. Install the audio display unit in the reverse order of removal.