Housing Assembly HVAC: Service and Repair
HVAC MODULE ASSEMBLY REPLACEMENTTOOLS REQUIRED
- J 42220 Leak Detection Lamp
- J 37097-A Heater Hose Clamp Tool
REMOVAL PROCEDURE
1. Recover the refrigerant. Refer to Refrigerant Recovery and Recharging.
2. Drain the cooling system. Refer to Draining and Filling Cooling System in Cooling System.
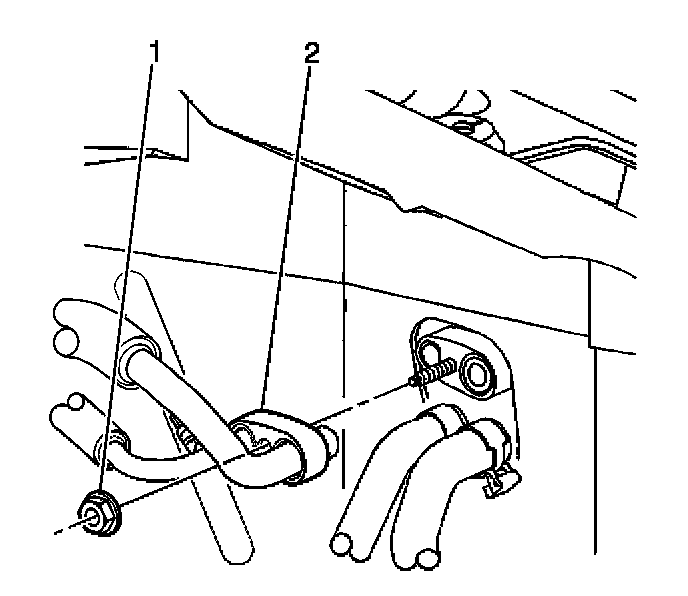
3. Remove the evaporator hose nut (2) from the evaporator.
4. Remove the evaporator hose (1) from the evaporator.
5. Remove and discard the sealing washers from the evaporator hose (1).
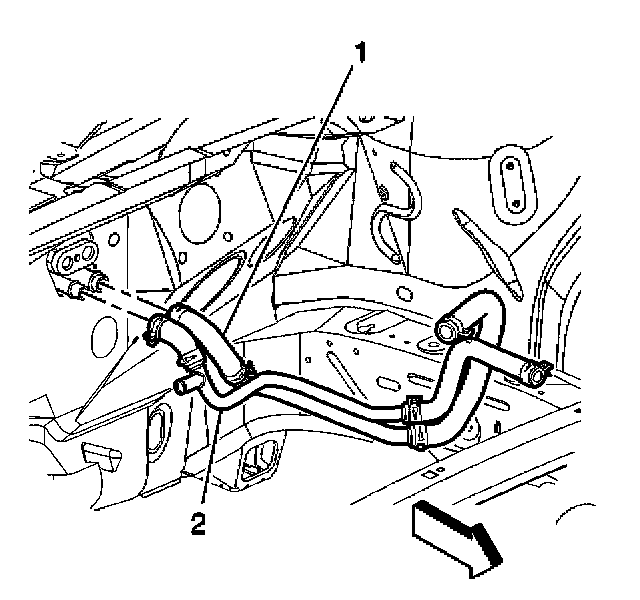
6. Using the J 37097-A, remove the clamps from the heater hoses (1, 2) at the heater core.
7. Remove the heater hoses (1, 2) from the heater core.
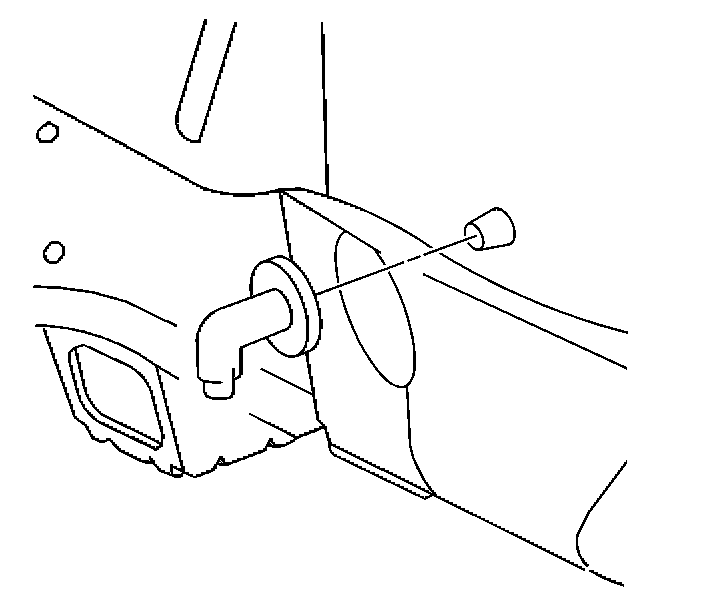
8. Remove the evaporator drain.
9. Plug the heater core and the evaporator core openings to prevent leaking into the vehicle when removing the HVAC module.
10. Remove the dash integration module.
11. Remove the I/P assembly.
12. Remove the defroster duct screws (2).
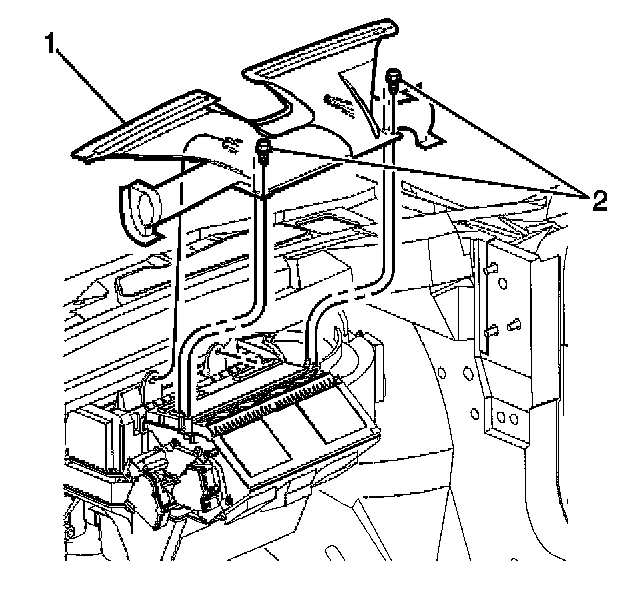
13. Remove the defroster duct (1).
14. Disconnect the electrical connectors to the HVAC module.
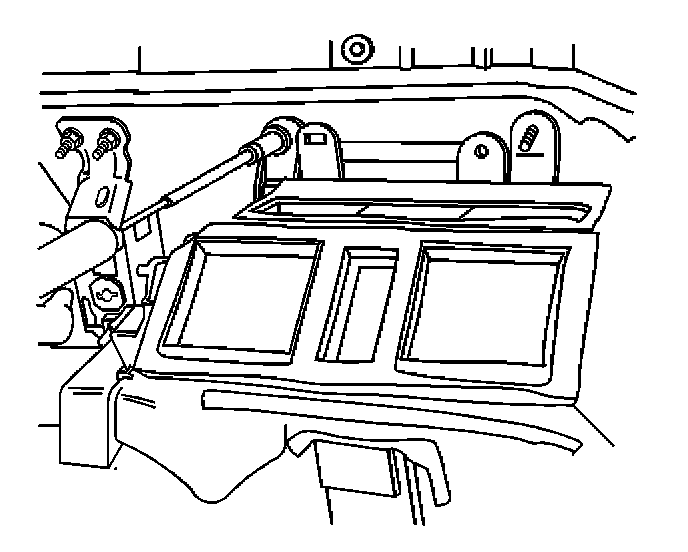
15. Remove the HVAC module retaining nuts.
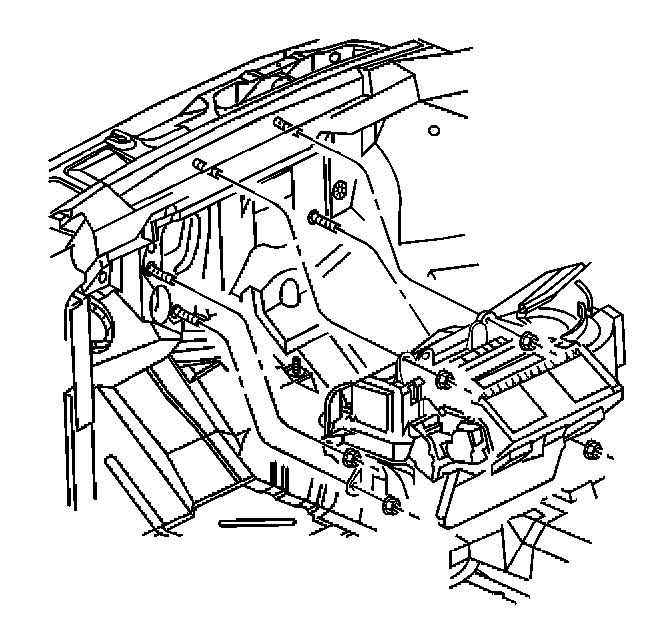
16. Remove the HVAC module from the vehicle.
INSTALLATION PROCEDURE
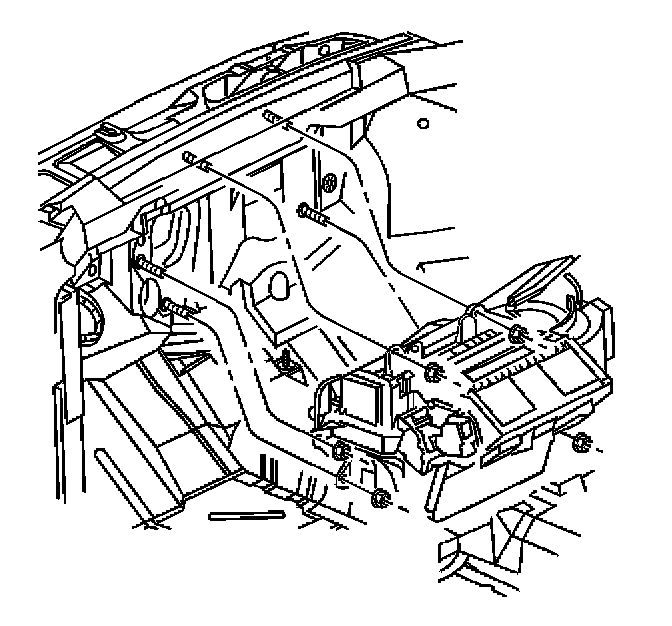
1. Install the HVAC module to the vehicle.
NOTE: Refer to Fastener Notice in Service Precautions.
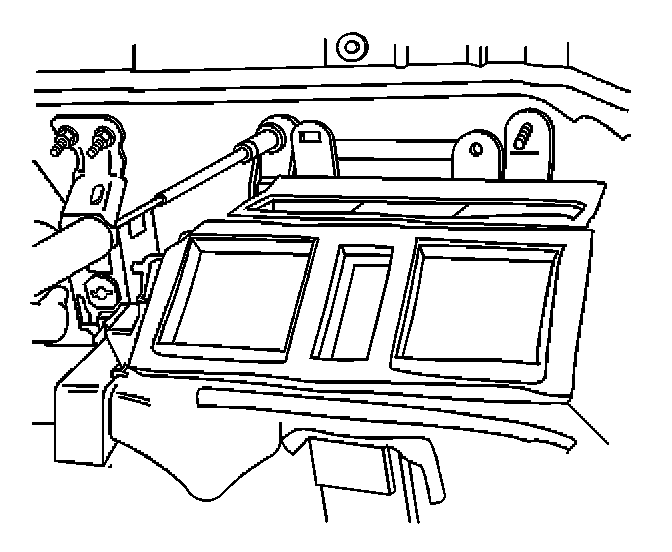
2. Install the HVAC module retaining nuts.
Tighten
Tighten the nuts to 9 N.m (80 lb in).
3. Install the dash integration module.
4. Reconnect the electrical connectors.
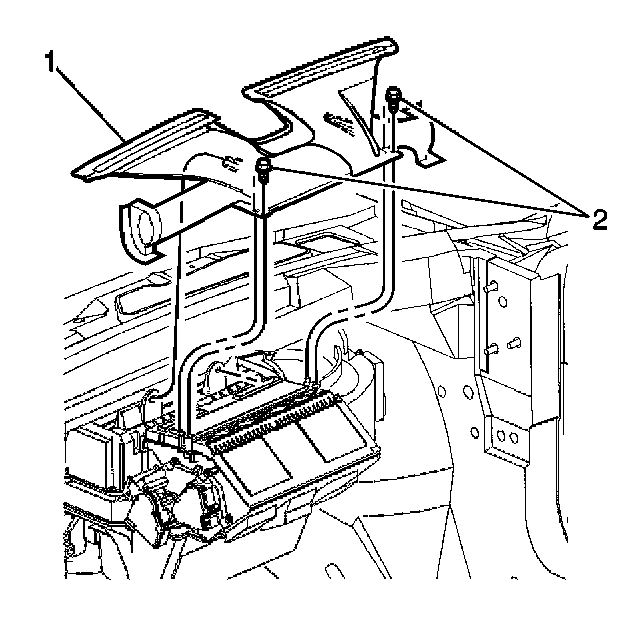
5. Install the defroster duct (1).
6. Install the defroster duct screws (2).
Tighten
Tighten the screws to 1.4 N.m (12 lb in).
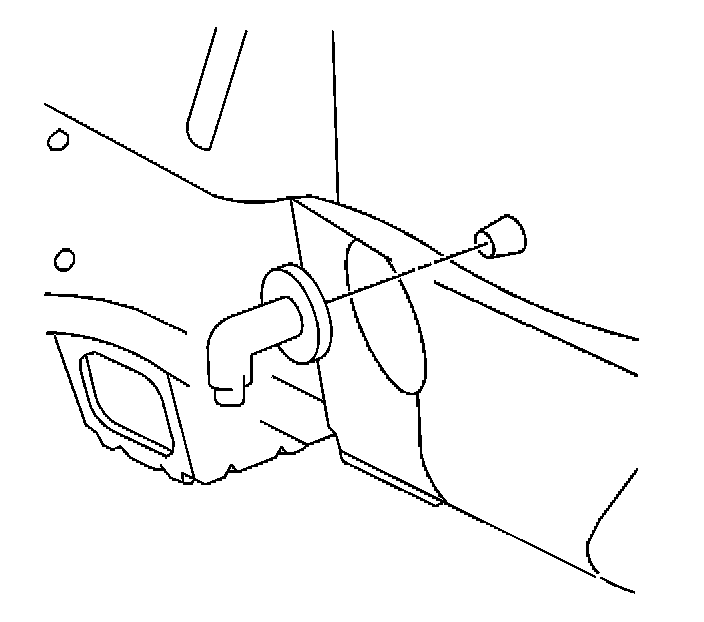
7. Install the evaporator drain.
8. Install the I/P assembly.
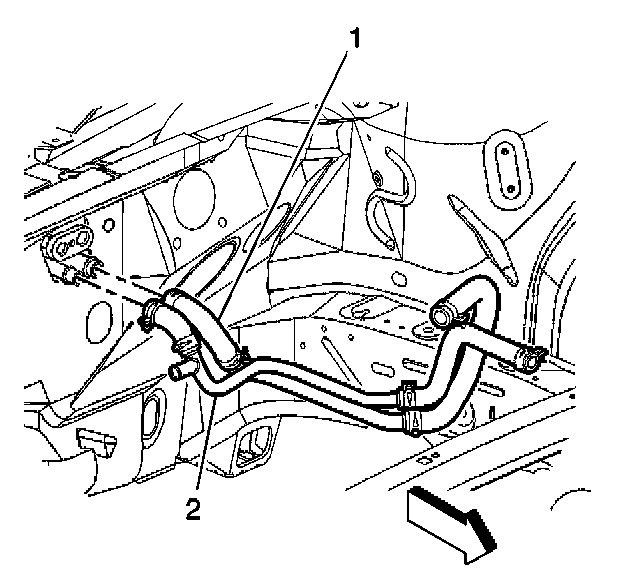
9. Install the heater hoses (1, 2) to the heater core.
10. Install the clamps to the heater hoses (1, 2).
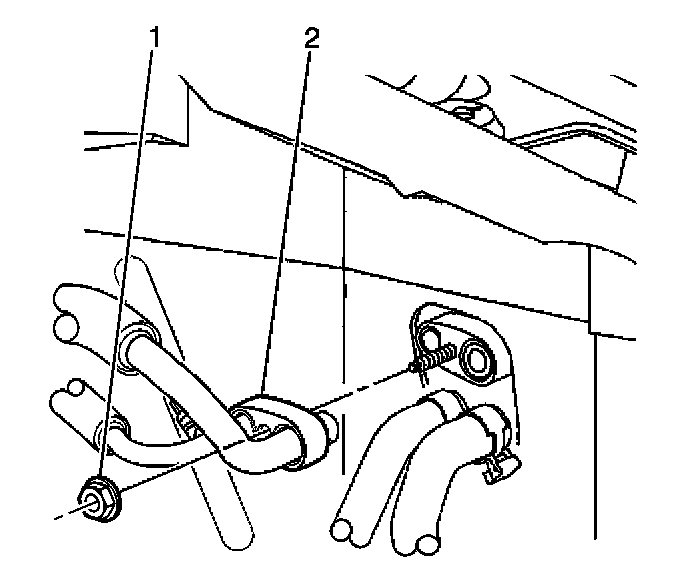
11. Install new sealing washers to the evaporator hose (1).
12. Install the evaporator hose (1) to the evaporator core.
13. Install the evaporator hose nut (2) to the evaporator.
Tighten
Tighten the nut to 24 N.m (18 lb ft).
14. Refill the cooling system. Refer to Draining and Filling Cooling System in Cooling System.
15. Recharge the A/C system. Refer to Refrigerant Recovery and Recharging.
16. Leak test the fittings using the J 39400-A.