Battery Heat Shield Replacement
Battery Heat Shield Replacement
Removal Procedure
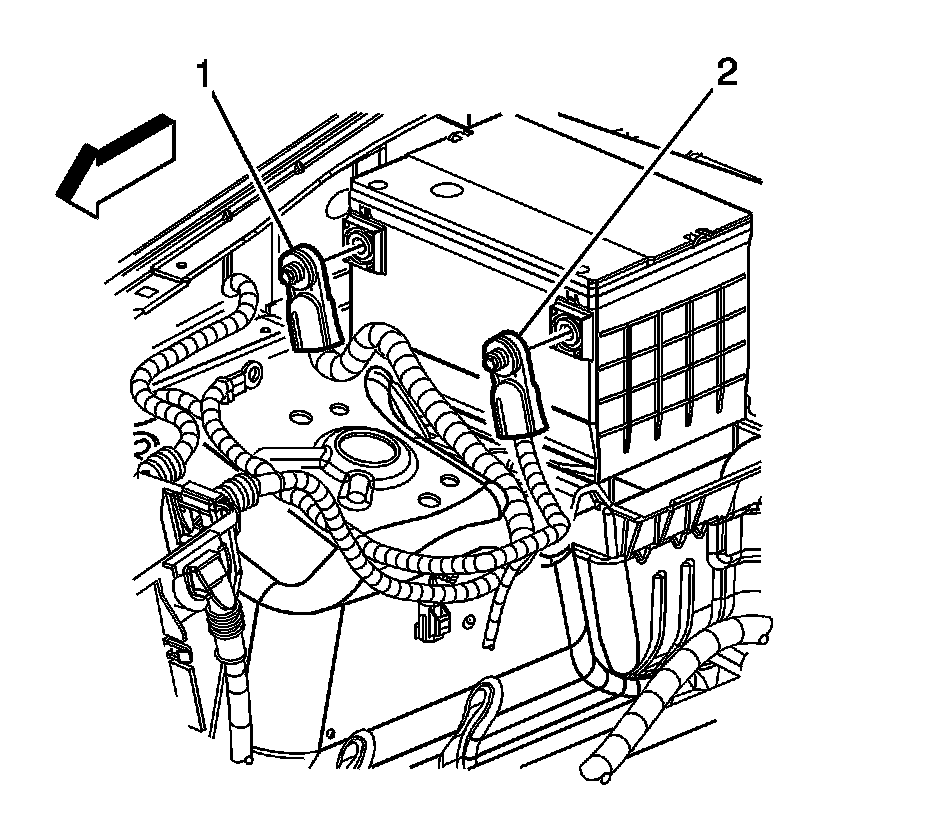
1. Disconnect the battery negative cable (2). Refer to Battery Negative Cable Disconnection and Connection (With Side Post) (Battery Negative Cable Disconnection and Connection (With Side Post))Battery Negative Cable Disconnection and Connection (With Top Post) (Battery Negative Cable Disconnection and Connection (With Top Post)).
2. Disconnect the battery positive cable (1) from the battery.
3. Remove the air inlet grille panel. Refer to Air Inlet Grille Panel Replacement (Service and Repair).
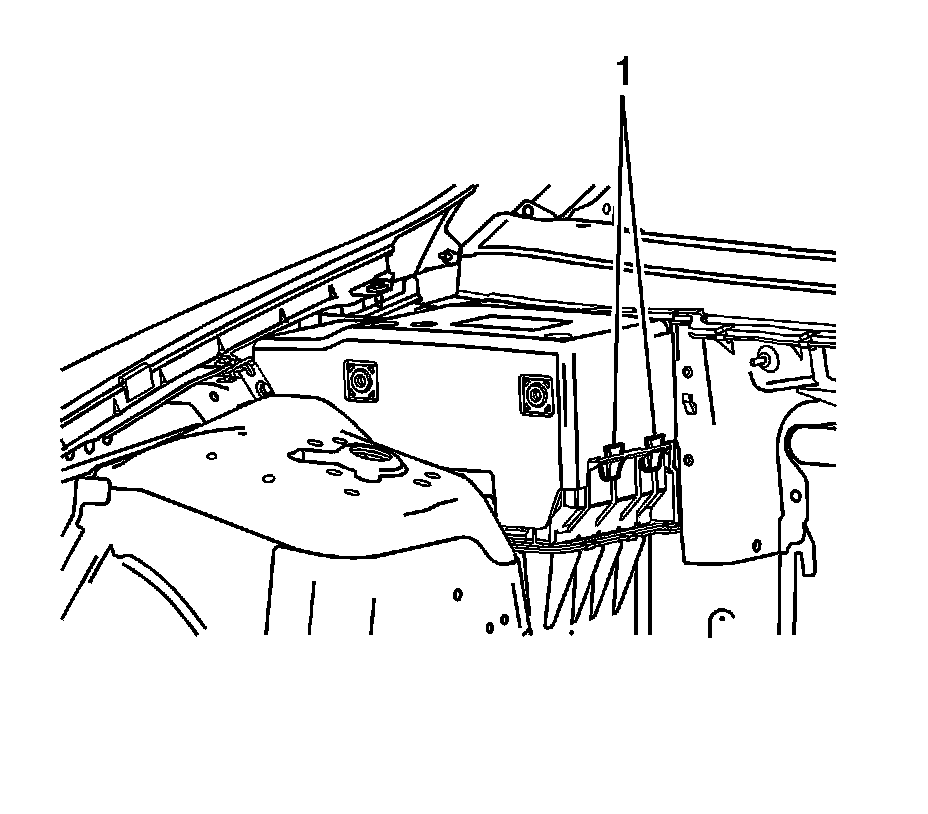
4. Depress the locking tabs (1) on the side of the battery heat shield.
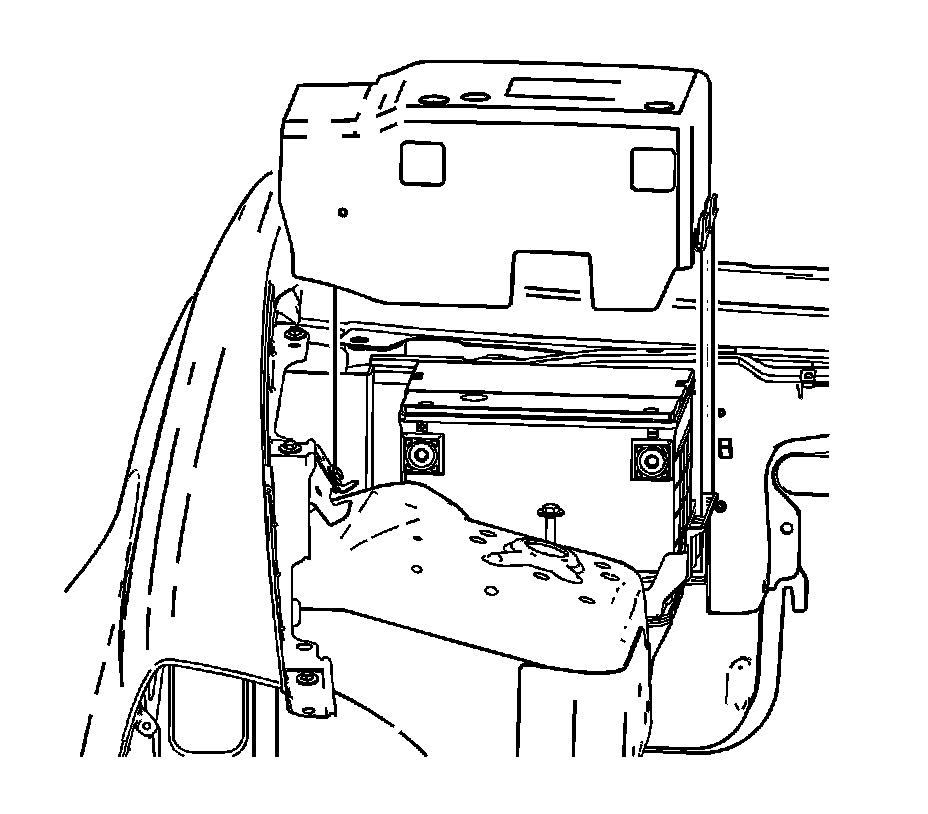
5. Remove the battery heat shield from the battery.
Installation Procedure
Note: Ensure the openings in the heat shield are aligned with the battery terminal bosses.
1. Position the battery heat shield downward over the battery.
2. Ensure that the heat shield locking tabs (1) are engaged.
3. Install the air inlet grille panel. Refer to Air Inlet Grille Panel Replacement (Service and Repair).
Caution: Refer to Fastener Caution (Fastener Caution).
4. Connect the battery positive cable (1) to the battery and tighten to 17 Nm (13 lb ft).
5. Connect the battery negative cable (2). Refer to Battery Negative Cable Disconnection and Connection (With Side Post) (Battery Negative Cable Disconnection and Connection (With Side Post))Battery Negative Cable Disconnection and Connection (With Top Post) (Battery Negative Cable Disconnection and Connection (With Top Post)).