Piston and Connecting Rod Disassemble
PISTON AND CONNECTING ROD DISASSEMBLE^ Tools Required
- J24086-C Piston Pin Remover/Installer
- J24086-10 Piston Pin Remover/installer Base
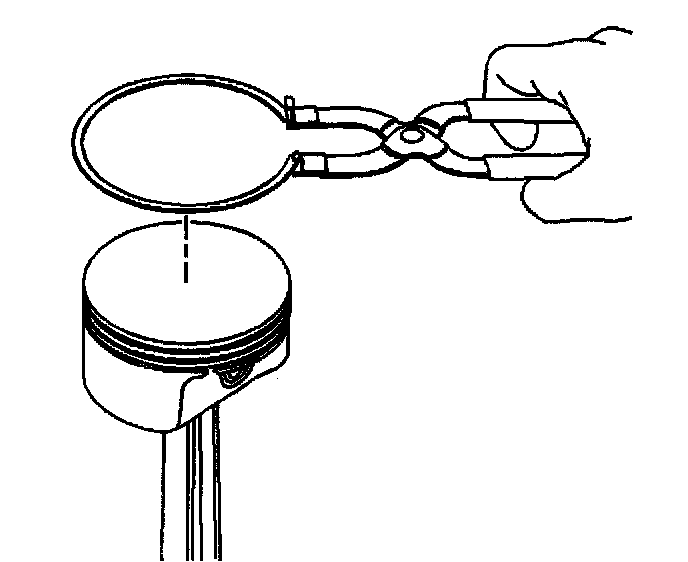
1. Using piston ring pliers, remove the piston rings from the piston.
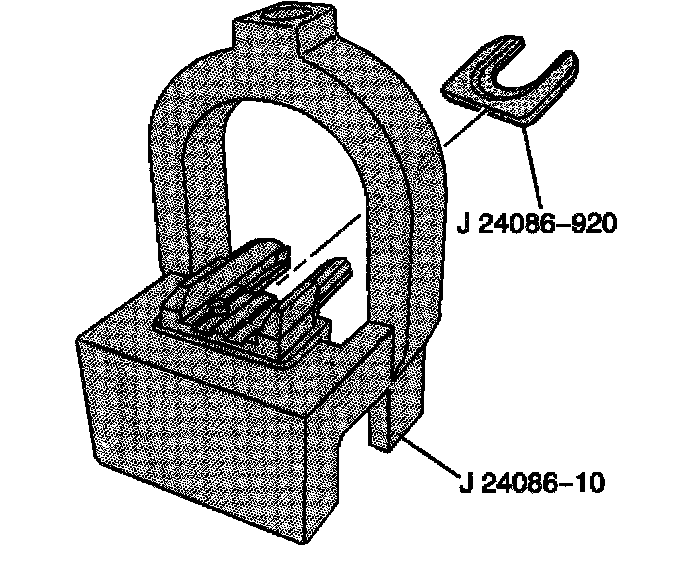
2. Install fork insert J24086-920 into fixture J24086-10 Piston Pin Remover/Installer Base.
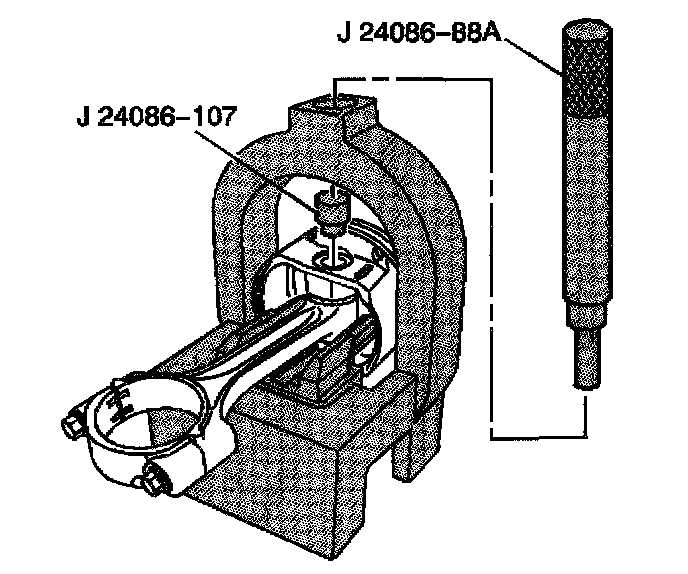
3. Install the piston and connecting rod assembly onto J24086-10.
4. Install the J24086-107 into the piston pin and J24086-88A through the fixture and into J24086-107.
NOTICE: After the installer hub bottoms on the support assembly, do not exceed 35000 kPa (5,000 psi) pressure, this could cause damage to the tool.
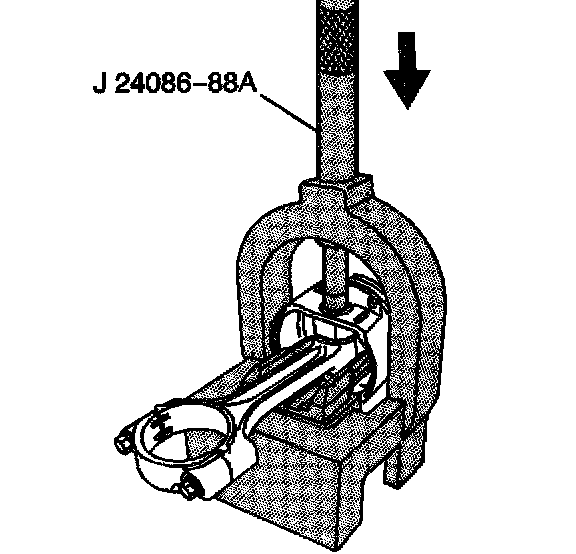
5. Press the piston pin from the piston and connecting rod assembly.
6. The piston and pin are a matched set and are not to be serviced separately. Mark, sort or organize the piston and the matching piston pin.
Refer to Separating Parts.