Fuel Tank Unit: Service and Repair
Fuel Sender Assembly Replacement
Removal Procedure
Notice:
Refer to Fuel Pressure Notice Fuel Pressure Notice
1. Relieve the fuel system pressure. Refer to Fuel Pressure Relief
Caution:
Refer to Battery Disconnect Caution Battery Disconnect Caution
2. Disconnect the negative battery cable.
3. Remove the rear seat. Refer to Rear Split Folding Seat Back Replacement Rear Split Folding Seat Back Replacement
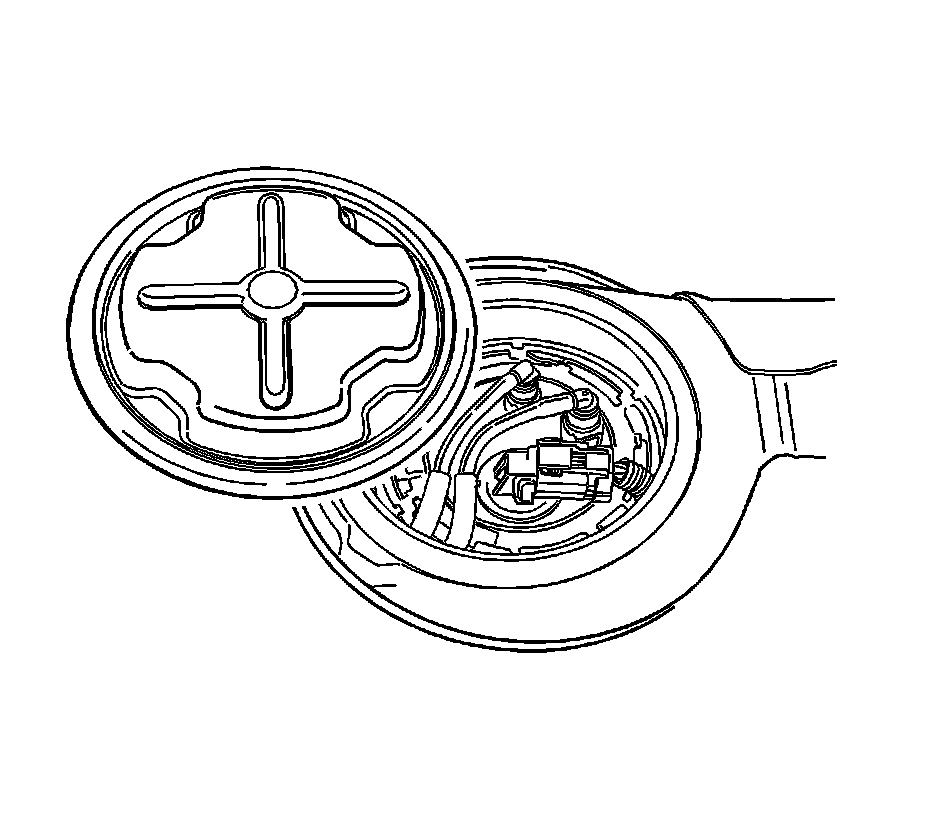
4. Remove the fuel sender assembly access cover.
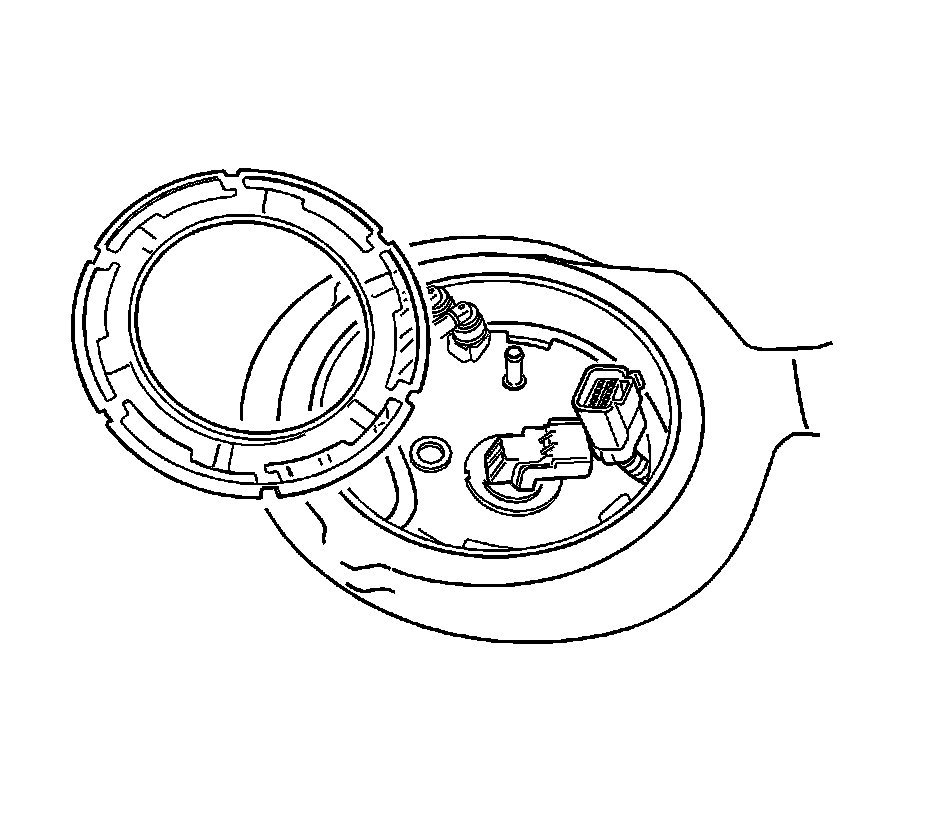
5. Disconnect the electrical connector at the fuel pump assembly.
6. Disconnect the fuel outlet line.
7. Disconnect the fuel tank return line.
8. Turn the lock ring counterclockwise to clear the tank tabs.
9. Remove the fuel sender assembly from the tank.
Installation Procedure
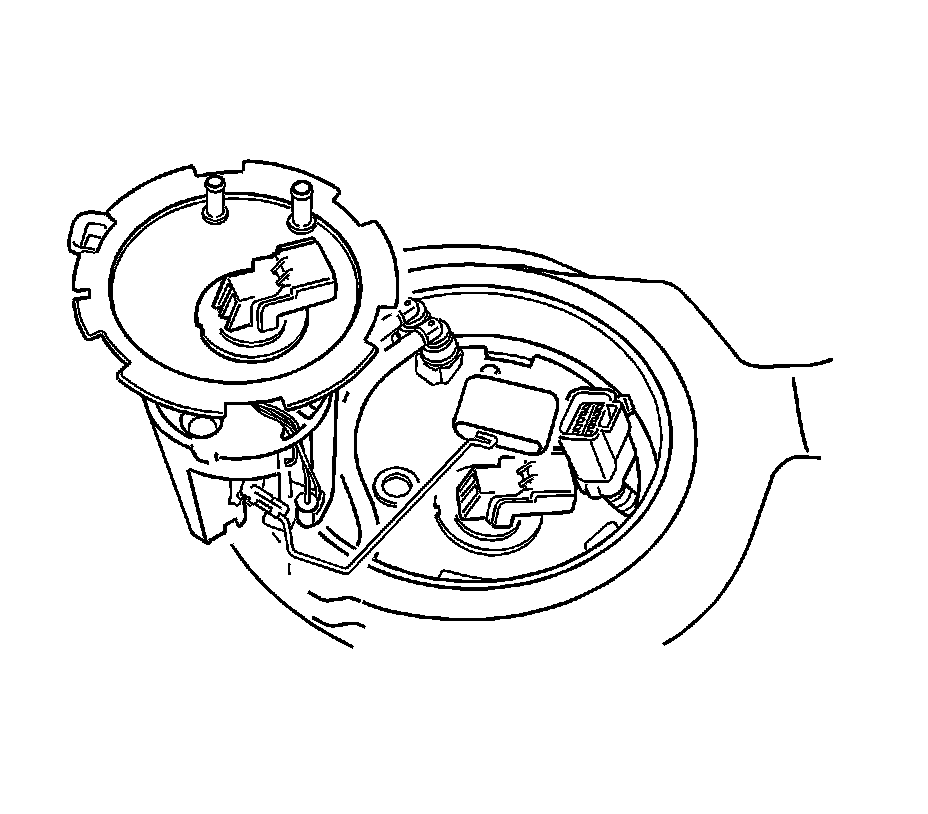
1. Clean the gasket mating surface on the fuel tank.
2. Position the new gasket in place.
3. Install the fuel sender assembly into the fuel tank in the same location as removed for ease of line and connector installation.
4. Position the lock ring in place and turn it clockwise until it contacts the tank stop.
5. Connect the fuel pump assembly connector.
6. Install the fuel sender assembly outlet line.
7. Install the fuel tank return line.
8. Install the fuel sender assembly access cover.
9. Connect the negative battery cable.
10. Perform an operational check of the fuel pump.
11. Install the rear seat. Refer to Rear Split Folding Seat Back Replacement Rear Split Folding Seat Back Replacement