Exhaust Manifold: Service and Repair
Exhaust Manifold Replacement
Removal Procedure
Warning: Refer to Battery Disconnect Warning (Battery Disconnect Warning).
1. Disconnect the negative battery cable.
2. Disconnect the pre-converter oxygen sensor connector.
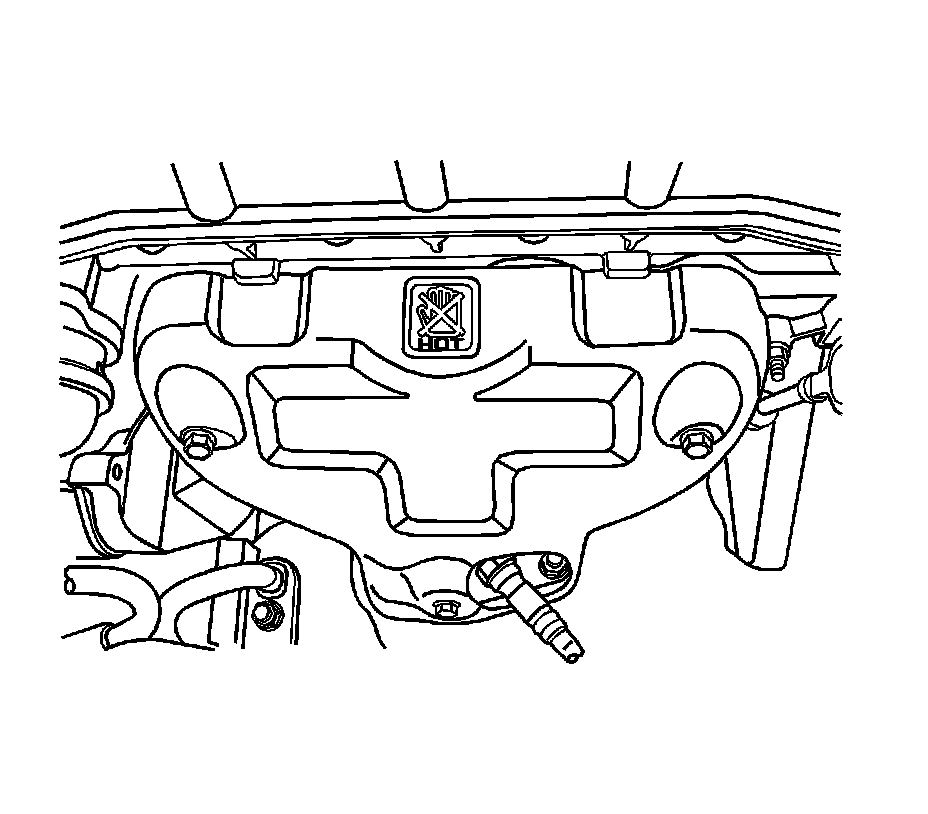
3. Remove the exhaust manifold heat shield bolts.
4. Remove the exhaust manifold heat shield.
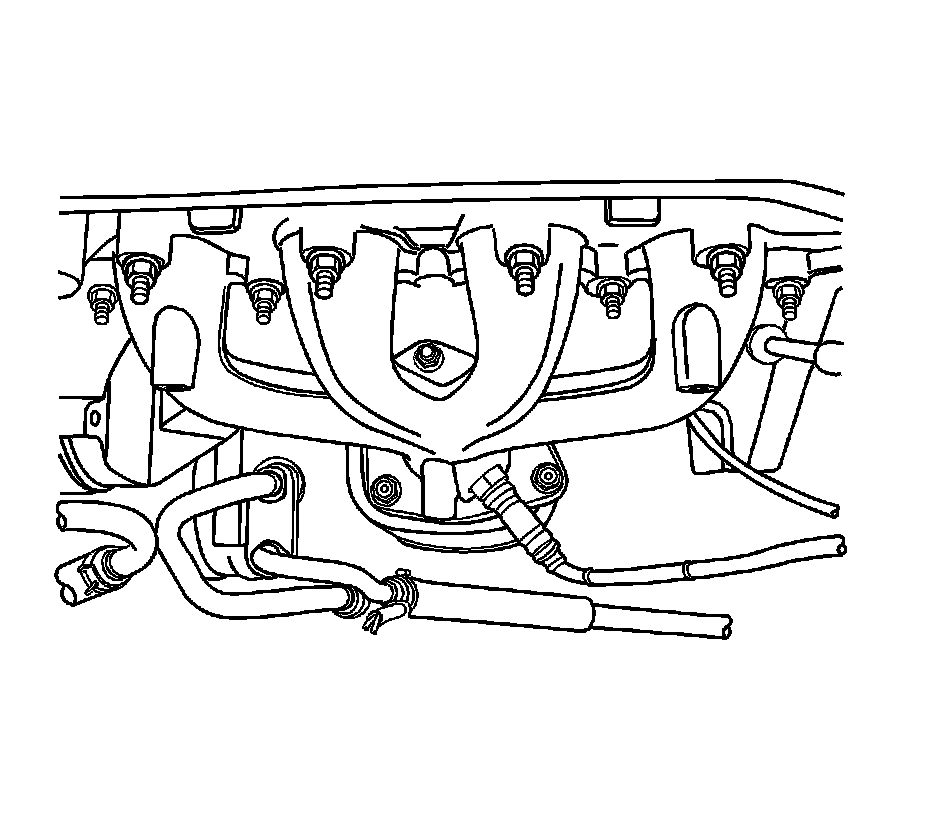
5. Remove the auxiliary catalytic converter nuts from the exhaust manifold.

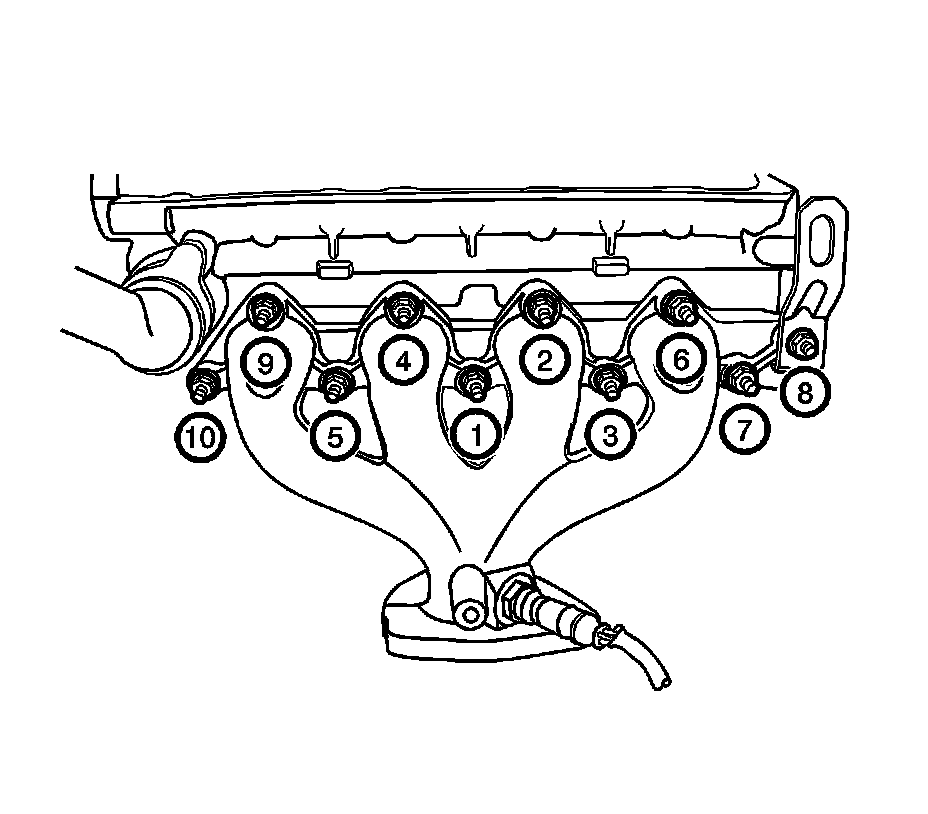
6. Remove the exhaust manifold retaining nuts in the sequence shown.
7. Remove the exhaust manifold.
8. Remove the exhaust manifold gasket.
Warning: Refer to Safety Glasses Warning (Safety Glasses Warning).
9. Clean the sealing surfaces of the exhaust manifold and the cylinder head.
Installation Procedure
1. Install the exhaust manifold gasket.
2. Install the exhaust manifold.
Caution: Refer to Fastener Caution (Fastener Caution).
3. Install the exhaust manifold retaining nuts and tighten them in the sequence shown.
Tighten the exhaust manifold retaining nuts 25 Nm (18 lb ft).
4. Install the auxiliary catalytic converter nuts to the exhaust manifold.
Tighten the auxiliary catalytic converter-to-exhaust manifold nuts to 40 Nm (30 lb ft).
5. Install the exhaust manifold heat shield.
6. Install the exhaust manifold heat shield bolts.
Tighten the exhaust manifold heat shield bolts to 15 Nm (11 lb ft).
7. Connect the pre-converter oxygen sensor connector.
8. Connect the negative battery cable.