Removal and Installation
Removal Procedure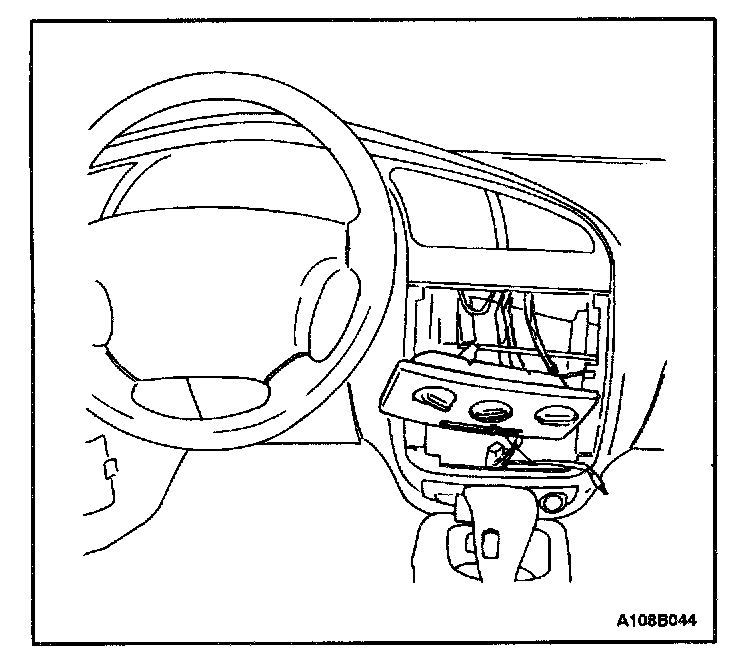
1. Disconnect the negative battery cable.
2. Remove the audio system.
3. Remove the lower left and right controller retaining screws.
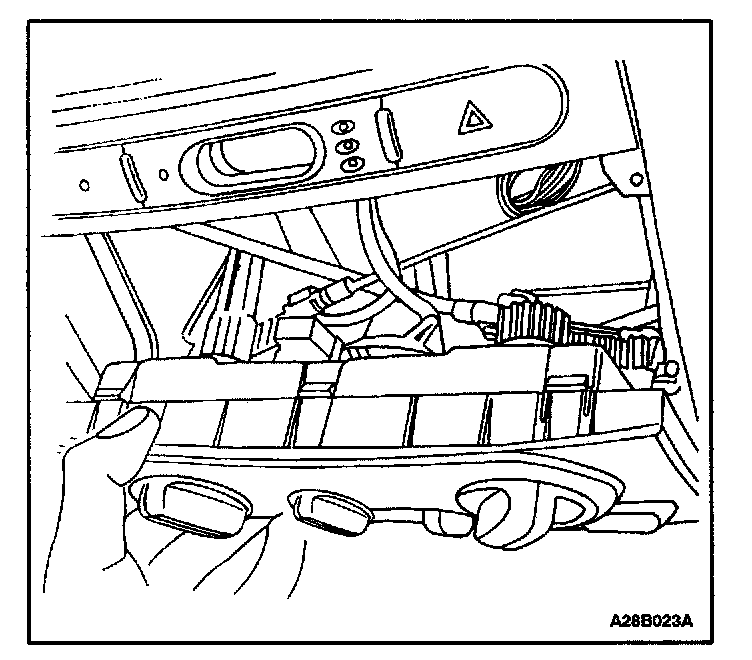
4. Pull out the controller to provide clearance for cable removal.
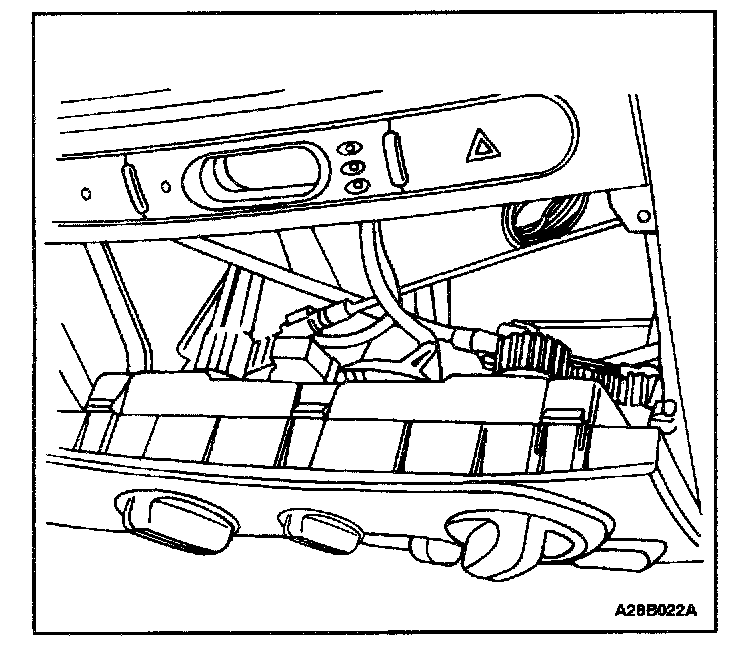
5. Disconnect the mechanical control cables by gently prying the cable eyelet off. Unsnap the cable housing from the mechanical slide. Note the location of the cables and the housings for ease of installation.
6. Disconnect the electrical connectors.
Installation Procedure

1. Connect the electrical connectors to the sockets on the back of the controller.
2. Attach the mechanical cable housings to their original control positions.
3. Press the cable end eyelet onto the post.
4. Gently insert the controller into position on the center console.
5. Install the lower left and right retaining screws.
Tighten
Tighten the control assembly retaining screws to 2 N.m (18 lb.in).
6. Install the audio system.
7. Connect the negative battery cable.
8. Operate all of the positions of the controller to ensure proper function.