Cam Chain Removal
Cam Chain Removal
NOTE: Keep the cam chain away from magnetic fields.
1. Remove the cylinder head cover. Cylinder Head Cover Removal
2. Set the No. 1 piston at top dead center (TDC). The "UP" mark (A) on the camshaft sprocket should be at the top, and the TDC grooves (B) on the camshaft sprocket should line up with the top edge of the head.
3. Remove the right front wheel.
4. Remove the splash shield.
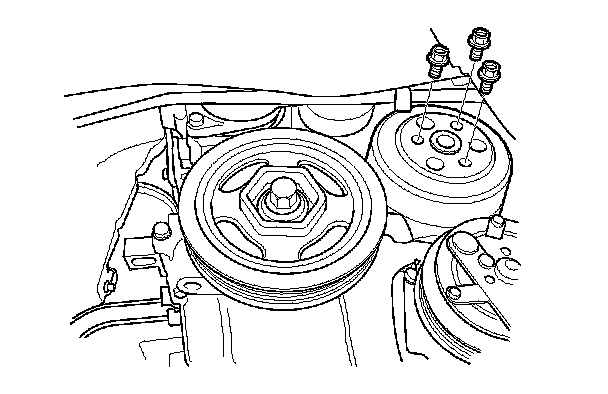
5. Loosen the water pump pulley mounting bolts.
6. Remove the drive belt. Service and Repair

7. Remove the water pump pulley.
8. Remove the crankshaft pulley. Service and Repair
9. Remove the drive belt auto-tensioner. Drive Belt Auto-Tensioner Removal/Installation
10. Support the engine with a jack and a wood block under the oil pan.
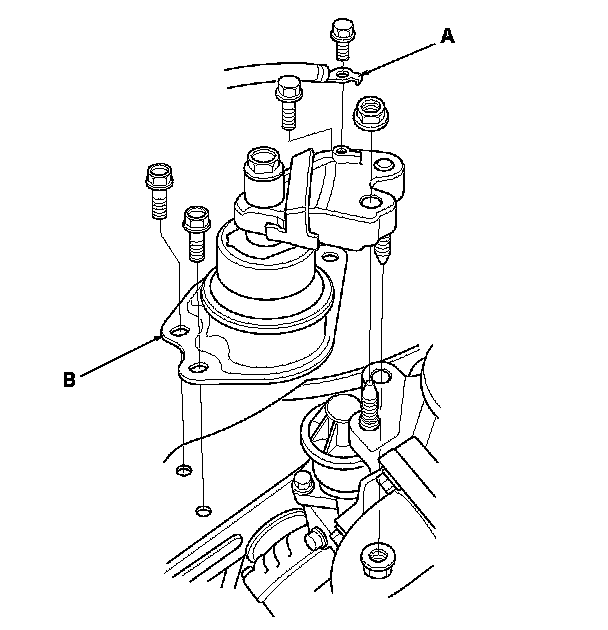
11. Remove the ground cable (A), then remove the side engine mount/bracket assembly (B).
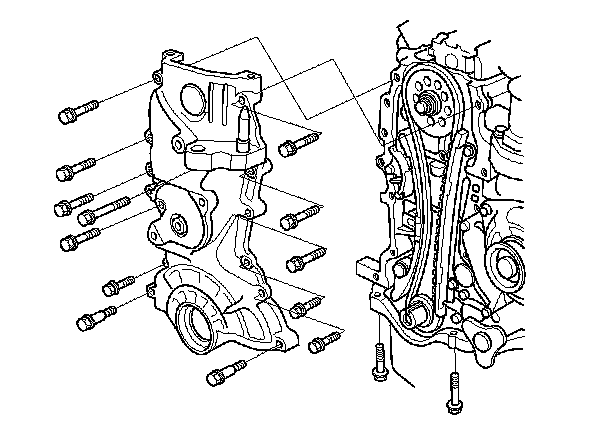
12. Remove the chain case.
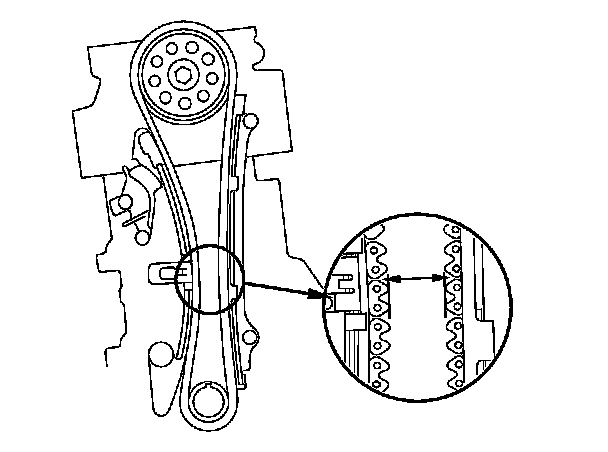
13. Measure the cam chain separation. If the distance is less than the service limit, replace the cam chain and cam chain tensioner.
Standard Distance: 19 mm (0.75 in.)
Service Limit: 15 mm (0.59 in.)
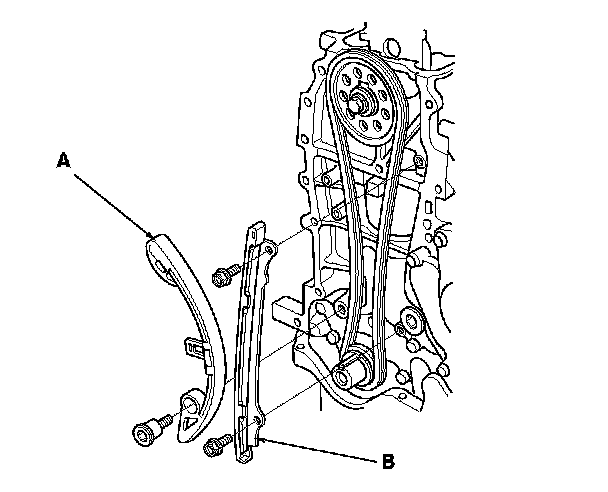
14. Apply new engine oil to the sliding surface of the cam chain tensioner slider (A).
15. Hold the cam chain tensioner slider with the screwdriver, then remove the bolt (B), and loosen the bolt (C).
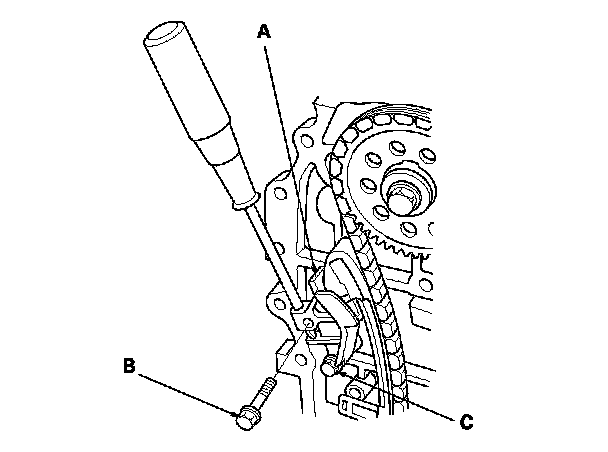
16. Remove the cam chain tensioner slider.
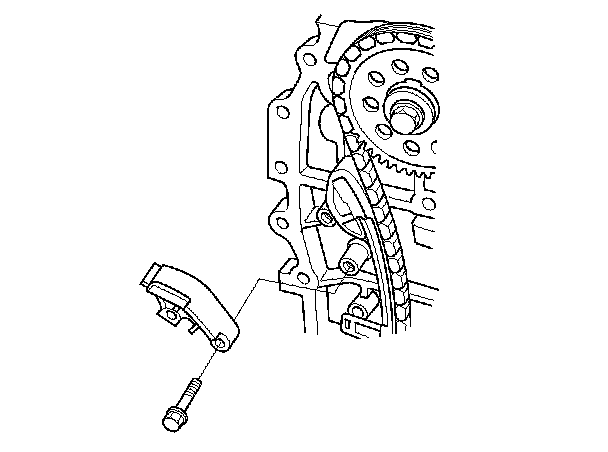
17. Remove the cam chain tensioner (A) and the cam chain guide (B).
18. Remove the cam chain.