Rear Axle Lower Control Arm Replacement
Rear Axle Lower Control Arm Replacement
Removal Procedure
1. Raise and support the vehicle. Refer to Lifting and Jacking the Vehicle (Service and Repair).
2. Support the rear axle at curb height.
3. Remove the fuel tank shield. Refer to Fuel Tank Shield Replacement (Service and Repair).
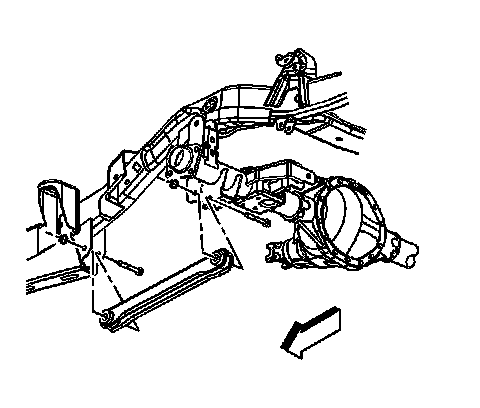
4. Remove the lower control arm retaining nuts.
5. Remove the lower control arm retaining bolt.
6. Remove the lower control arm.
Installation Procedure
1. Install the lower control arm.
Caution: Refer to Fastener Caution (Fastener Caution).
Note: Do not tighten the bolts unless the suspension is at the curb height position.
2. Install the lower control arm to axle bolt and nut.
Tighten the bolt to 250 Nm (184 lb ft).
Note: Do not tighten the bolts unless the suspension is at the curb height position.
3. Install the lower control arm to frame bolt and nut.
Tighten the bolt to 250 Nm (184 lb ft).
4. Install the fuel tank shield. Refer to Fuel Tank Shield Replacement (Service and Repair).
5. Remove the rear axle support.
6. Lower the vehicle.