Housing Assembly HVAC: Service and Repair
Remove1. Disconnect the battery negative lead.
2. Drain cooling system.
3. Identity and disconnect water inlet and outlet hoses from heater.
4. Working inside vehicle withdraw lower dash.
5. Remove screws securing lower edge of centre console.
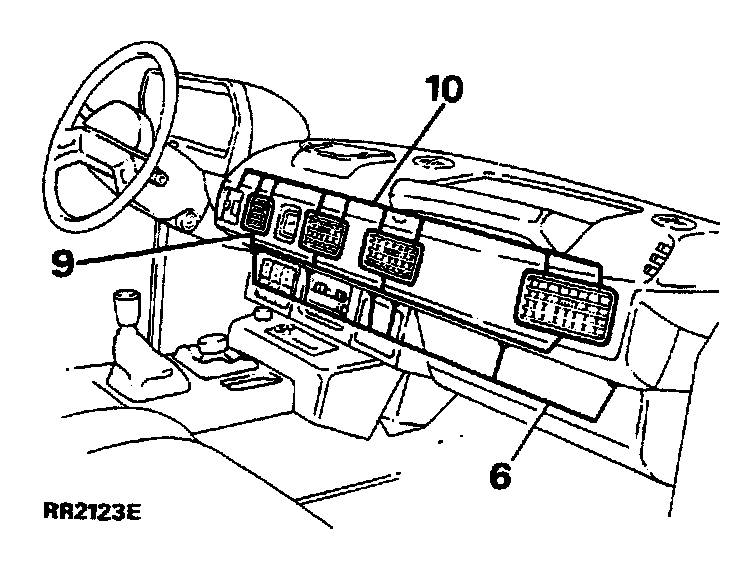
6. Remove six screws securing lower edge of louvre panel to console and evaporator case.
7. Remove heater control panel and knobs from centre console.
8. Remove centre dash panel.
9. Carefully pry out four air vents.
10. Remove screws securing evaporator plenum and louvre panel to dash top panel.
11. Disconnect electrical connection from heater to electrical thermostat. Sited at rear of evaporator housing.
12. Disconnect electrical connectors at rear of exterior driving mirror control switches and clock. Withdraw panel clear of dash.
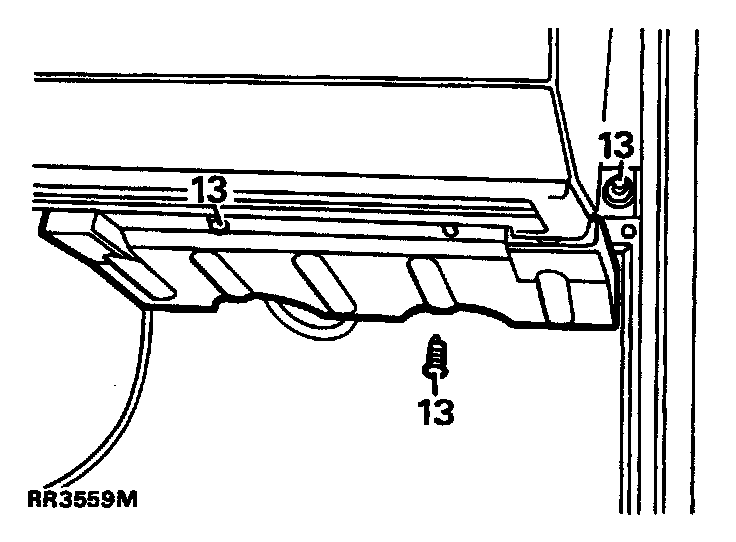
13. Remove screws securing blower closing panel and nut from mounting bracket.
14. Support evaporator case and remove two nuts securing case and reinforcing strip to upper mounting bracket.
15. Remove cover bracket and carefully lower evaporator assembly to floor.
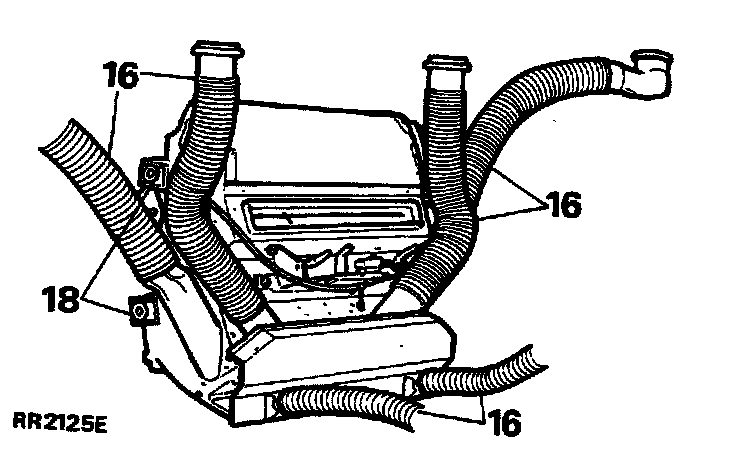
16. Disconnect hoses from heater unit.
17. Disconnect electrical leads from heater unit at multiplugs.
18. Remove four heater mounting bolts.
19. Remove heater unit.
Refit
20. Check that seal for fresh air intake is in place on back of heater unit.
21. Check that seal for heater core is in place on hoses.
22. Reverse instructions 1 to 19. Ensure that all openings are adequately sealed against ingress of dust and moisture.