Wheel Cylinder: Service and Repair
REMOVAL1. Perform steps 1) to 6) of BRAKE DRUM REMOVAL.
2. Perform steps 2) to 4) of BRAKE SHOE REMOVAL.
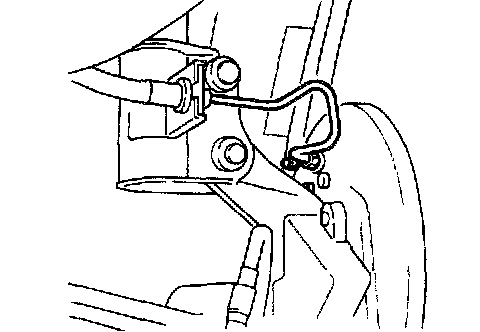
3. Loosen brake pipe flare nut (or nuts) but only within the extent that fluid does not leak.
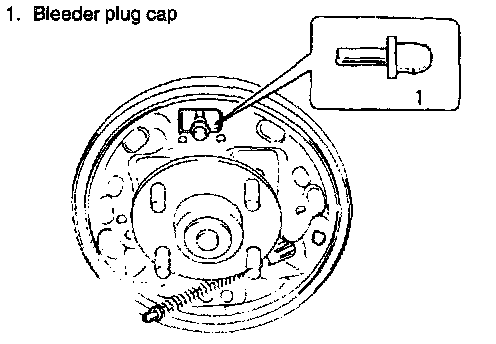
4. Remove wheel cylinder mounting bolts. Disconnect brake pipe (or pipes) from wheel cylinder and put wheel cylinder bleeder plug cap onto pipe to prevent fluid from spilling.
INSPECTION
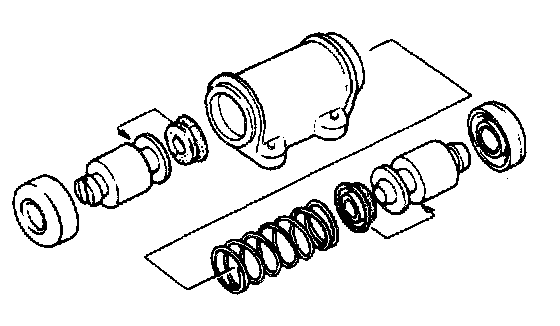
Inspect wheel cylinder disassembled parts for wear, cracks, corrosion or damage.
NOTE: Clean wheel cylinder components with brake fluid.
INSTALLATION
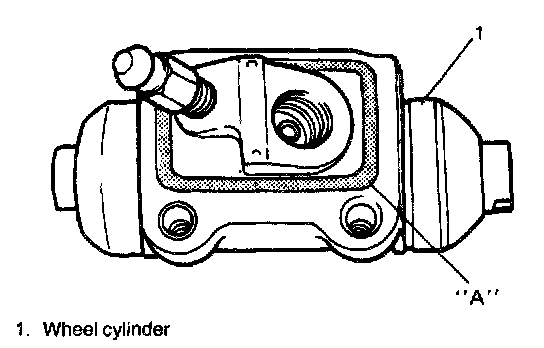
1. Apply water tight sealant to joint seam of wheel cylinder and brake back plate. Then take off bleeder plug cap from brake pipe and connect pipe (for pipes) to wheel cylinder just enough to prevent fluid from leaking.
"A": Sealant 99000-31090
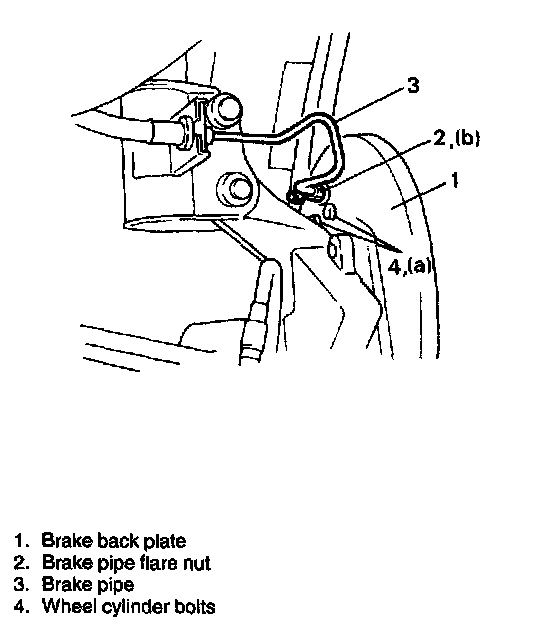
2. Tighten wheel cylinder to brake back plate to specified torque.
Tightening Torque (a): 12 Nm (1.2 kg-m, 9.0 ft. lbs.)
3. Torque flare nut (or nuts) of brake pipe which was connected in step 1) to specification.
Tightening Torque (b): 16 Nm (1.6 kg-m, 11.5 ft. lbs.)
4. Install bleeder plug cap taken off from pipe back to bleeder plug.
5. For procedure hereafter, refer to steps 1) to 3) of BRAKE SHOE INSTALLATION.
Service and Repair
NOTE: Be sure to bleed brake system.