Control Arm: Service and Repair
REMOVAL1. Hoist vehicle and remove wheels.
2. Remove stabilizer link nut, washer and cushion.
3. Remove ball stud bolt.
4. Remove suspension arm front bushing bolt.
5. Remove suspension arm rear bracket bolt and nut.
6. Remove rear bracket and suspension arm.
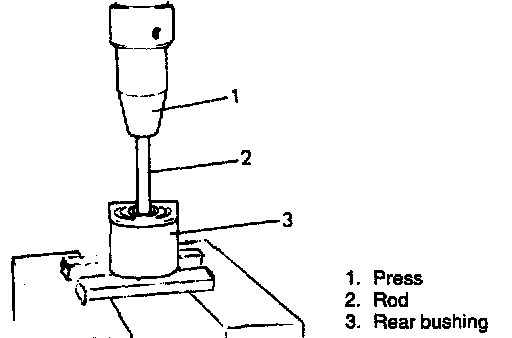
7. Remove rear bushing by using hydraulic press.
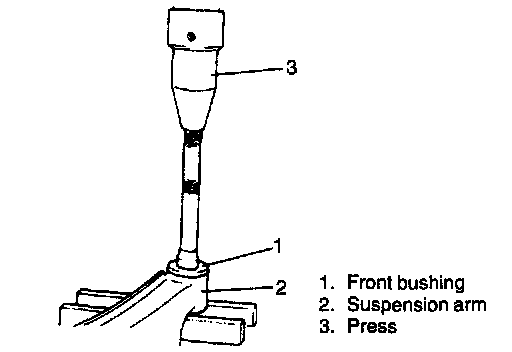
8. Cut off flange of front bushing and then push out front bushing by using hydraulic press.
INSTALLATION
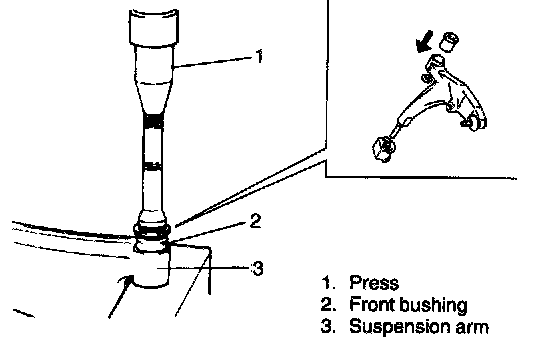
1. Install front bushing.
Before installing bushing, apply soap water on its circumference to facilitate installation.
When installed, bush should be equal on the right and left of arm.
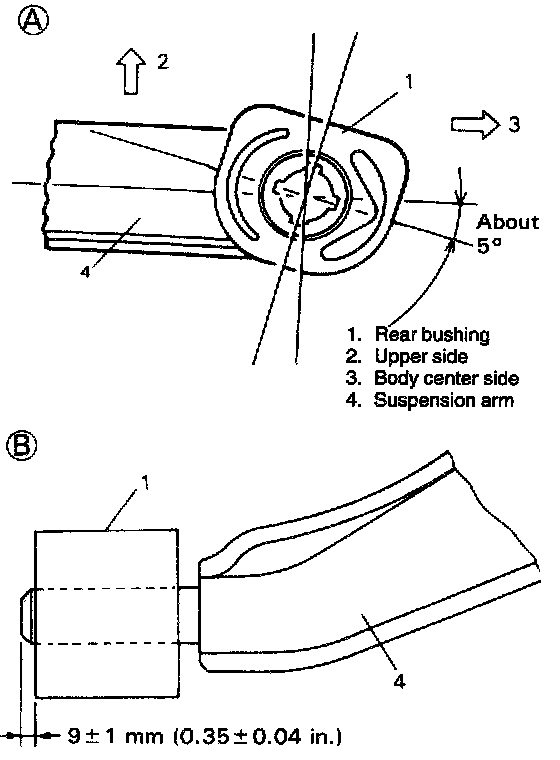
2. Install rear bushing to suspension arm as follows. First, push in rear bushing in such direction and angle in (A) and drive it into such position in (B).
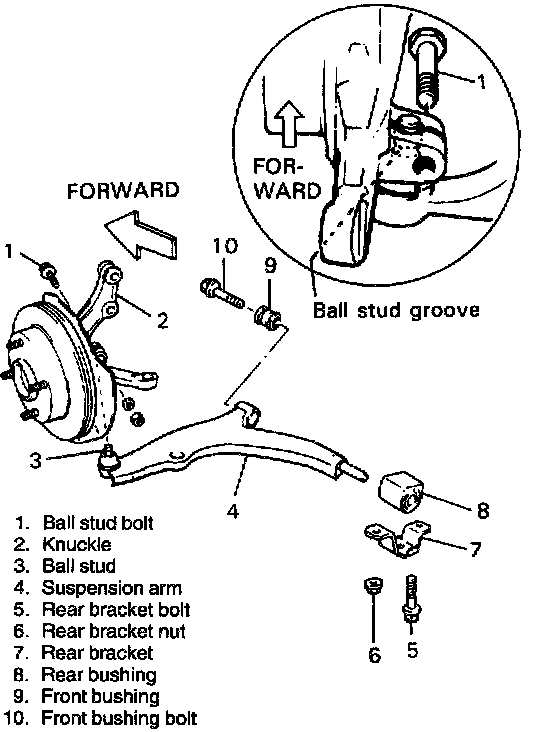
3. Attach suspension arm to suspension frame with rear bracket, bolts and nut and hand-tighten bolts and nut.
4. Install ball stud to knuckle. Align ball stud groove with knuckle bolt hole. Then install ball stud bolt from the direction.
5. Install stabilizer cushion, washer and link nut.
6. Tighten all bolts and nuts to each specified torque. Refer to Crossmember.
Cross-Member
7. Install wheels and lower hoist.
8. Confirm front end (wheel) alignment.