Lower Intake Manifold
LOWER INTAKE MANIFOLD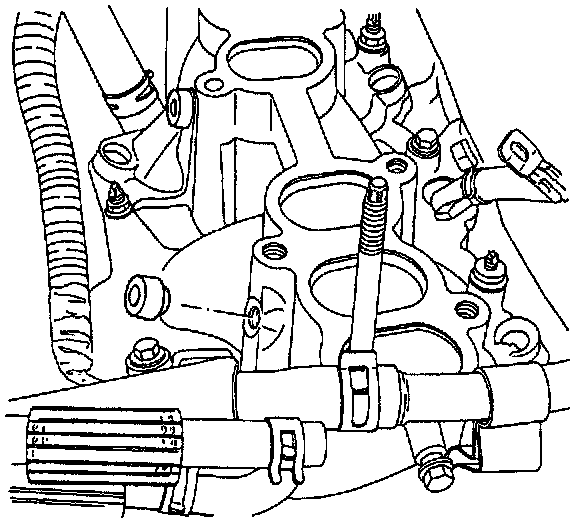
Removal Procedure
1. Remove the fuel rail. Refer to Fuel Rail.
2. Remove the spacers that are located where the fuel rail through-bolts enter the manifold.
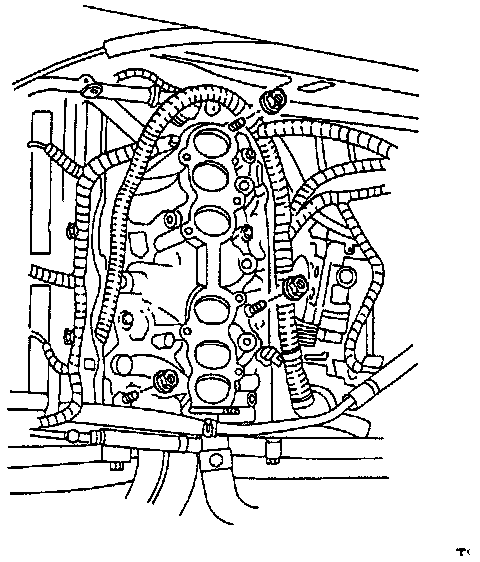
3. Remove the lower intake manifold nuts.
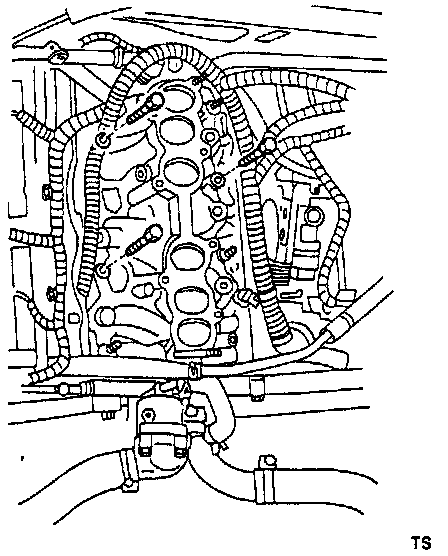
4. Remove the lower intake manifold through-bolts.
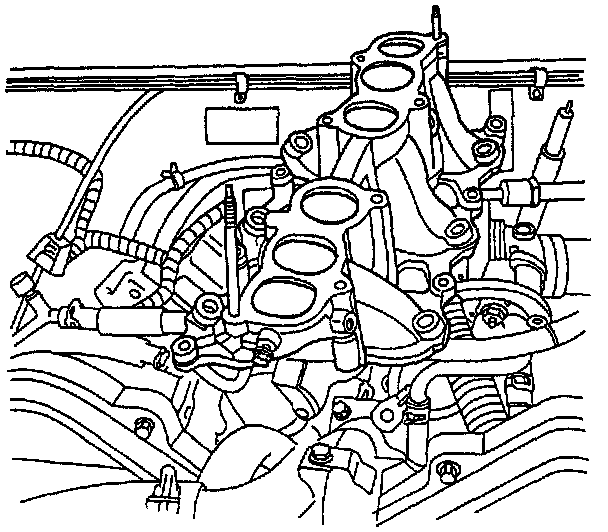
5. Remove the lower intake manifold from the engine.
6. Cover the intake openings in order to prevent debris from entering the engine.
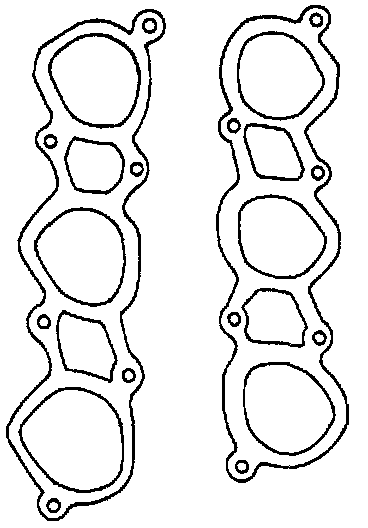
Inspection Procedure
^ Inspect the original lower intake manifold gasket.
^ If the original gasket needs to be replaced, remove any gasket material that may be stuck to the mating surfaces of the manifold.
^ Do not leave any scratches in the aluminum casting.
Installation Procedure
1. Uncover the intake openings.
2. Set the lower intake manifold on the engine.
3. Install the lower intake manifold through-bolts. Tighten
^ Tighten the lower intake manifold through-bolts to 20.5 N.m (180 lb in.).
4. Install the lower intake manifold nuts. Tighten
^ Tighten the lower intake manifold nuts to 20.5 N.m (180 lb in.).
5. Install the spacers that are located where the fuel rail through-bolts enter the manifold.
6. Install the fuel rail. Refer to Fuel Rail.