Defroster Duct
DEFROSTER DUCT REPLACEMENT - WINDSHIELDREMOVAL PROCEDURE
1. Remove the I/P trim pad.
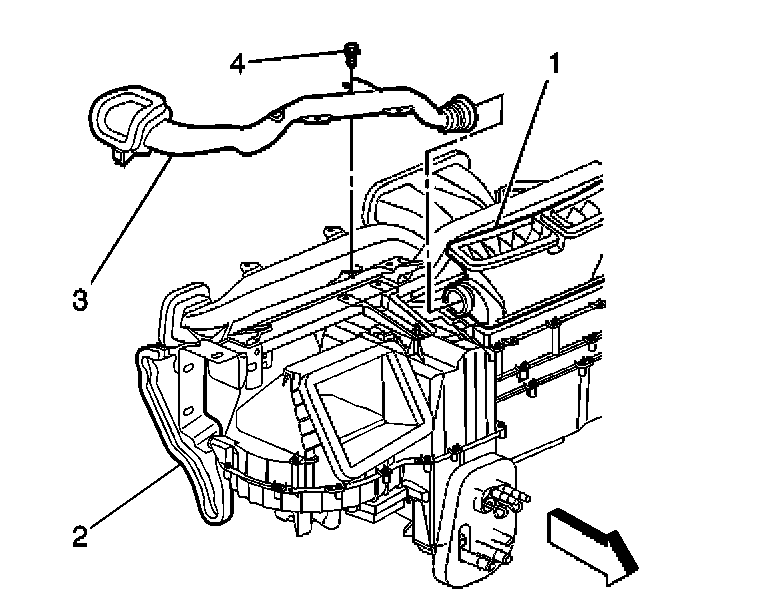
2. Remove the side window defroster duct (3) retaining screw (4).
3. Remove the passenger side window defroster duct.
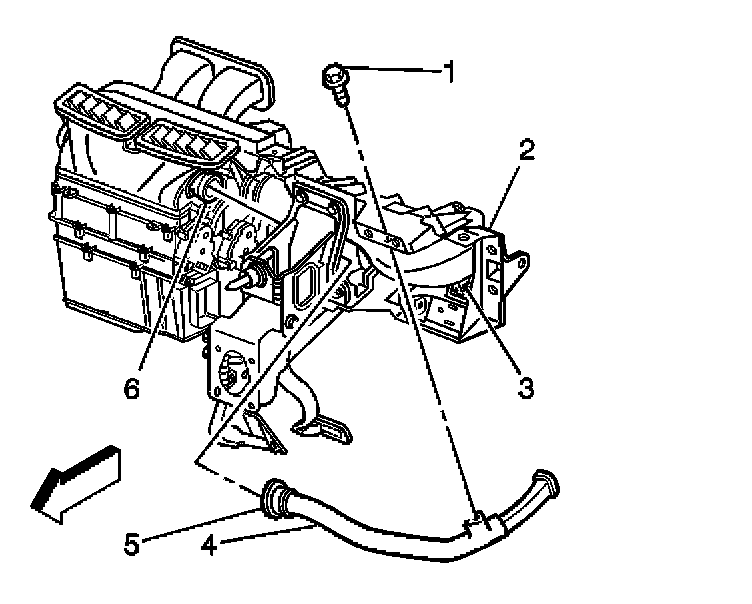
4. Remove the retaining screw (1) from the driver side window defroster duct (4).
5. Remove the driver side window defroster duct.
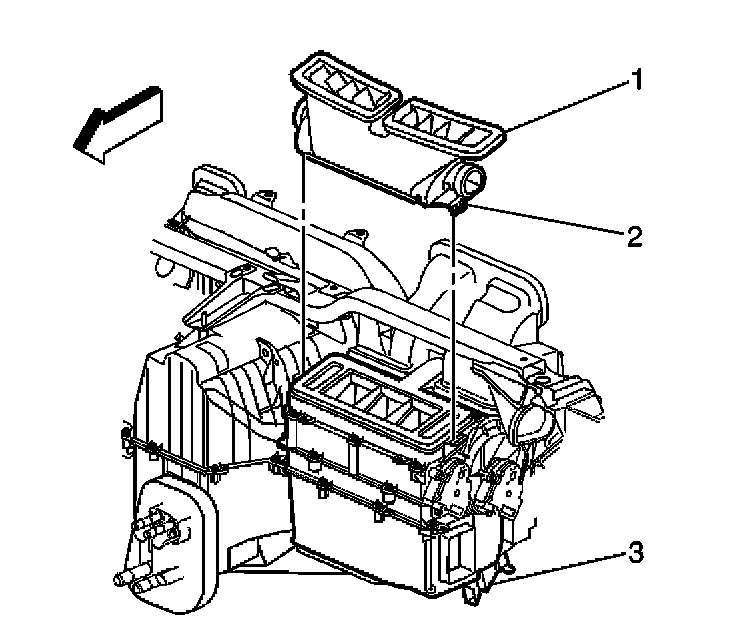
6. Release retaining clips (2) from the defroster duct (1).
7. Remove the defroster duct (1).
INSTALLATION PROCEDURE
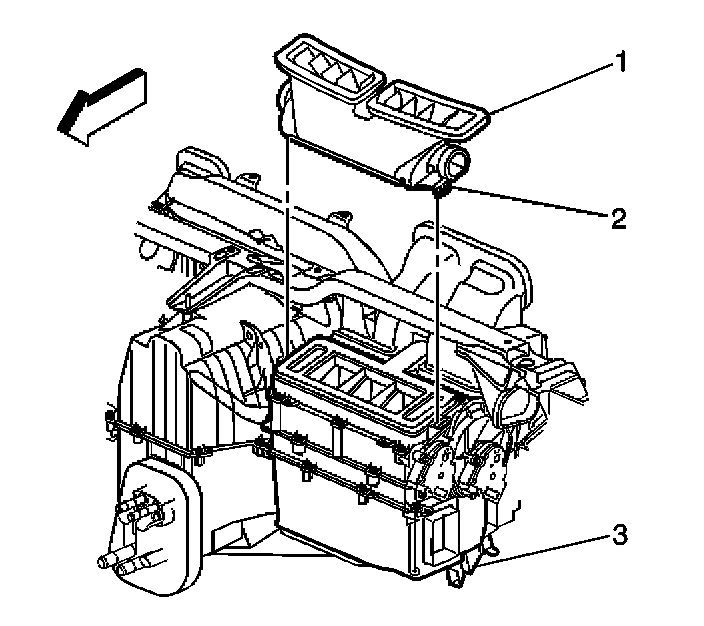
1. Install the defroster duct.
2. Insert defroster duct into retaining slots.
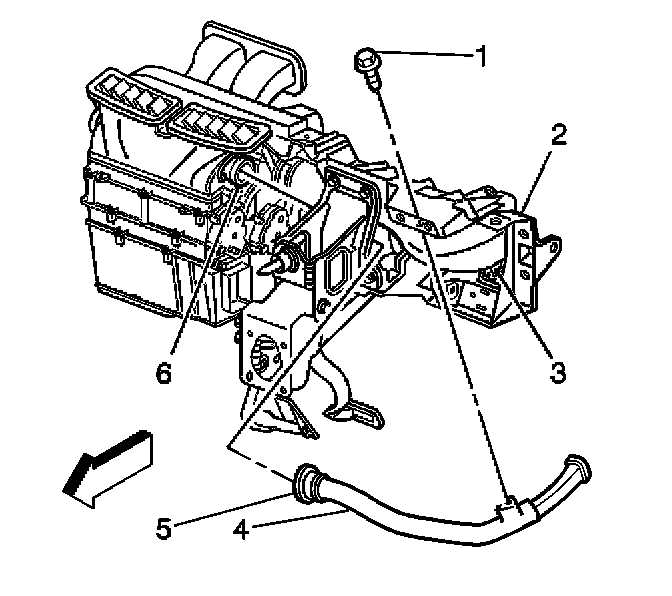
3. Install the driver side window defroster duct.
4. Install the retaining screw (1) to the driver side window defroster duct (4).
NOTE: Refer to Fastener Notice in Service Precautions.
Vehicle Damage Warnings
Tighten
Tighten the screw to .....2 N.m (18 lb in).
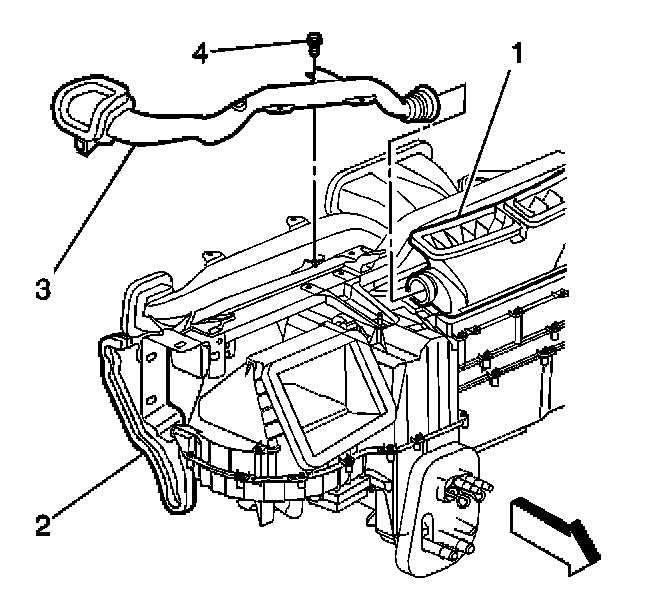
5. Install the passenger side window defroster duct.
6. Install the passenger side window defroster duct (3) retaining screw (4).
Tighten
Tighten the nut to .....2 N.m (18 lb in).
7. Install the I/P assembly.