Washer Solvent Container Replacement
WASHER SOLVENT CONTAINER REPLACEMENTREMOVAL PROCEDURE
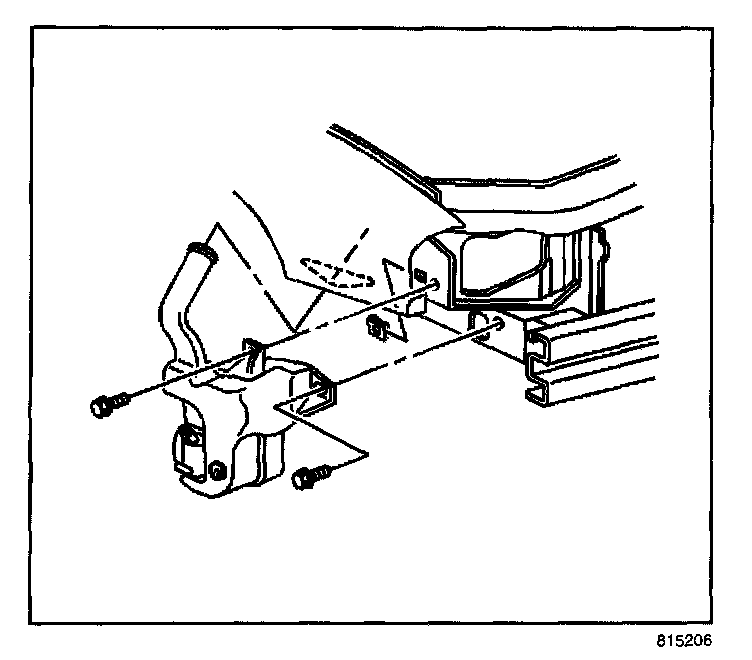
1. Drain the washer solvent from the washer solvent container.
2. Remove the washer solvent container filler neck.
3. Remove the right headlamp assembly.
4. Remove the washer solvent container screws.
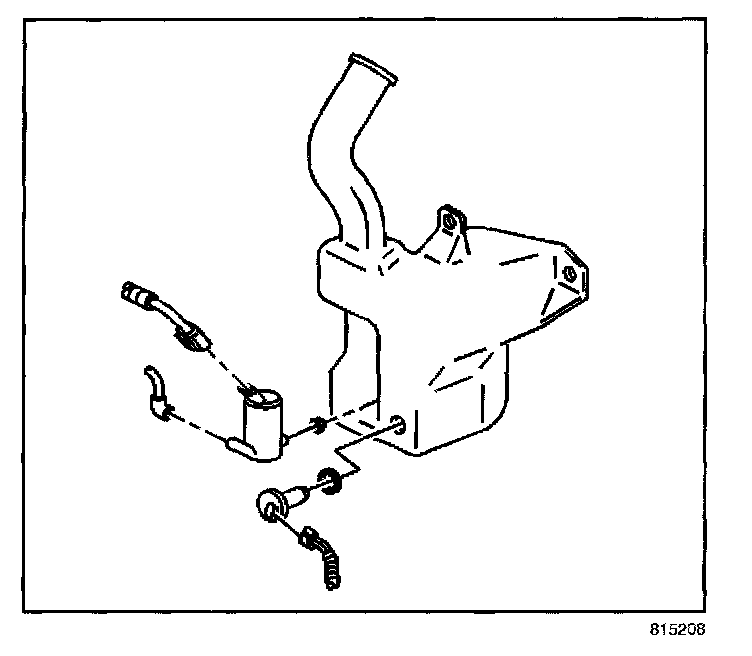
5. Remove the front fender liner.
6. Disconnect the washer pump hose.
7. Disconnect the washer pump electrical connector.
8. Disconnect the washer solvent level sensor electrical connector.
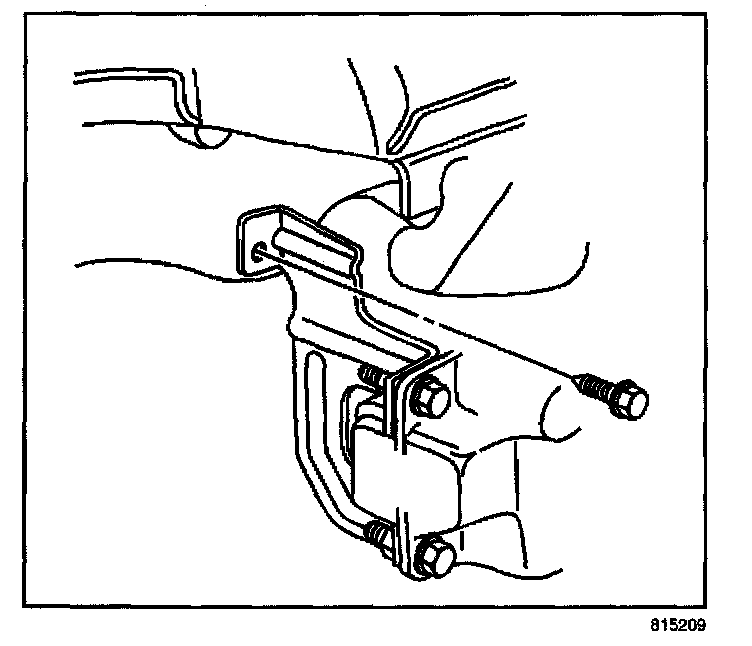
9. Remove the washer solvent container bracket screw.
10. Remove the washer solvent container from the right frame rail.
INSTALLATION PROCEDURE
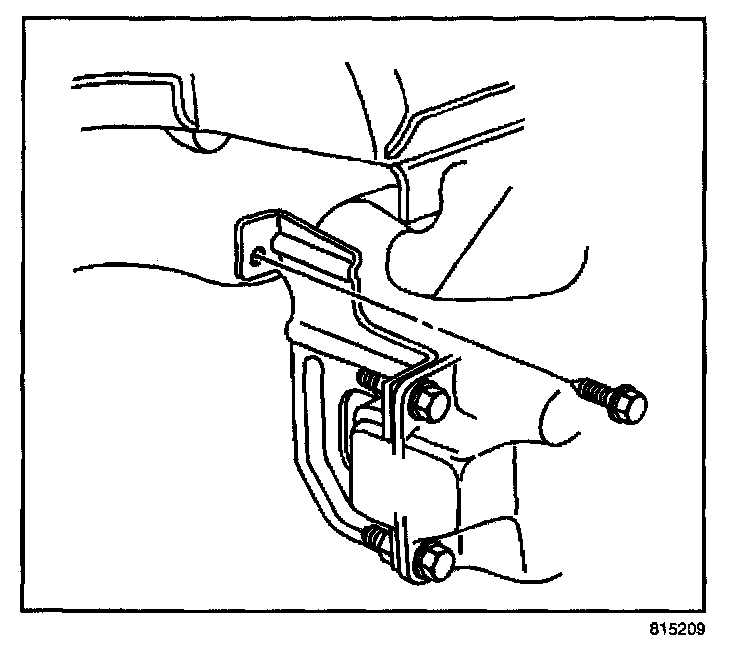
1. Position the washer solvent container to the right frame rail.
NOTE: Refer to Fastener Notice in Service Precautions.
2. Install the washer solvent container bracket screw.
Tighten
Tighten the screw to 10 N.m (89 lb in).
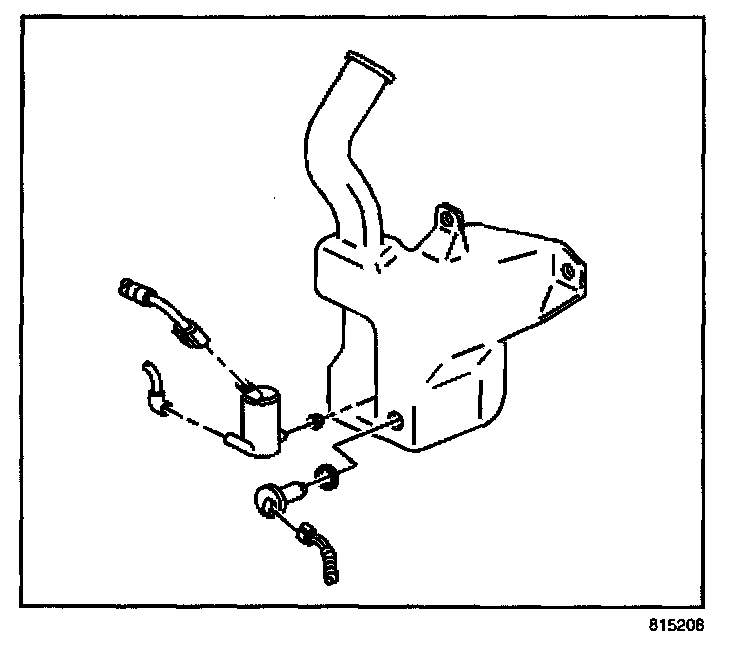
3. Connect the washer solvent level sensor electrical connector.
4. Connect the washer pump electrical connector.
5. Connect the washer pump hose.
6. Install the front fender liner.
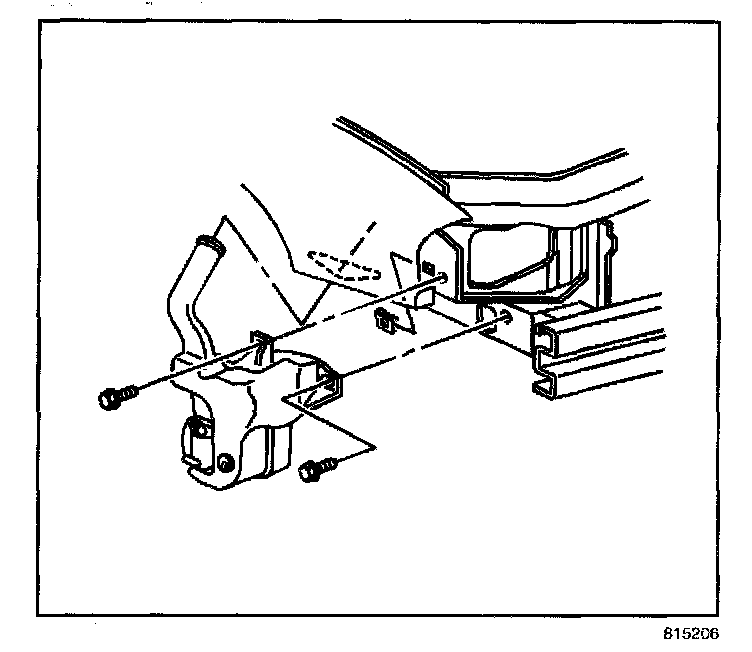
7. Install the washer solvent container screws.
Tighten
Tighten the screws to 10 N.m (89 lb in).
8. Install the right headlamp assembly.
9. Install the washer solvent container filler neck.
10. Fill the washer solvent container with washer solvent.