Body Waterleak Repair
Body Waterleak Repair
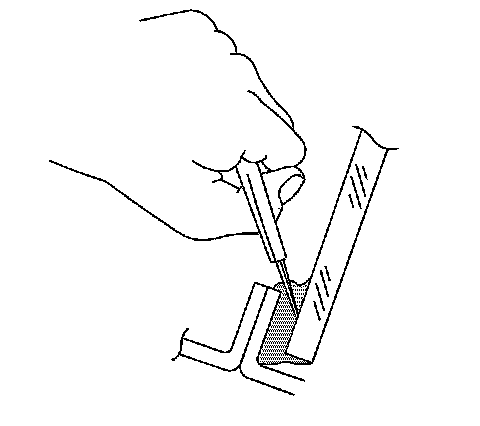
1. Depending on the location of the waterleak, you may have to to remove the trim molding or the headliner in order to repair the leak.
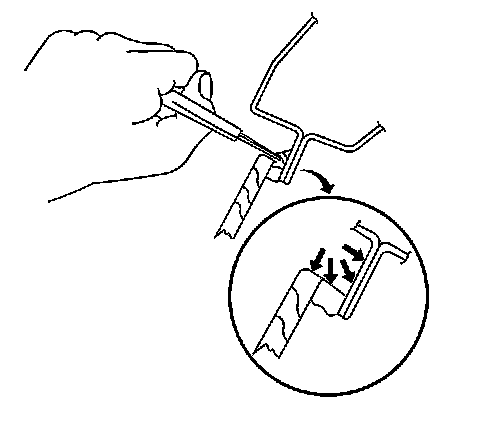
2. Cut out a portion of the adhesive in the leak area from inside or outside the vehicle.
3. Clean and remove all loose particles from the area.
4. Caulk the adhesive between the window and the pinchweld flange where the old adhesive has been cut away.
Feather the adhesive out to several inches past the leak area. Use urethane adhesive from GM P/N 12346284 or equivalent
5. Mist the newly applied adhesive with water in order to cure the adhesive.
6. Test for leaks.
7. Install the molding.
8. Allow the adhesive to dry for several hours.
9. Test for waterleaks. Refer to the appropriate procedure from the following list:
* Waterleak Test Preparation Waterleak Test Preparation
* Water Hose Test Water Hose Test
* Air Hose Test Air Hose Test