Timing Chain Tensioner: Service and Repair
Removal Procedure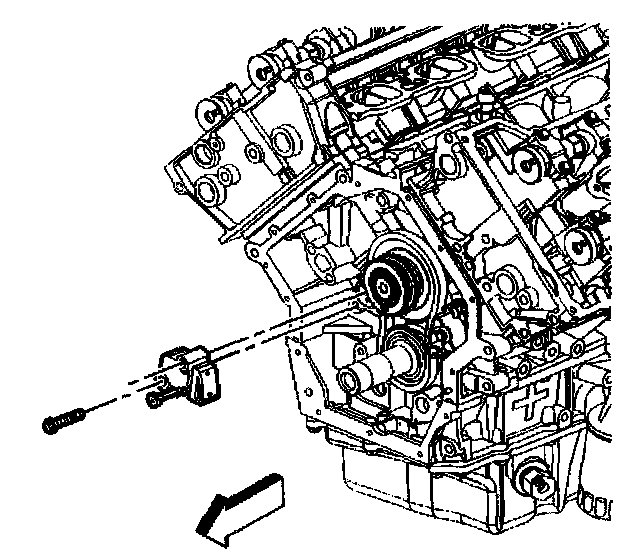
1. Remove the front cover. Refer to Engine Front Cover Replacement.
2. Remove the two bolts attaching the primary drive chain tensioner to the engine block.
3. Remove the primary drive chain tensioner.

4. Remove the two bolts attaching the primary drive chain guide (1) to the engine block.
5. Remove the primary drive chain guide (1).
Installation Procedure
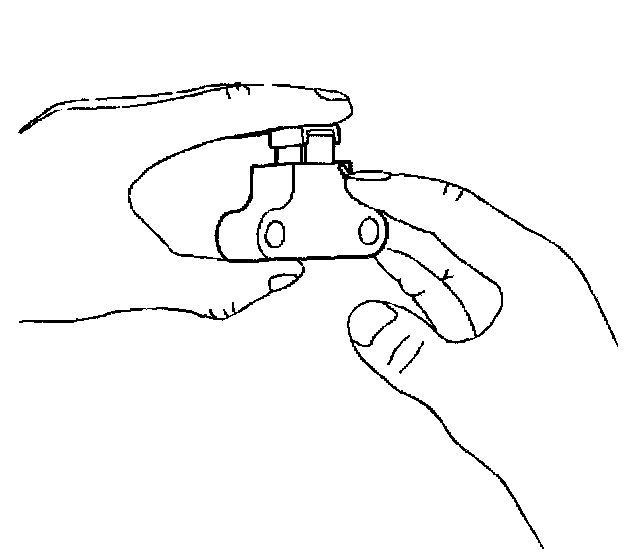
1. Collapse the primary timing chain tensioner using the following procedure.
1.1. Rotate the ratchet release lever counterclockwise and hold.
1.2. Collapse the tensioner shoe and hold.
1.3. Release the ratchet lever and slowly release the pressure on the shoe.

2. As the ratchet lever moves to the first click, hold the tensioner shoe inward and insert a pin through the hole in the release lever.
3. The locked ratchet mechanism should hold the shoe in the collapsed position.
Notice: Refer to Fastener Notice in Service Precautions.
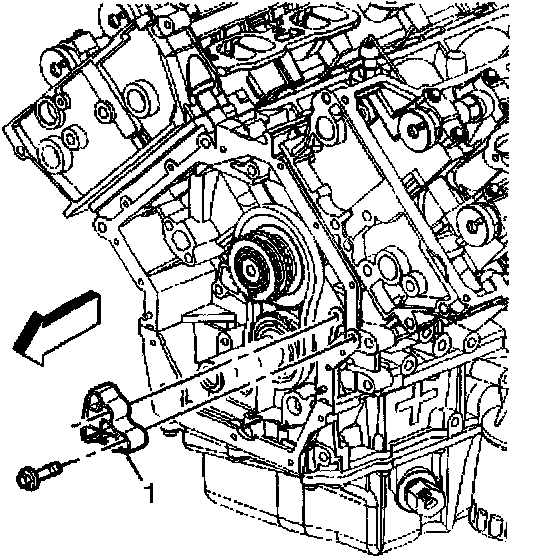
4. Install the primary timing chain guide (1) and retaining bolts.
- Tighten the primary chain guide bolts to 25 Nm (18 ft. lbs.).
Important: Make sure the tensioner release lever is facing outward before tightening.

5. Install the primary timing chain tensioner and retaining bolts.
- Tighten the primary timing chain tensioner bolts to 25 Nm (18 ft. lbs.).
6. Install the front cover. Refer to Engine Front Cover Replacement.