Evaporator Core: Service and Repair
EVAPORATOR CORE REPLACEMENT
TOOLS REQUIRED
J 39400-A Halogen Leak Detector
REMOVAL PROCEDURE
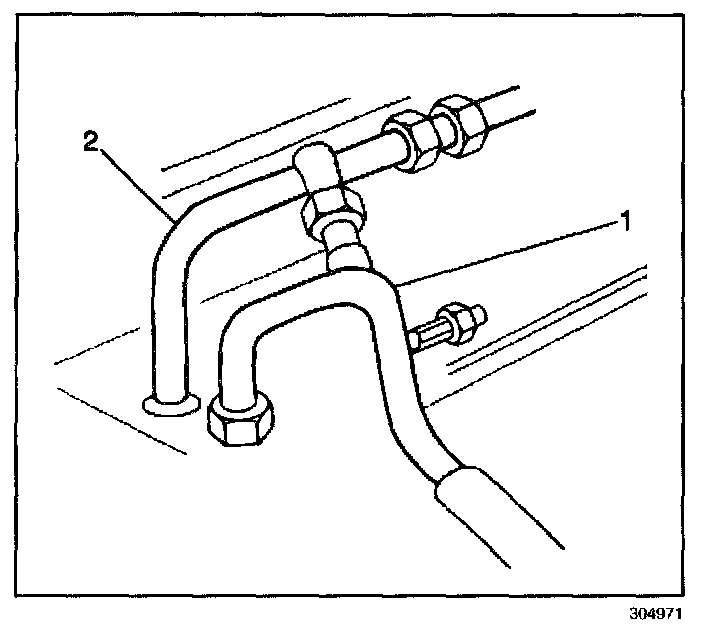
1. Recover the refrigerant. Refrigerant Recovery and Recharging
2. Lower the engine and transmission assembly.
NOTE: Do not remove the engine, just lower the sub-frame and powertrain assembly to gain access to the evaporator housing, using the Engine Replacement procedure. Engine Replacement
3. Disconnect the accumulator tube (1) from the evaporator core.
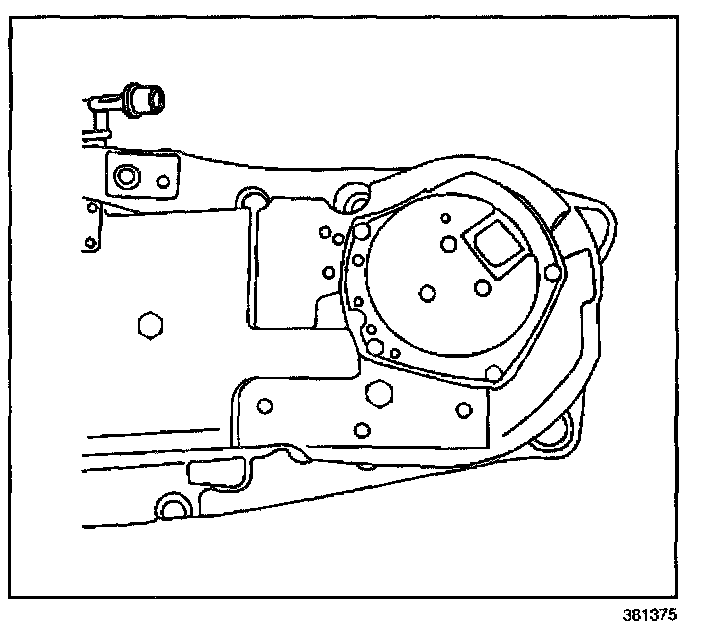
4. Disconnect the evaporator tube from the evaporator core.
5. Remove the blower motor. Blower Motor Replacement
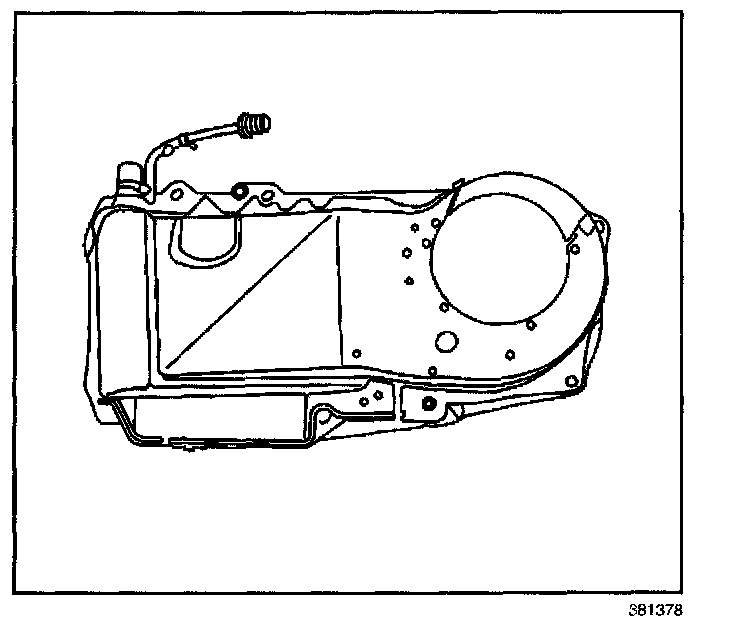
6. Remove the evaporator core rubber barrier cover.
7. Remove the evaporator core cover.
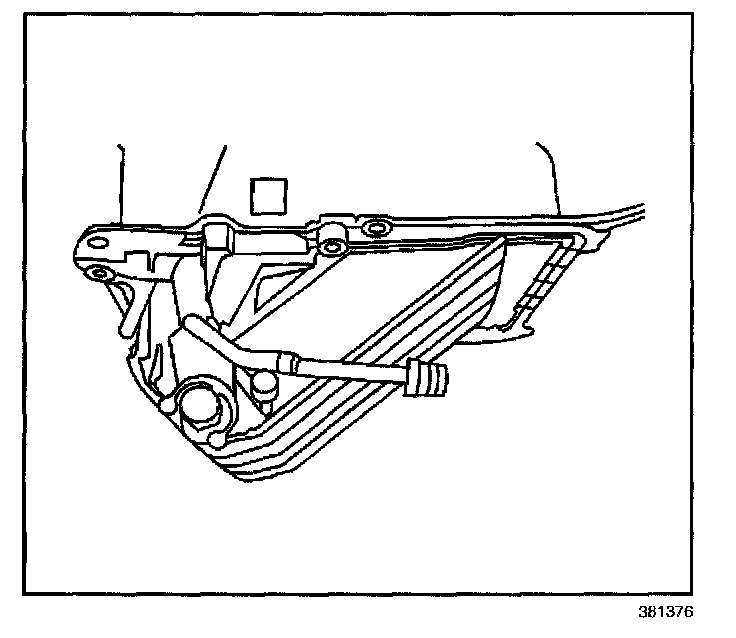
8. Remove the evaporator core.
INSTALLATION PROCEDURE
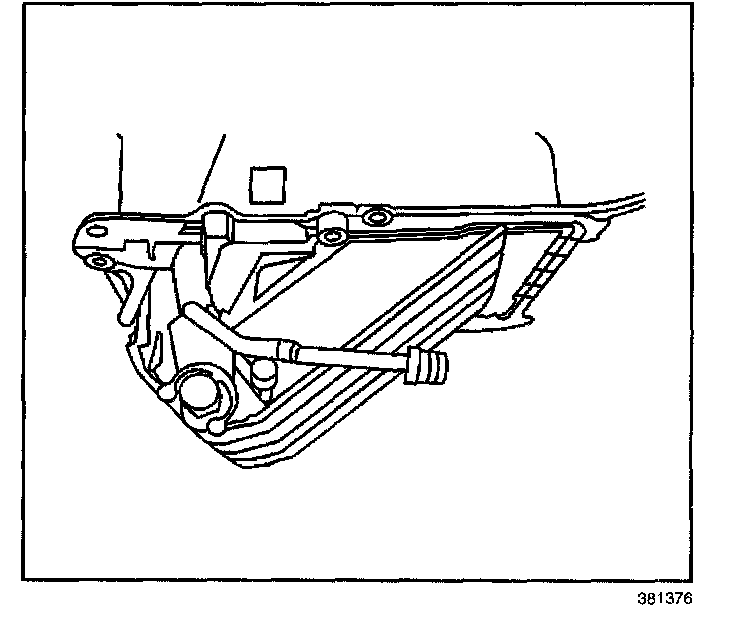
1. Install the evaporator core.
NOTE: Use the correct fastener in the correct location. Replacement fasteners must be the correct part number for that application. Fasteners requiring replacement or fasteners requiring the use of thread locking compound or sealant are identified in the service procedure. Do not use paints, lubricants, or corrosion inhibitors on fasteners or fastener joint surfaces unless specified. These coatings affect fastener torque and joint clamping force and may damage the fastener. Use the correct tightening sequence and specifications when installing fasteners in order to avoid damage to parts and systems.
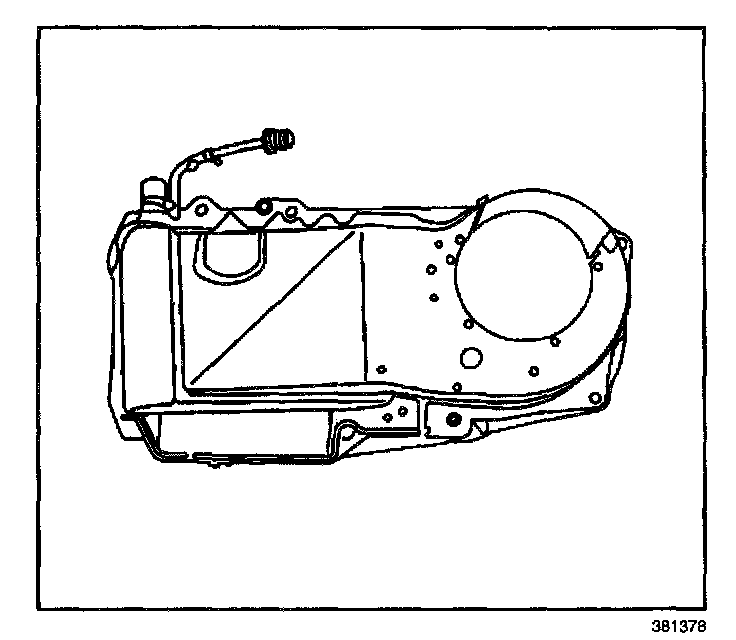
2. Install the evaporator core cover.
Tighten
Tighten the screws to 5 Nm (44 lb ft).
3. Install the evaporator core rubber barrier cover.
Tighten
Tighten the screws to 5 Nm (44 lb ft).
4. Install the blower motor. Blower Motor Replacement
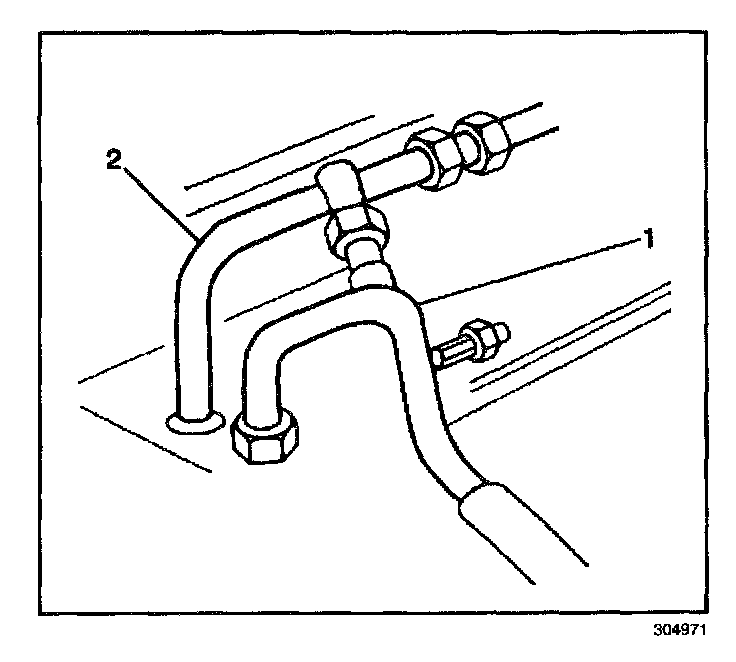
5. Connect the evaporator tube (2) to the evaporator core.
6. Connect the accumulator tube (1) to the evaporator core.
7. Raise the engine and transmission assembly.
NOTE: Do not remove the engine, just lower the sub-frame and powertrain assembly to gain access to the evaporator housing, using the Engine Replacement procedure. Engine Replacement
8. Recharge the A/C system. Refrigerant Recovery and Recharging
9. Leak test the fittings of the components using the J 39400-A.