Heated Oxygen Sensor (HO2S) Replacement Bank 2 Sensor 1
HEATED OXYGEN SENSOR (HO2S) REPLACEMENT BANK 2 SENSOR 1REMOVAL PROCEDURE
1. Turn the ignition OFF.
2. Raise and support the vehicle. Refer to Vehicle Lifting
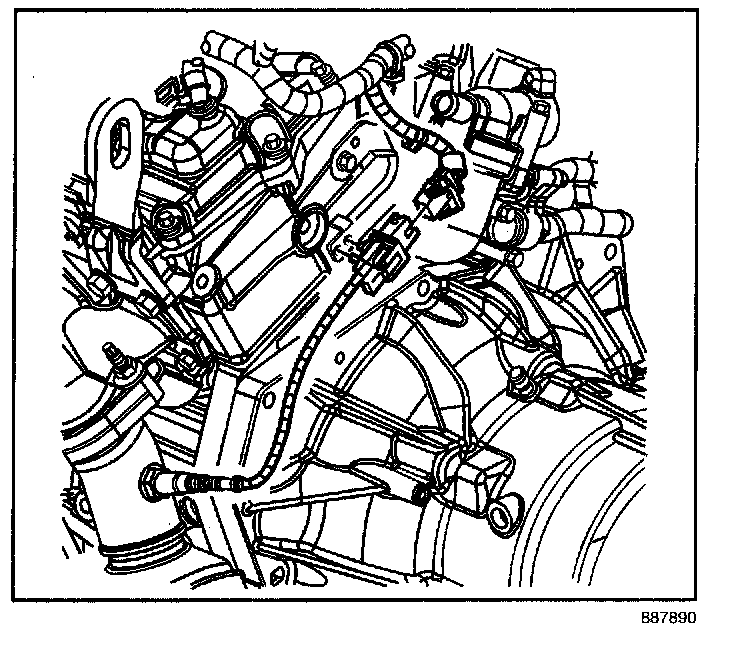
3. Disconnect the heated oxygen sensor (HO2S) electrical connector.
4. Remove the HO2S electrical connector from the wiring harness bracket.
NOTE: Refer to Oxygen Sensor Notice in Service Precautions.
IMPORTANT: Removal of the oxygen sensor is easier when the engine temperature is above 48°C (120°F).
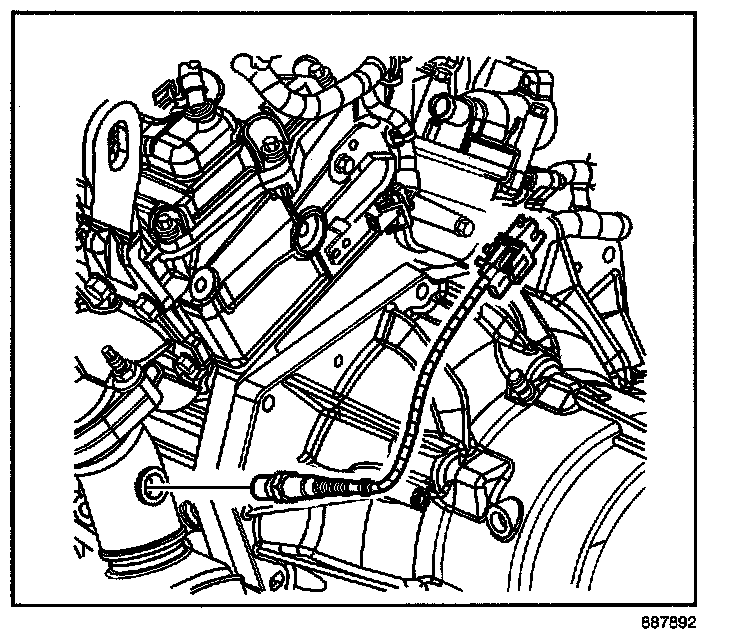
5. Remove the HO2S.
INSTALLATION PROCEDURE
NOTE: Refer to Component Fastener Tightening Notice in Service Precautions.
IMPORTANT: New oxygen sensors should have a special anti-seize compound already applied to the sensor threads. If you are installing the original sensor, apply anti-seize compound GM P/N 5613695 or equivalent to the sensor threads.
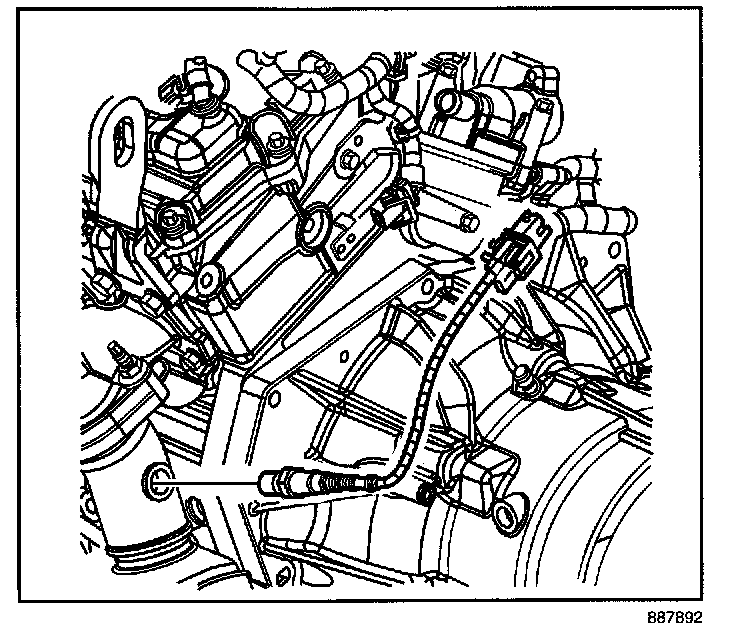
1. Install the HO2S.
Tighten
Tighten the HO2S to 40 N.m (30 lb ft).
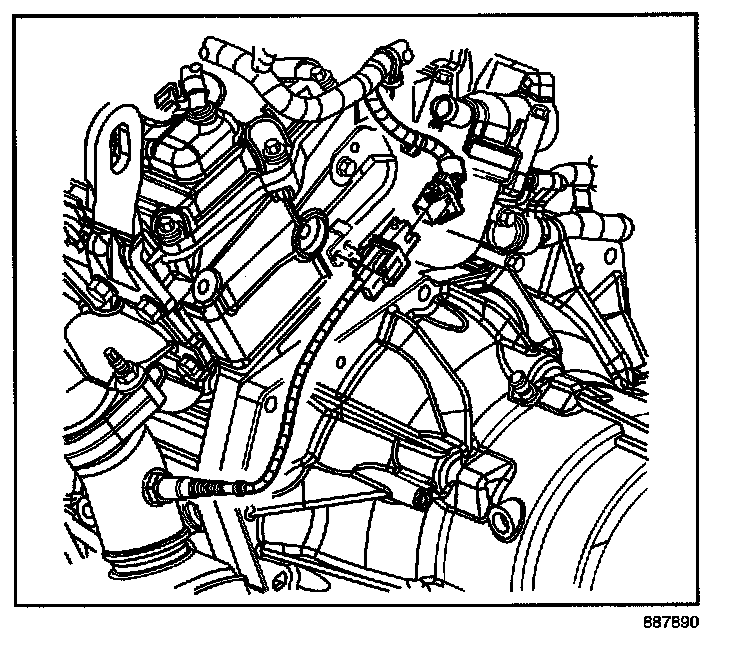
2. Install the HO2S electrical connector to the wiring harness bracket.
3. Connect the HO2S electrical connector.
4. Lower the vehicle.