High Pressure Safety Valve HVAC: Service and Repair
Compressor Pressure Relief Valve Replacement
Tools Required
J 39400-A Halogen Leak Detector
Removal Procedure
1. Recover the refrigerant. Refer to Refrigerant Recovery and Recharging.
2. Raise and support the vehicle. Refer to Vehicle Lifting.
3. Remove the right front wheel and tire from the vehicle.

4. Disconnect the RH ESC position sensor harness connector.

5. Disconnect the ESC sensor link from the control arm link stud.
6. Remove the ESC position sensor mounting bolt.
7. Remove the ESC position sensor from the vehicle.
8. Disconnect the front RH ABS electrical connector from the engine cradle and reposition aside.
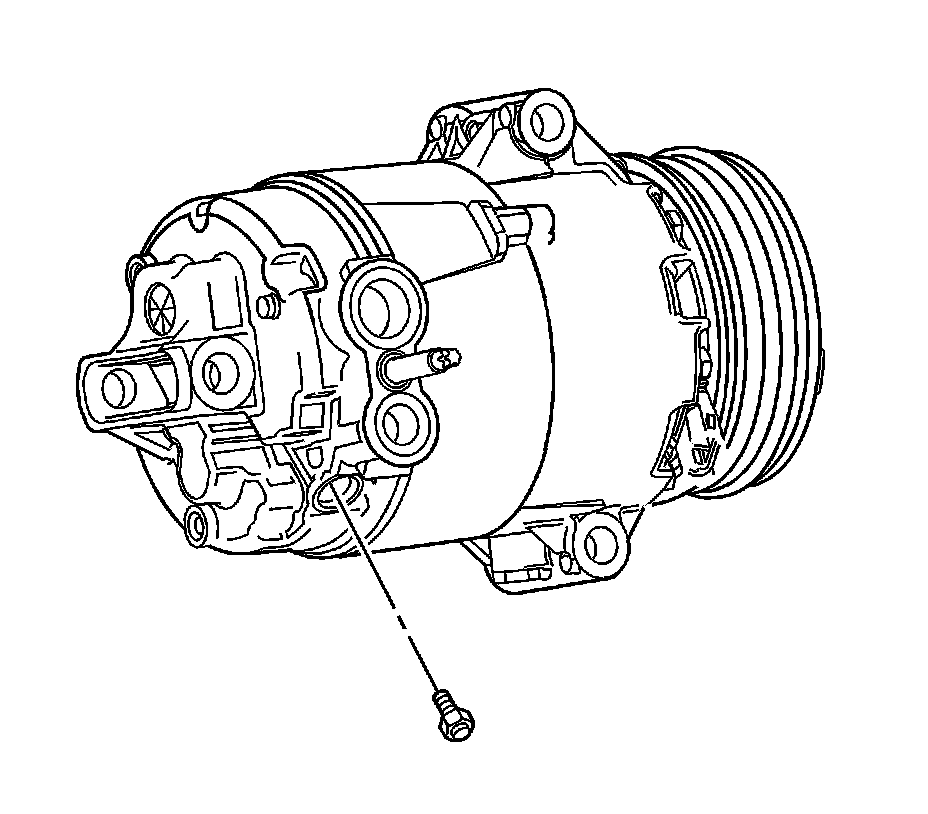
Important: Cap or tape the open A/C components immediately to prevent system contamination.
9. Remove the high pressure relief valve.
10. Cap or tape the A/C compressor.
Installation Procedure
1. Remove the cap or tape from the A/C compressor.
Notice: Refer to Fastener Notice.
2. Install the high pressure relief valve.
Tighten the valve to 8 N.m (70 lb in).
3. Connect the front RH ABS electrical connector to the engine cradle.
4. Install the ESC position sensor to the vehicle.
5. Install the ESC position sensor mounting bolt.
Tighten the bolt to 3 N.m (26 lb in).
6. Connect the ESC sensor link to the control arm link stud.
7. Connect the RH ESC position sensor harness connector.
8. Install the right front wheel and tire to the vehicle.
9. Lower the vehicle.
10. Evacuate and recharge the refrigerant system. Refer to Refrigerant Recovery and Recharging.
11. Leak test the fittings of the component using J 39400-A.