Inside Air Temperature Sensor Aspirator Replacement (Left Hand Drive)
Inside Air Temperature Sensor Aspirator Replacement (Left Hand Drive)
Removal Procedure
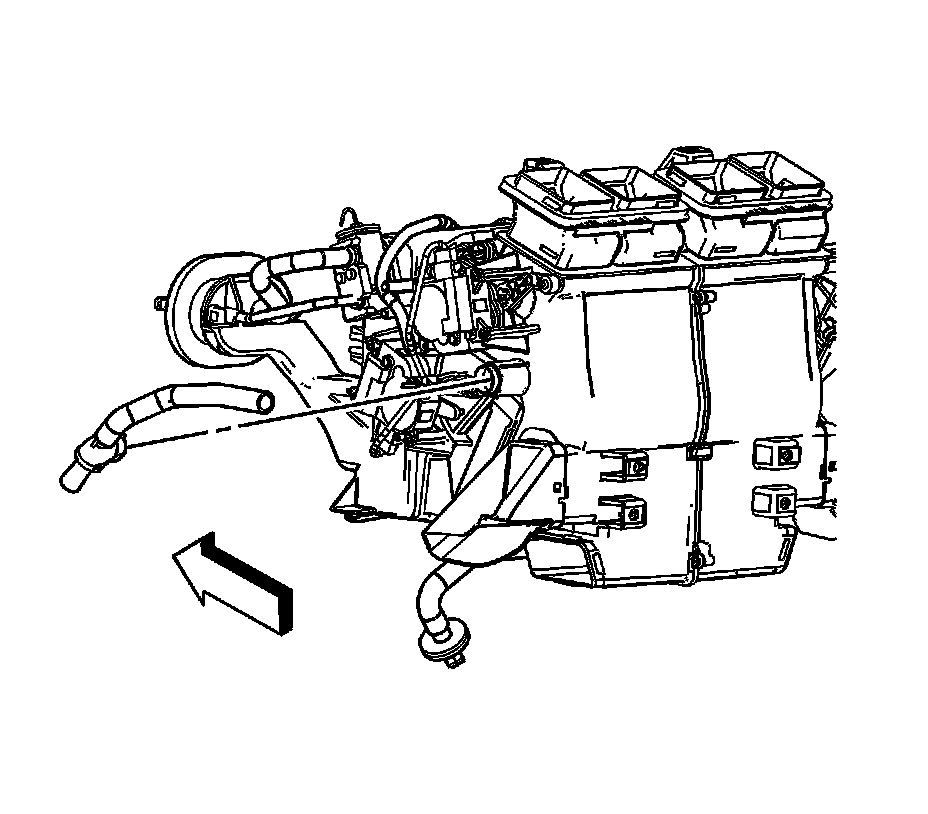
1. Remove the knee bolster. Refer to Knee Bolster Replacement (Right Hand Drive) (Service and Repair)Knee Bolster Replacement (Left Hand Drive) (Service and Repair).
2. Disconnect the aspirator hose from the HVAC module.
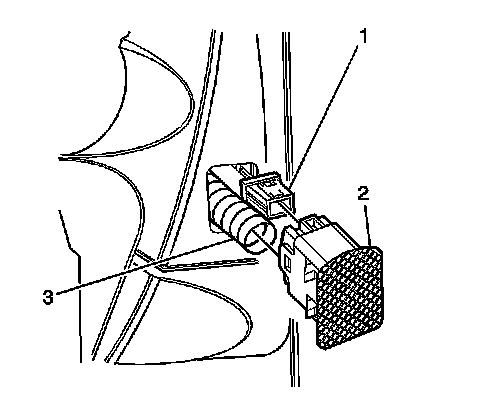
3. Remove the inside air temperature sensor (2) from the instrument panel (I/P) by gently prying outward.
4. Disconnect the aspirator hose (3) from the inside air temperature sensor.
5. Remove the aspirator hose.
Installation Procedure
1. Install the aspirator hose.
2. Connect the aspirator hose (3) to the inside air temperature sensor.
3. Install the inside air temperature sensor (2) to the I/P.
4. Connect the aspirator hose to the HVAC module.
5. Install the knee bolster. Refer to Knee Bolster Replacement (Right Hand Drive) (Service and Repair)Knee Bolster Replacement (Left Hand Drive) (Service and Repair).