117. Engine Front Cover Installation
Engine Front Cover Installation
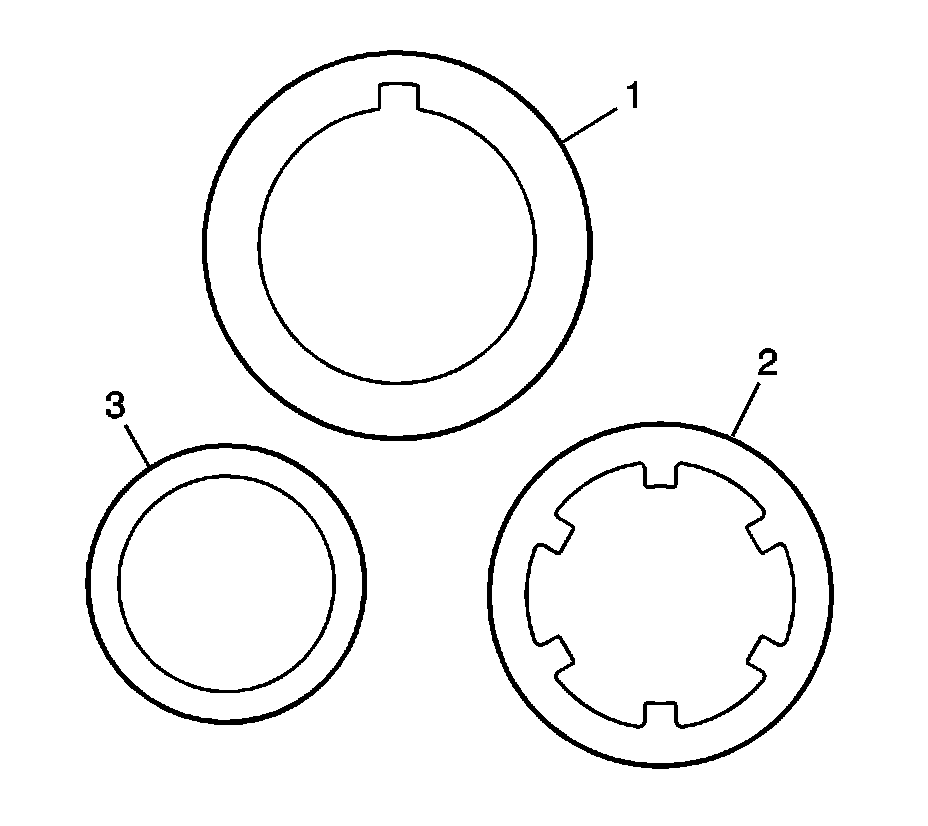
Note: Ensure the proper friction washer is installed in the correct position.
1. Select the oil pump drive to crankshaft balancer friction washer (3). The outer diameter is 45.5 mm (1.7913 in) and an inner diameter of 35.25 mm (1.3878 in).

2. Install the oil pump drive to crankshaft balancer friction washer.

3. Place a small amount of sealant GM P/N 12378521 (Canadian P/N 88901148) or equivalent at the split line of the upper and lower crankcases (1).

4. Place the NEW engine front cover gasket over the crankcase dowel pins.

5. Place a small amount of sealant GM P/N 12378521 (Canadian P/N 88901148) or equivalent at the engine front cover gasket pad area located on top of the split line of the upper and lower crankcases (1).

6. Place the engine front cover in position on the crankcase.
7. Apply the thread locking compound GM P/N 12345382 (Canadian P/N 10953489) or equivalent to the threads of the engine front cover bolts.
8. Install the engine front cover bolts.

Caution: Refer to Fastener Caution (Fastener Caution).
9. Tighten the engine front cover bolts in the sequence shown to 15 Nm (11 lb ft).

10. Install the water pump pulley.
11. Install the water pump pulley bolts and tighten to 10 Nm (89 lb in).