Control Arm Bushing: Service and Repair
Fig. 22 Torque control arm bushing removal. 1982 Corvette:
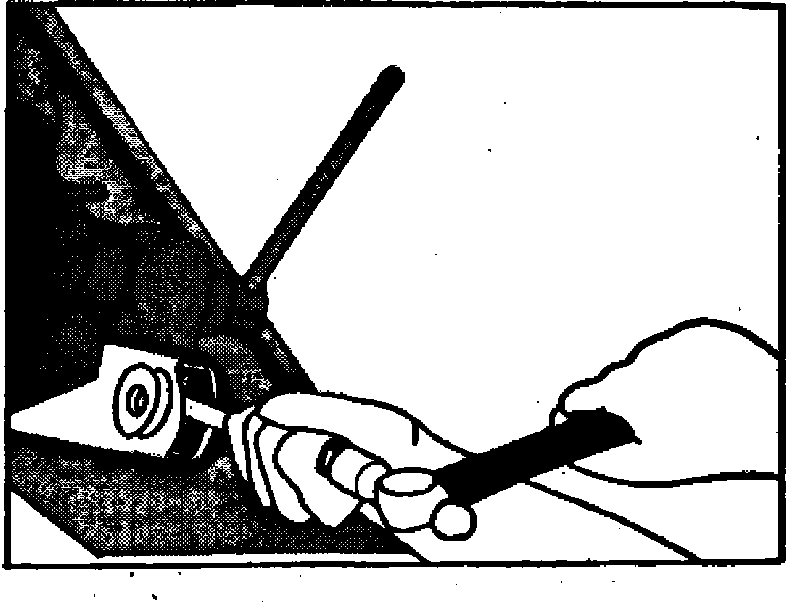
Fig. 23 Torque control arm bushing installation. 1982 Corvette:
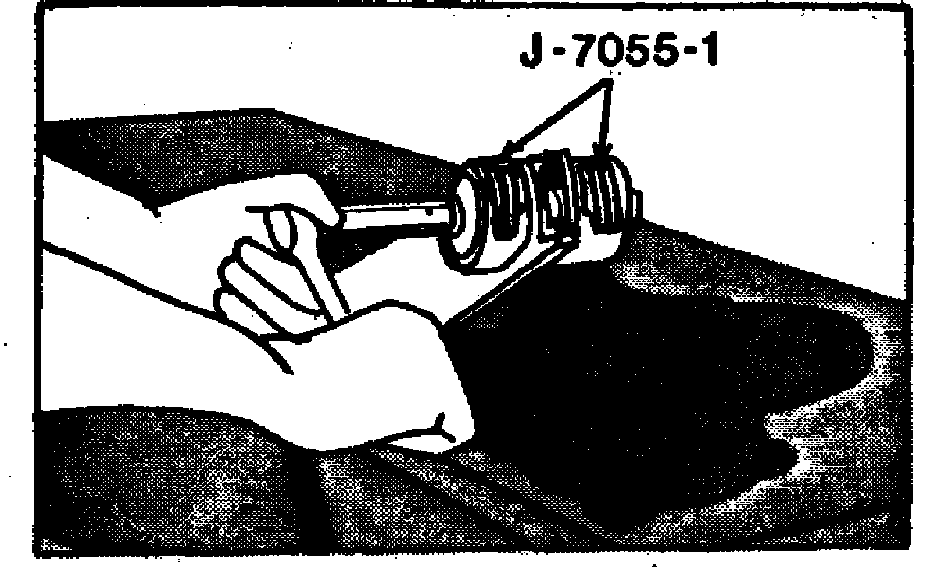
Fig. 24 Flaring tool back-up plate:
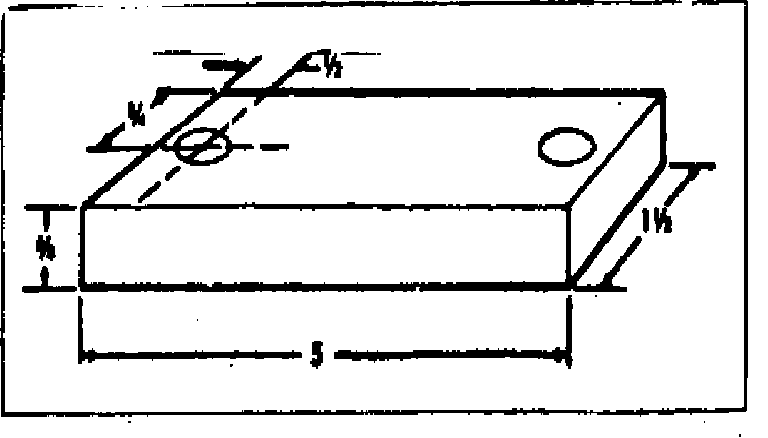
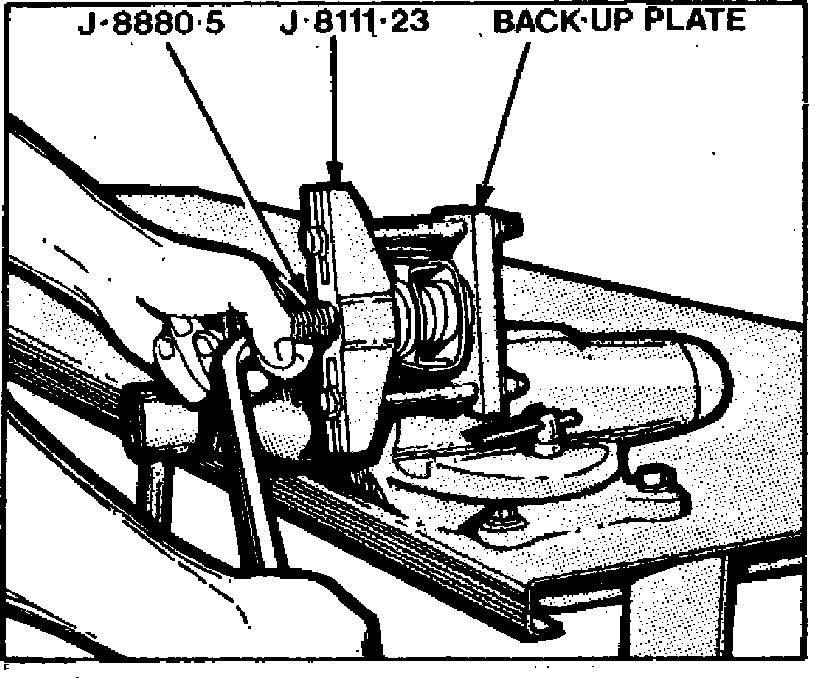
Fig. 25 Flaring torque control arm bushing retainer. 1982 Corvette:
Torque Control Arm Bushing Service
1. Using an 11/16 inch twist drill, drill out flared end of bushing retainer, remove retainer plate and retainer from bushing.
2. Spread bushing with a chisel, Fig. 22, and tap bushing from arm. If bushing is rusted in torque arm, torque arm may spread during bushing removal. Install a C-clamp torque arm, preventing torque arm spreading.
3. Oil steel portion of new bushing and press bushing into arm, Fig. 23.
4. Place retainer plate over flared portion of bushing retainer and insert retainer into bushing.
5. Make a flaring tool back-up plate, Fig. 24, with 1/2 inch bolt holes.
6. Place back-up plate on flared end of bushing retainer and assemble tool to plate, Fig. 25, with 1/2 x 5 inch bolts. Center threaded hole in tool # J-8111-23 over unflared end of bushing retainer. Also center chamfered retainer plate over retainer tube.
7. Lubricate end of tool # J-8880-5 and thread screw into tool, flaring retainer.